Blouse for Mum and Daughter Free Pattern – MINI & ME
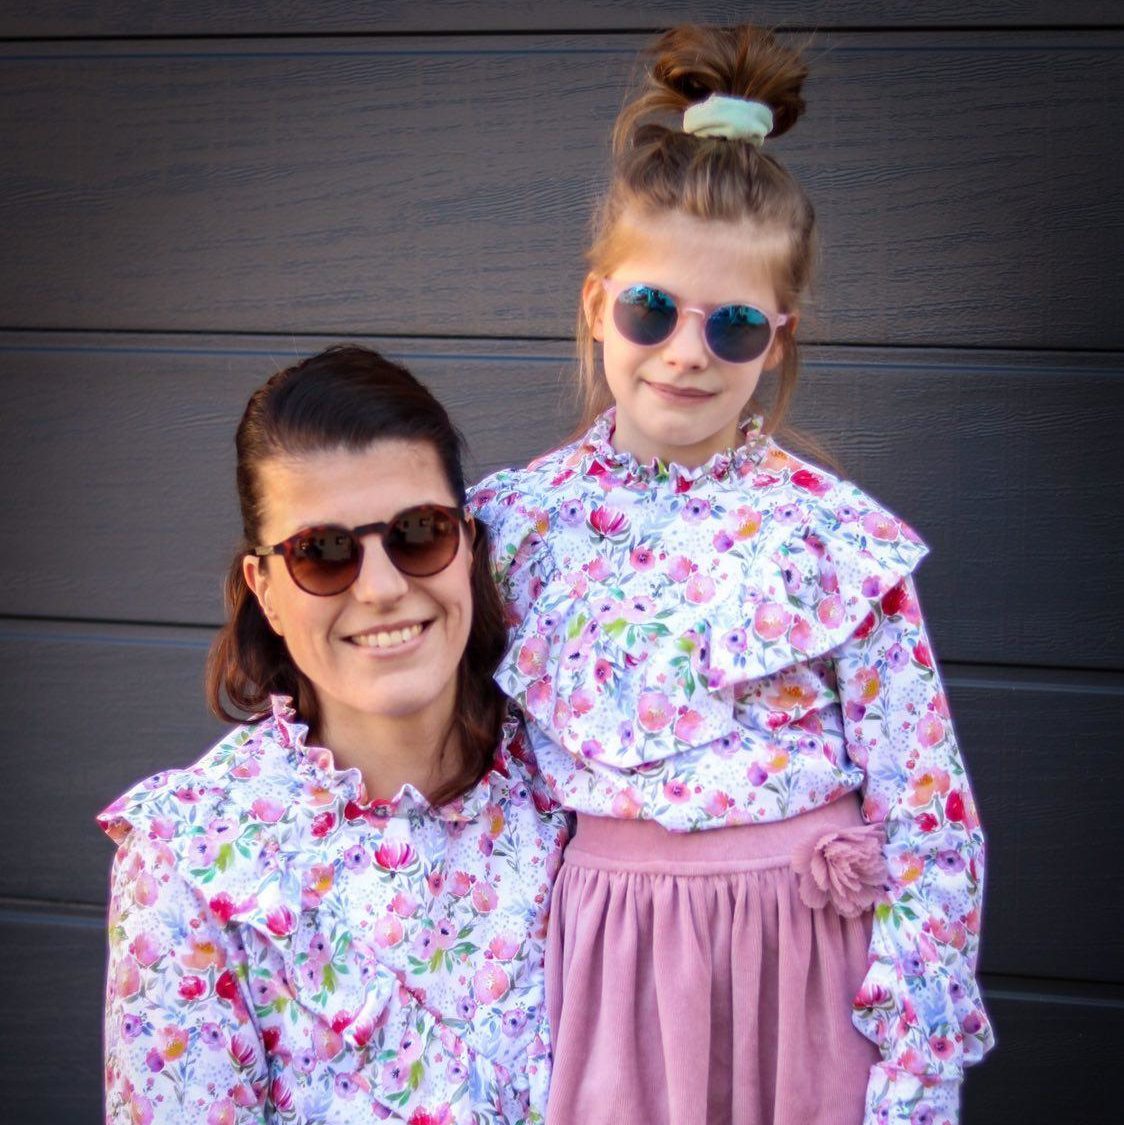
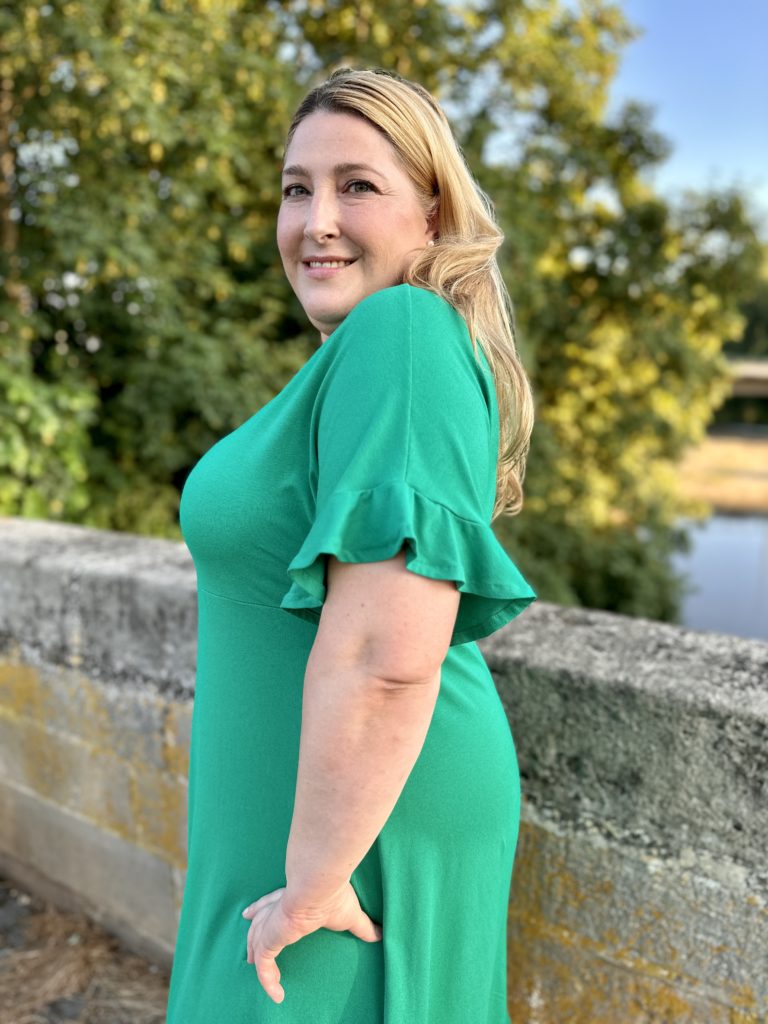
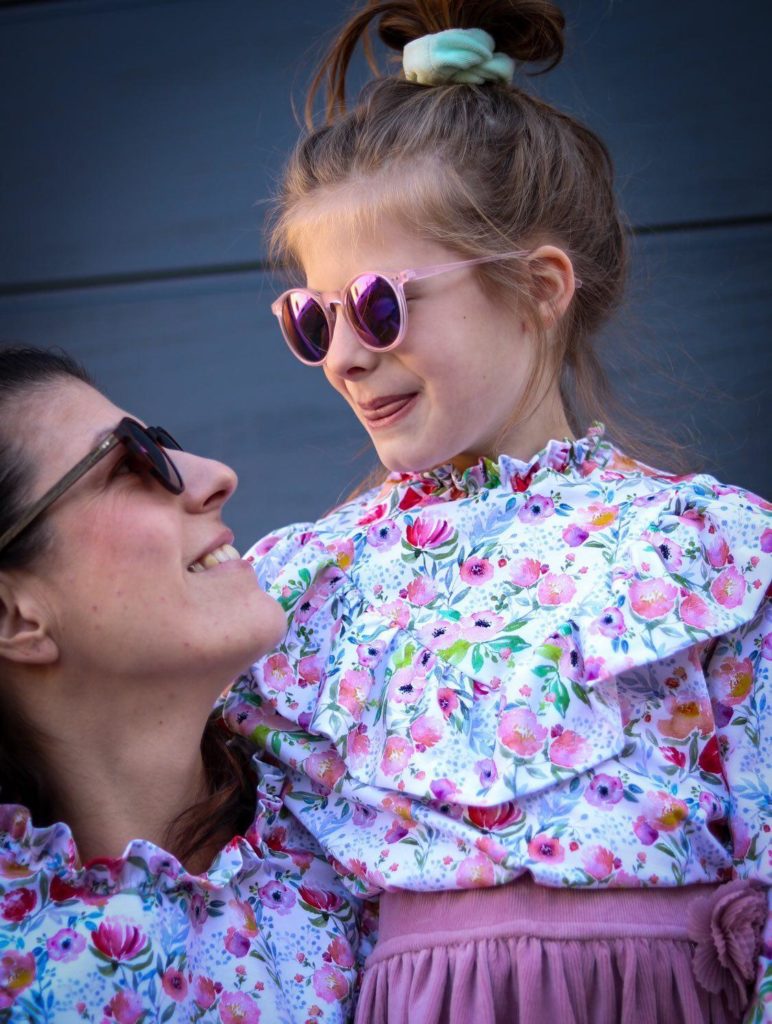
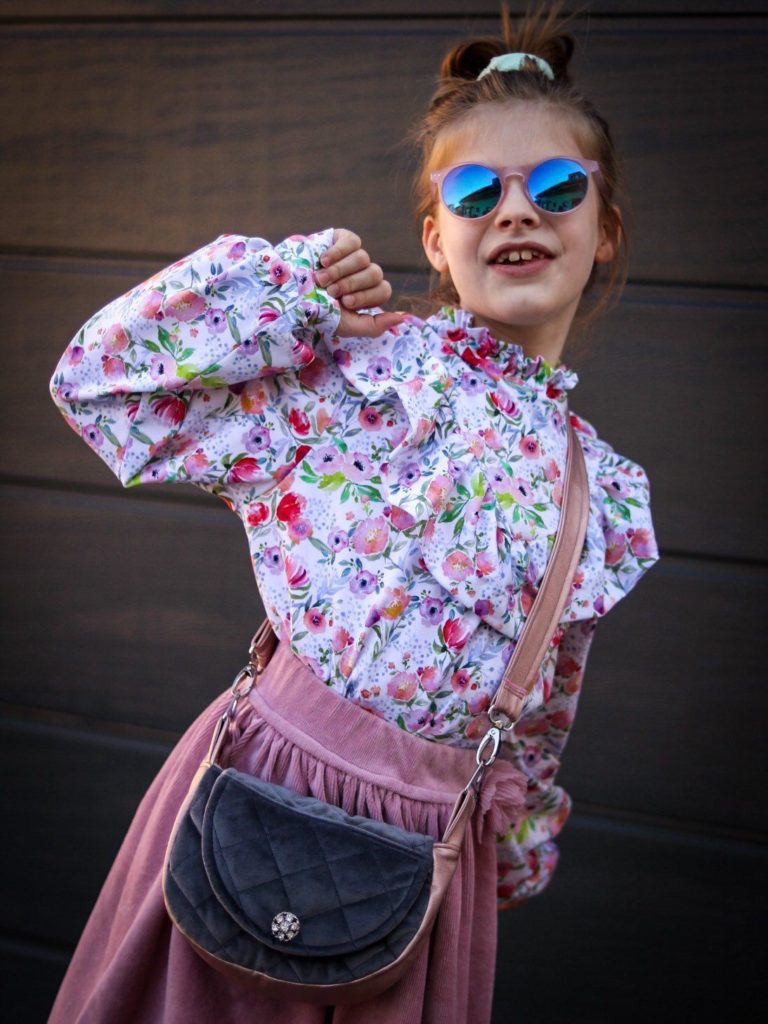
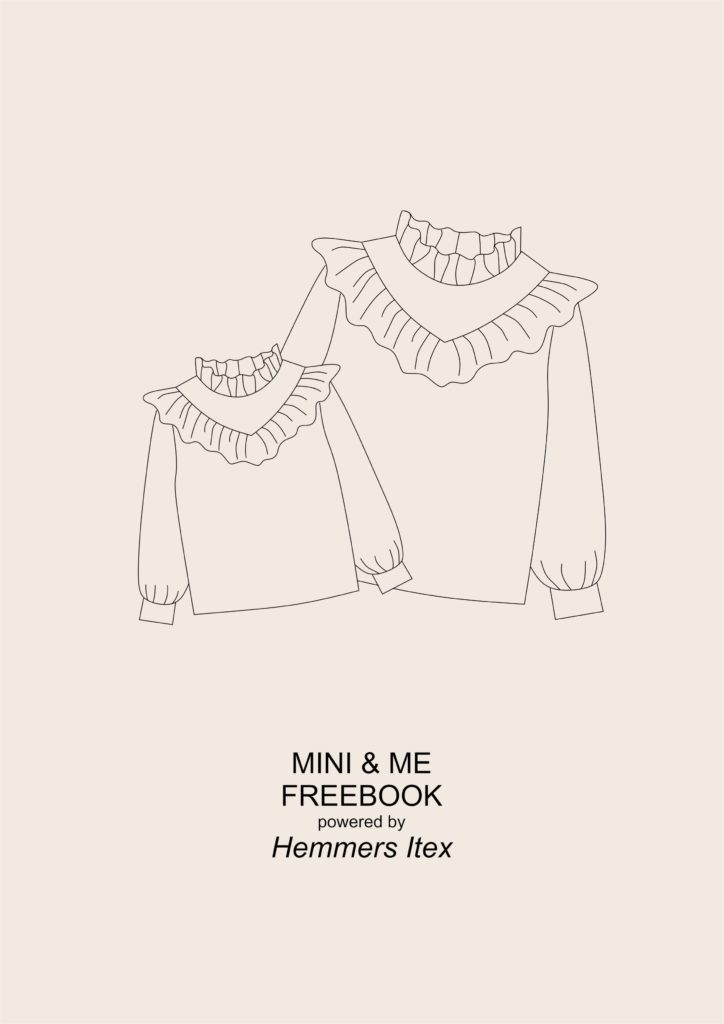
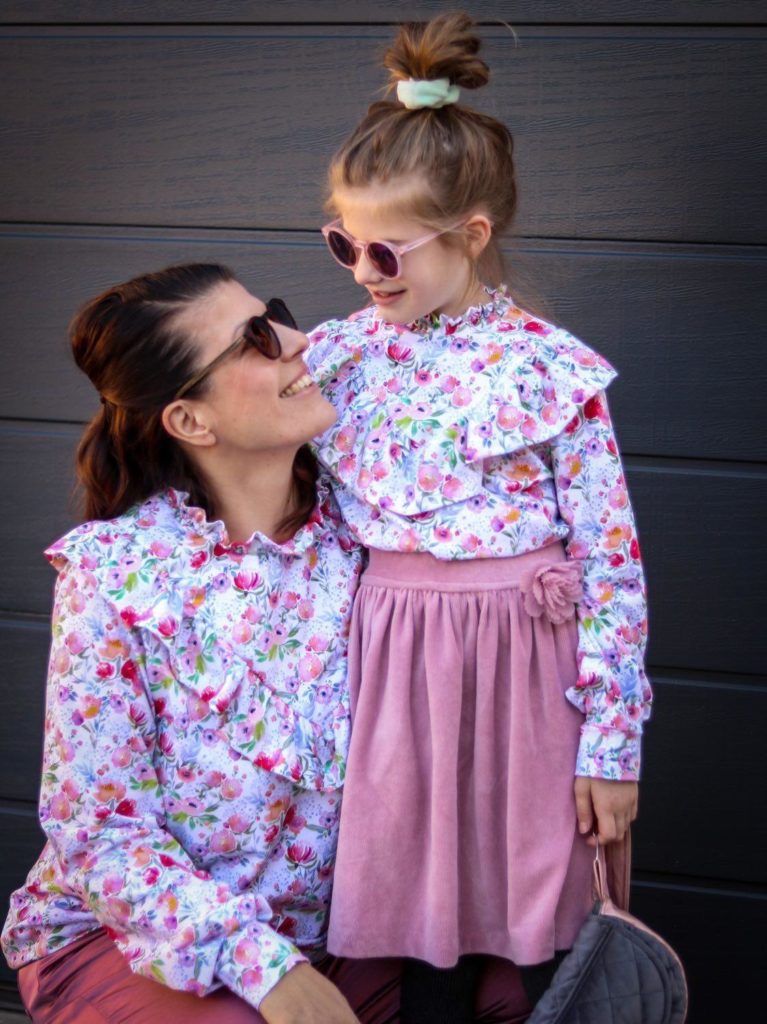
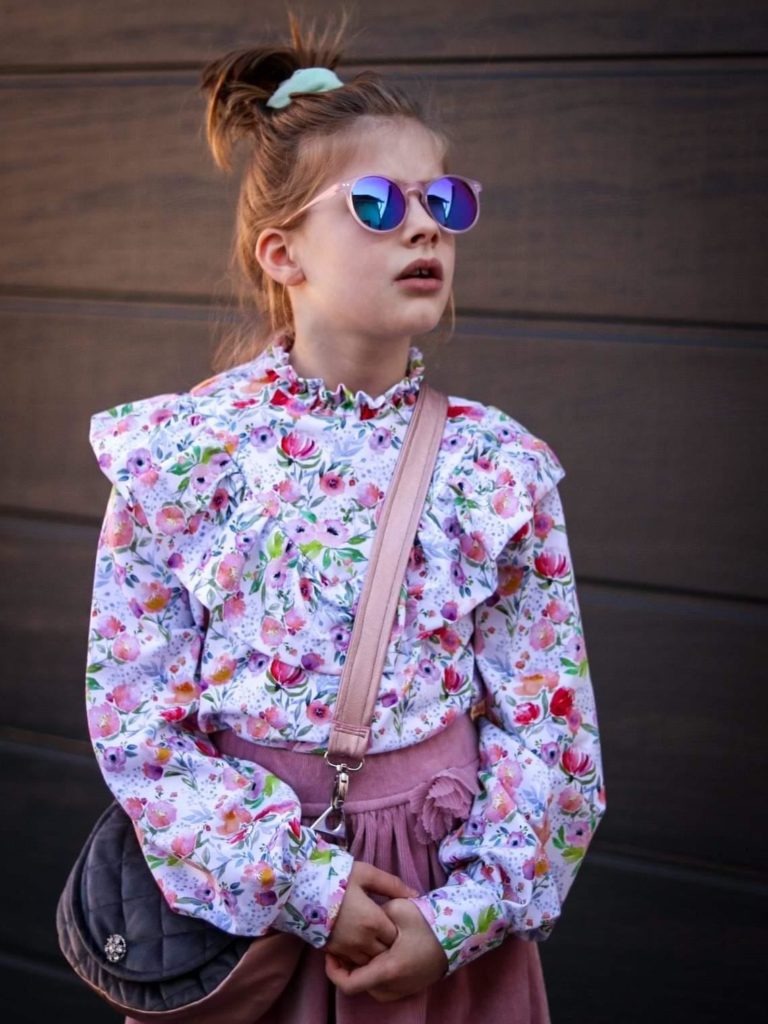
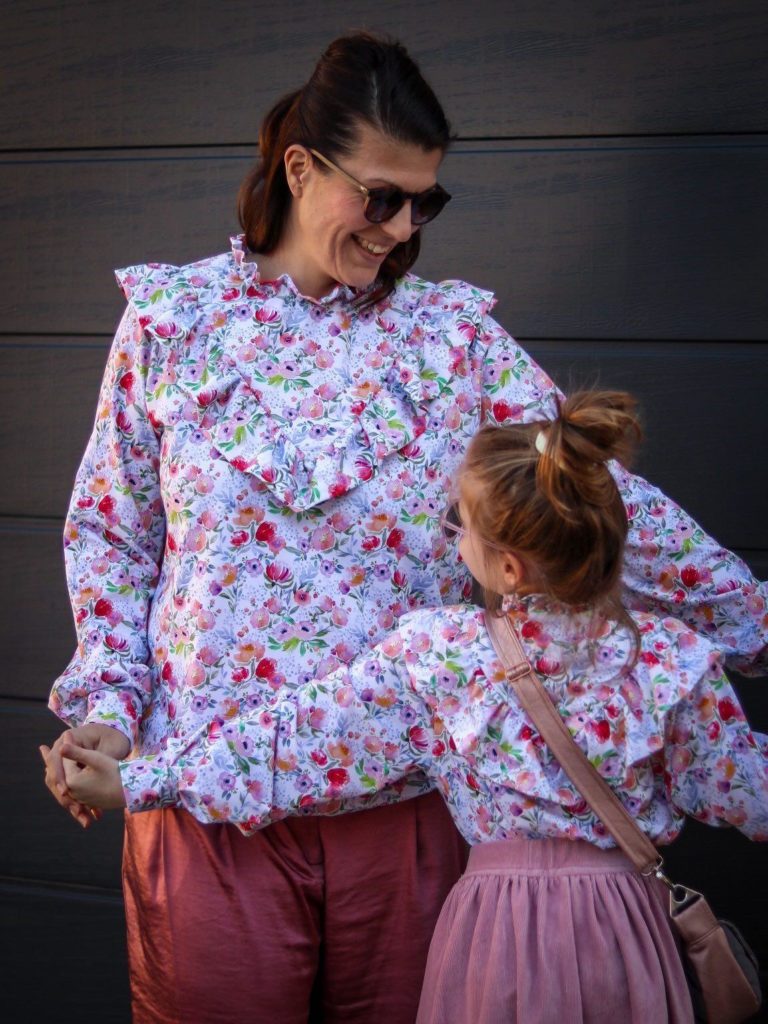
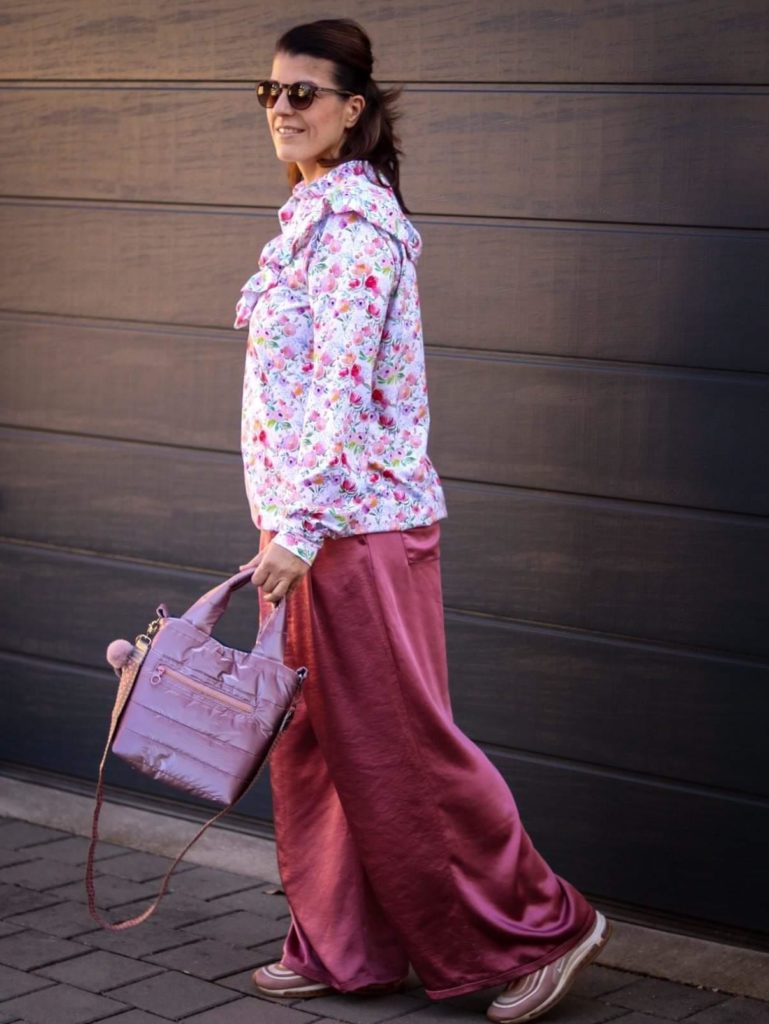
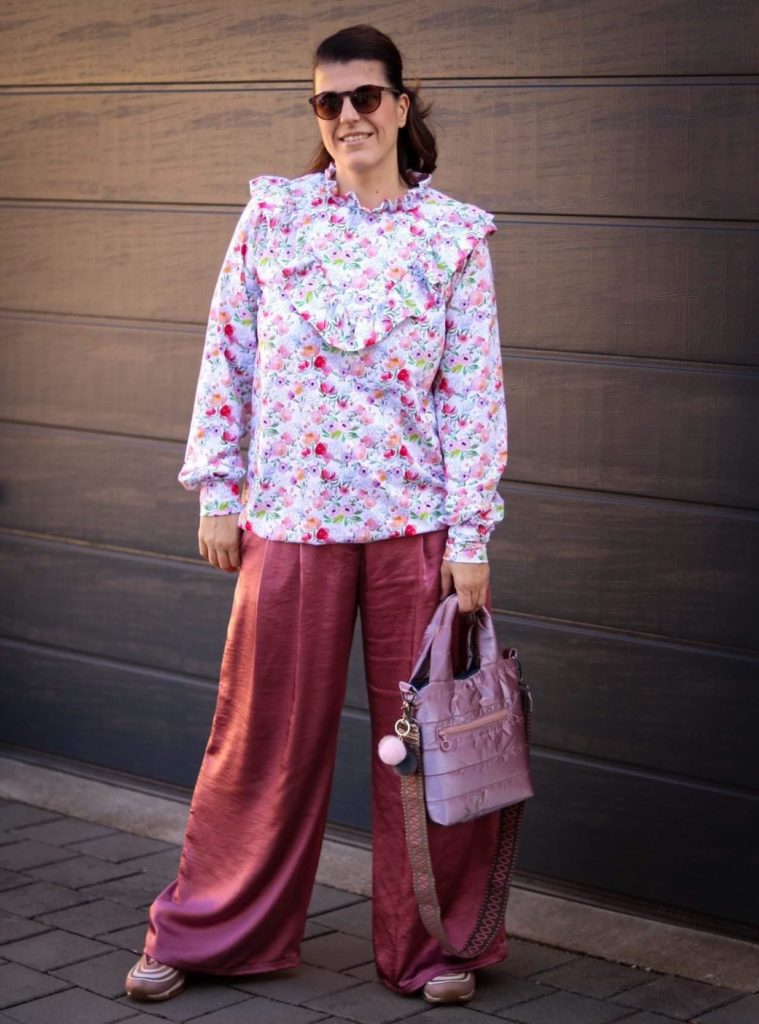
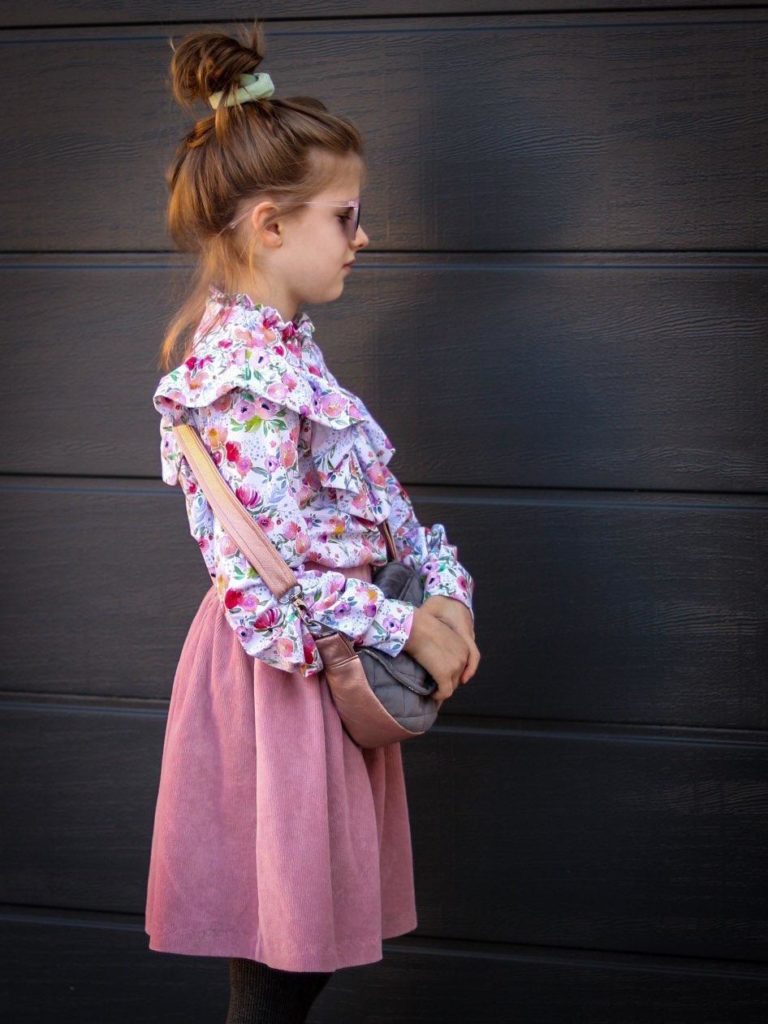
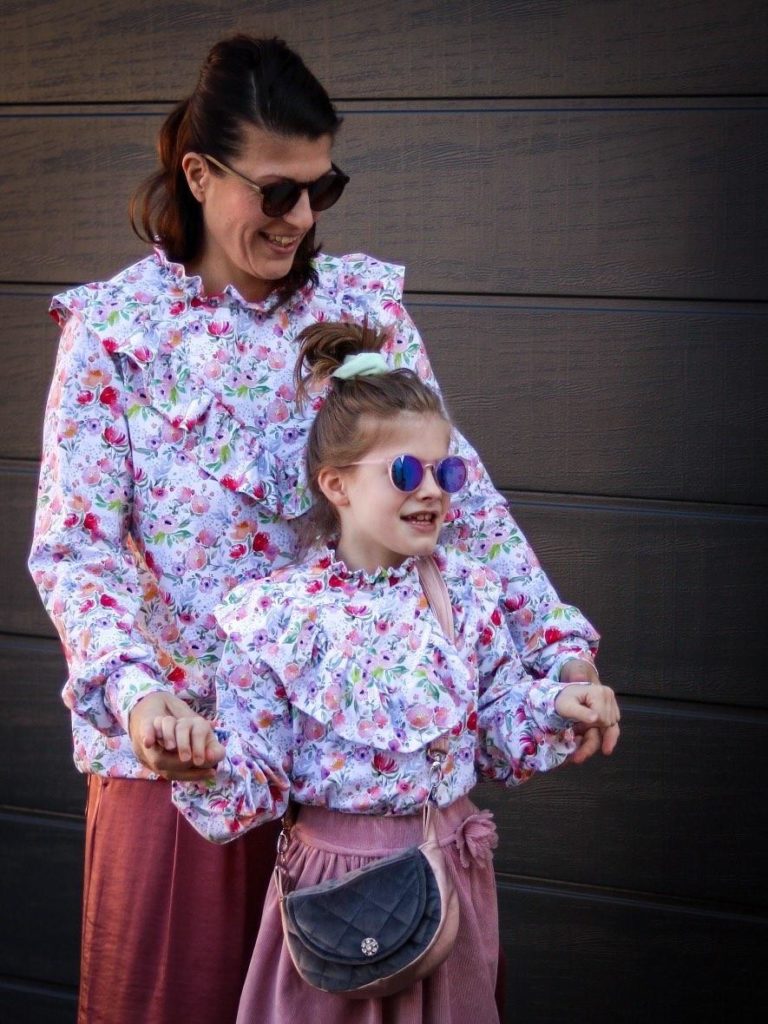
Nothing compares to the cuteness of a mum and daughter in a similar look! Little girls love copying their mums and wearing the same clothes. That’s why our Mini & Me blouse with frills is available in both sizes. It’s the sweetest partner look of the season!
By the way, we’re over the moon about the fantastic photos that Janine from @sew4me sent to us!
We’ve never had models this good!
FABRIC RECOMMENDATION
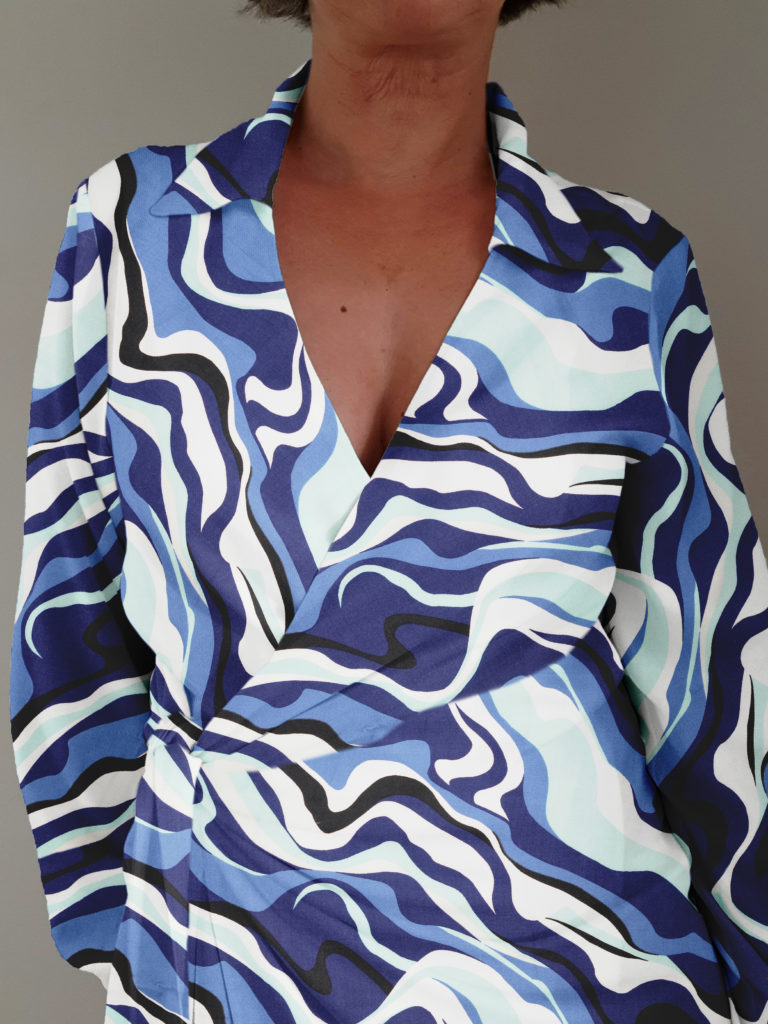
Janine sewed the dress from our Cotton Jersey Item No.: 206891
Both sewing pattern are designed for woven and stretchy fabrics.
Are you a fabric dealer? You can find a large selection of beautiful fabrics in different qualities on our online shop.
Fine viscose, viscose satin, but also French Terry or Double Gauze are made for this lovely sewing project!
MINI & ME BLOUSE FOR MUM AND DAUGHTER FREE PATTERN
The pattern is available from size 36 to 46 and from 104 to 140 cm.
The seam allowances are not included in the pattern.
Fabric consumption for both blouses: 3m
Download the free blouse for Mum and Daughter sewing pattern now.
If you have a photo, please post it on Instagram with the hashtag #miniandme and tag us @hemmersitex.
Both patterns are assembled according to this scheme:
A1…A4
B1…B4…


SEWING THE FRILLED BLOUSE
Please note: Use a piece of fabric to cut the front and back frills to measure.
Blouse made of woven fabric:
Back yoke
Serge the straight fabric edges. Measure around 3-4 cm from the bottom edge and mark the point with a pin. Fold the fabric edges together up to the marking and sew them together. Iron the seam apart.
Blouse made of elastic fabrics:
Cut the rear yoke to measure along the fold.
Place the front part on top of the rear part (small cut pieces with necklines), sew the shoulder seams and then serge.
FRILLS
Serge the frill edges.
Tip: It is not necessary to serge the edges of fabrics like Jersey or French Terry.
You can complete this step with a rolled hem if you have a serger.
If you are using a normal sewing machine – serge in a zigzag pattern, fold inwards by approx. 1 cm and topstitch close to the edge.
Place the frill strip with the wrong sides on top of each other and sew the short edges of the fabric together.
Then gather the strip at the long open edge.
Now pin the finished frill strip to the front and back yoke. You can initially sew the frill on with a staystitch.
Place the front part on top of the rear part (small cut pieces with armholes) and then sew the shoulder seams together. Serge the shoulder seam.
Then pin this part onto the upper part with the frill. Make sure that the centres of the two cut pieces are exactly on top of each other.
You now have three layers of fabric on top of each other with the frill in between. Sew the pieces together and serge the seam.
NECKLINE
While sewing our sample, we noticed that the collar has very little rigidity if very fine and light fabrics are used. As an alternative, we suggest using bias tape to edge the neckline. The neckline is cut without a seam allowance in this case.
Edging the neckline with bias tape.
Use the same fabric to cut a bias tape with a width of 4 cm and length of 1 m.
Mark the centre of the neckline and bias tape with pins.
Unfold the bias tape, pin the right sides to the neckline, starting at the centre and ending at the rear slit.
Stitch onto the fold.
Fold the bias tape over to the other side, pin everything carefully in place, including the loose end pieces at the back (binding tape).
Topstitch the bias tape around the neckline and the binding tape close to the edge.
SEWING THE FRILLED COLLAR
Fold the long fabric strips lengthwise, right sides together, then stitch the short fabric sides. Shape and iron the corners.
Gather the fabric strip, pin onto the neckline and sew in place. Topstitch from the right so that the collar points upwards.
Alternatively: blouse made of elastic fabrics:
Neckline cuff: Width (incl. seam allowance) 7 cm, length: 5 cm shorter than the neckline.
Fold the cuff with right sides together, then stitch the short fabric sides together. Fold lengthwise, stretch and then sew.
SLEEVES
Pin the sleeves to the armholes the right sides together and then serge the seam.
Close and serge the sleeve and side seams.
Serge the sleeve hem edges. Iron inwards, then topstitch and leave a small opening for the elastic band.
Insert the elastic band. Stitch the ends of the elastic band together. Close the opening.
Alternatively: Create the hem using a cuff or collar made of the same fabric.
BLOUSE HEM
Serge the edge of the blouse hem, iron inwards and then topstitch. All done! The stylish Mini & Me outfit is ready for your first outing!
Nordhorn Cap
DIY Gauze Blouse
Shirt pattern
Wooli Jacket
Coat
Birte dress
Wrap dress
#sewwonderfully
Curvy sewing
Leonie pants
Wide leg pants
A dress for Andrea
Tunic dress
Dress Maren
Sewing with woven fabrics

