Sew a cosmetic bag with ruffle
A cosmetic bag is a cosmetic bag. Sometime bigger, sometimes smaller – essentially it’s just plain and unremarkable. The main thing is that it’s practical!
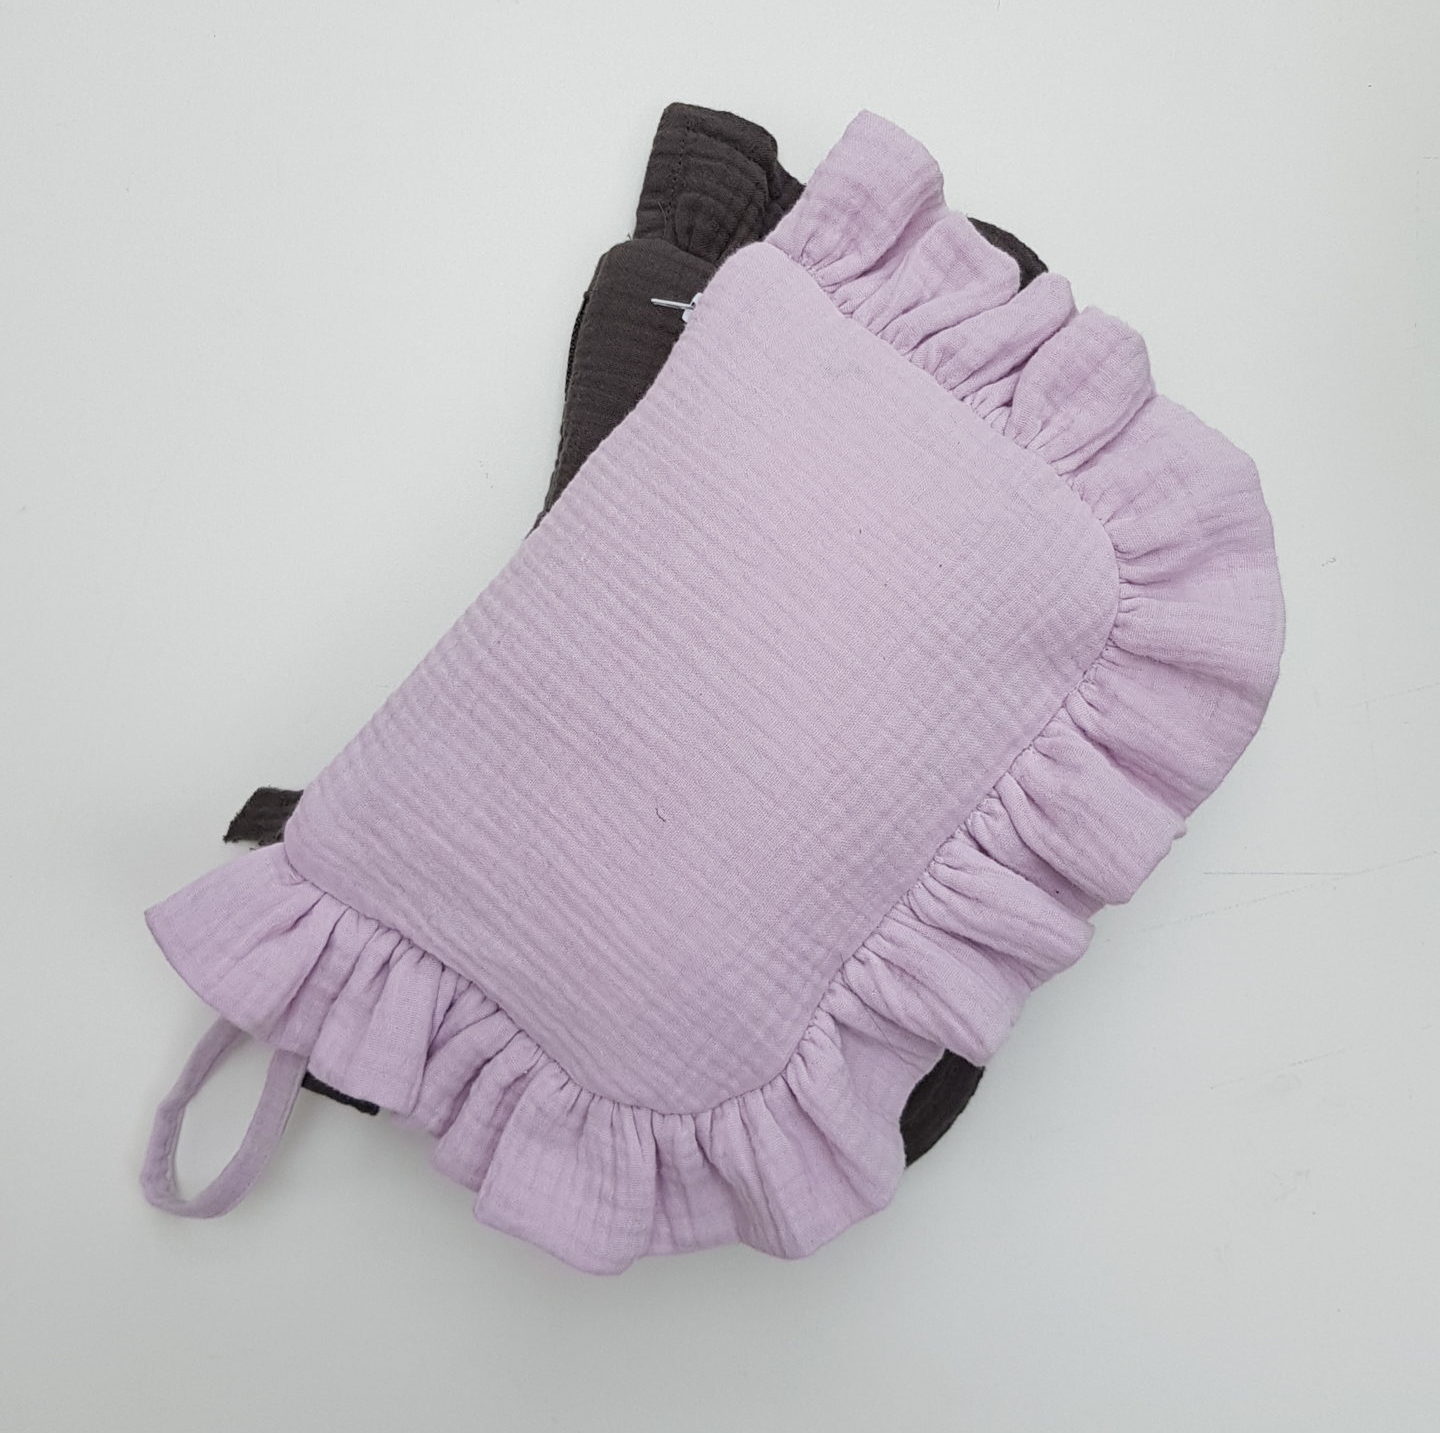
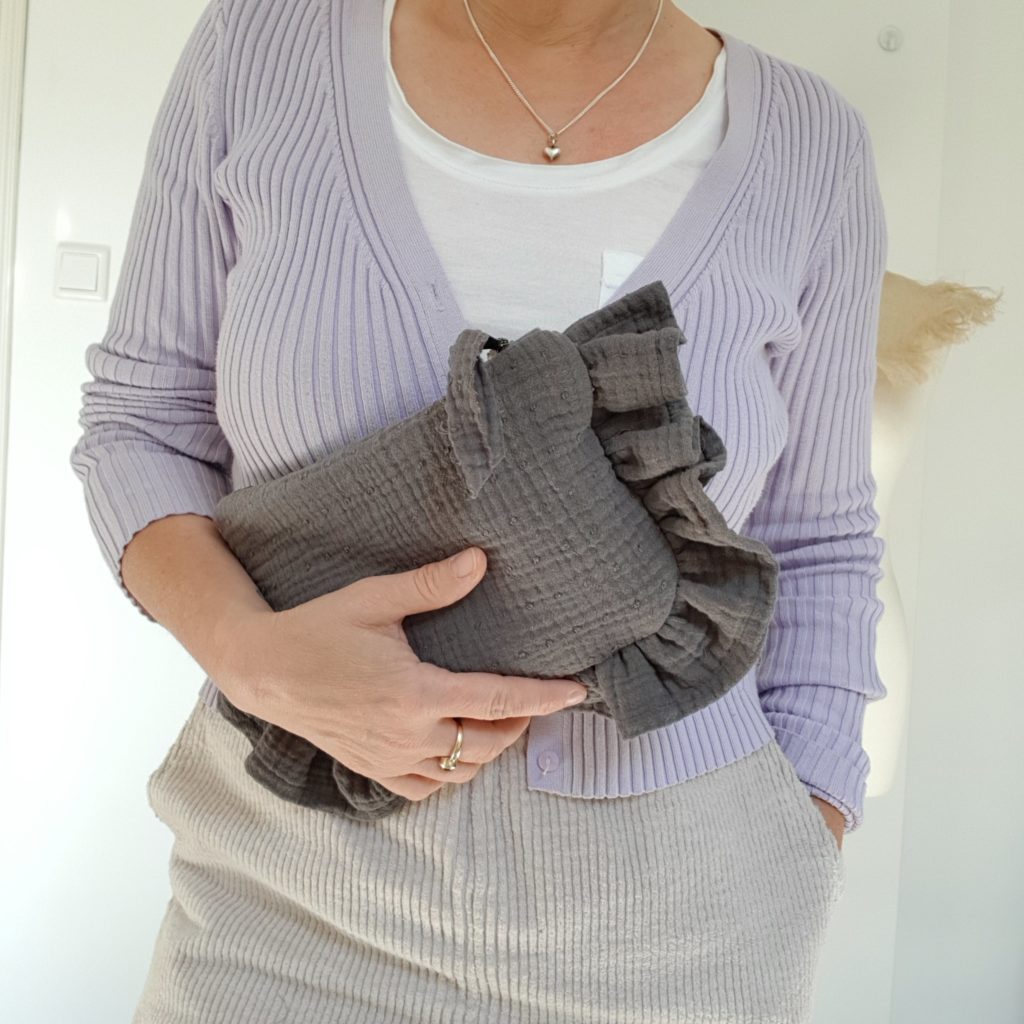
I sewed by new cosmetic bag from muslin remnants.
Originally I intended it just as a place to keep my toothbrush etc, but the ruffle turned the cosmetic bag into a little beautiful little pouch!
Muslin gives the bag a sunny charm and that holiday feeling! Thanks to the ruffle, it is super playful and girly.
I love this summery boho look! My small muslin pouch is bound to accompany me to the beach or restaurant as well.
Do you fancy trying something new?
Today I’m going to show you how you can turn a simple cosmetic bag into a respectable everyday bag or even a pretty clutch.
RECOMMENDED FABRIC
The grey cosmetic bag was sewn using Double Gauze Dobby Product number 206695
The purple one was made using Double Gauze Product number: 200043. We stock this fabric in 36 colours. Are you a textile merchant? Then take a look at our shop!
You can make this cosmetic bag out of so many fabrics – patterned cotton fabrics, linen, denim, poplin and also imitation leather.
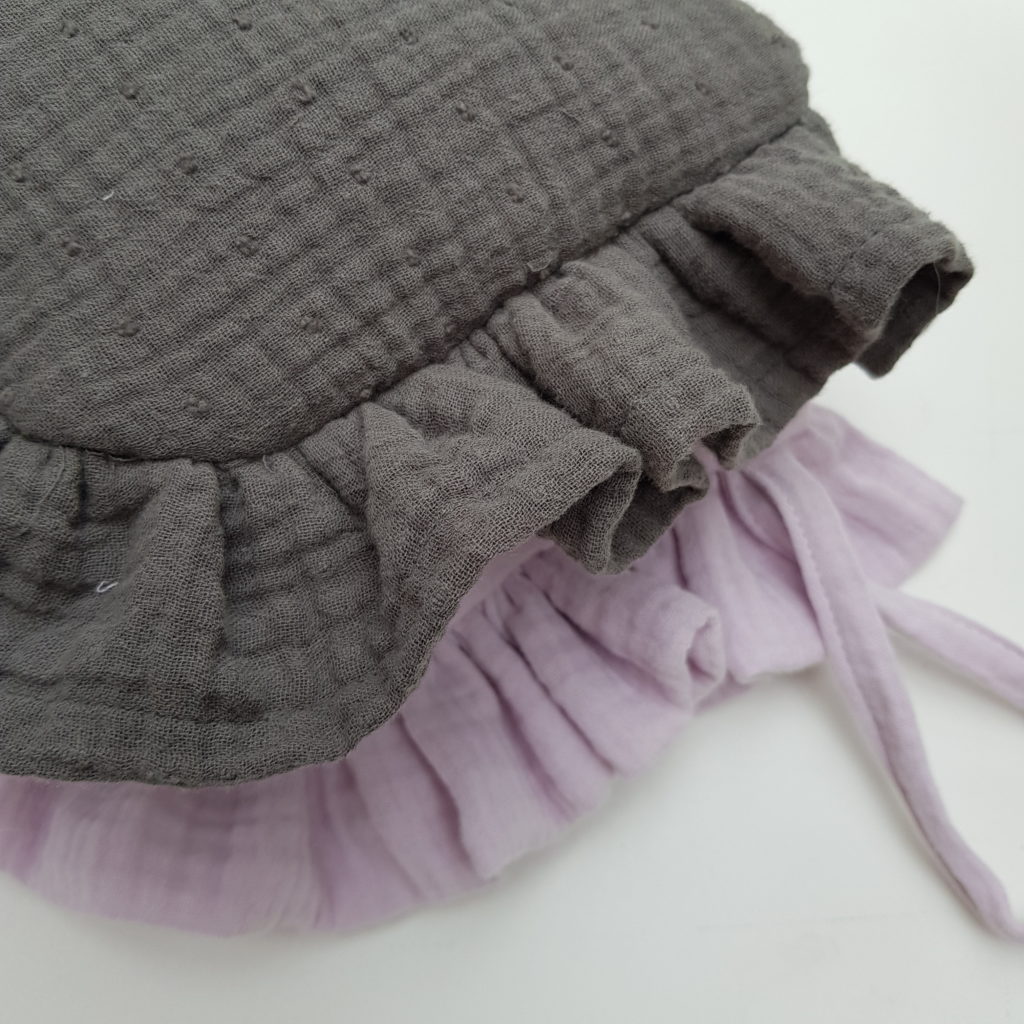
COSMETIC BAG WITH RUFFLE PATTERN
Download the free cosmetic bag with ruffle pattern now.
If you have a photo, then please post it on Instagram and tag us @hemmersitex.
The seam allowance of 0.8mm is included in the pattern.
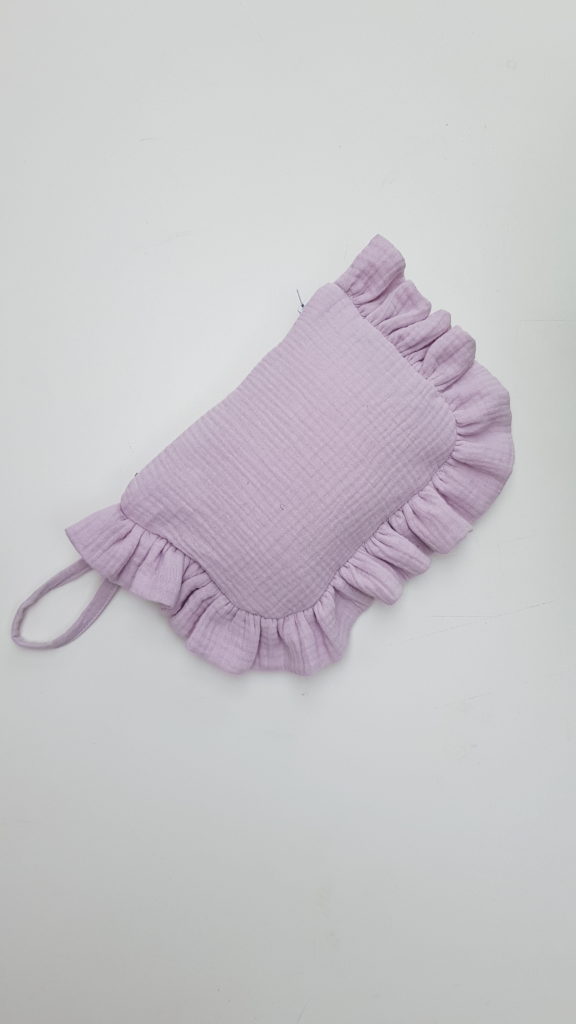
SEW A COSMETIC BAG WITH RUFFLE
Material list:
The finished bag with ruffle is approx. 31cm wide and 20cm high. The zip is 18cm long (length of the zipper teeth).
Zip length with both zipper tabs: 20cm
Outer fabric: 50 x 20cm
Lining: 50 x 20cm
Ruffle: 10 x 90cm (incl. seam allowance)
Volume fleece: 50 x 20cm
SEWING
Volume fleece
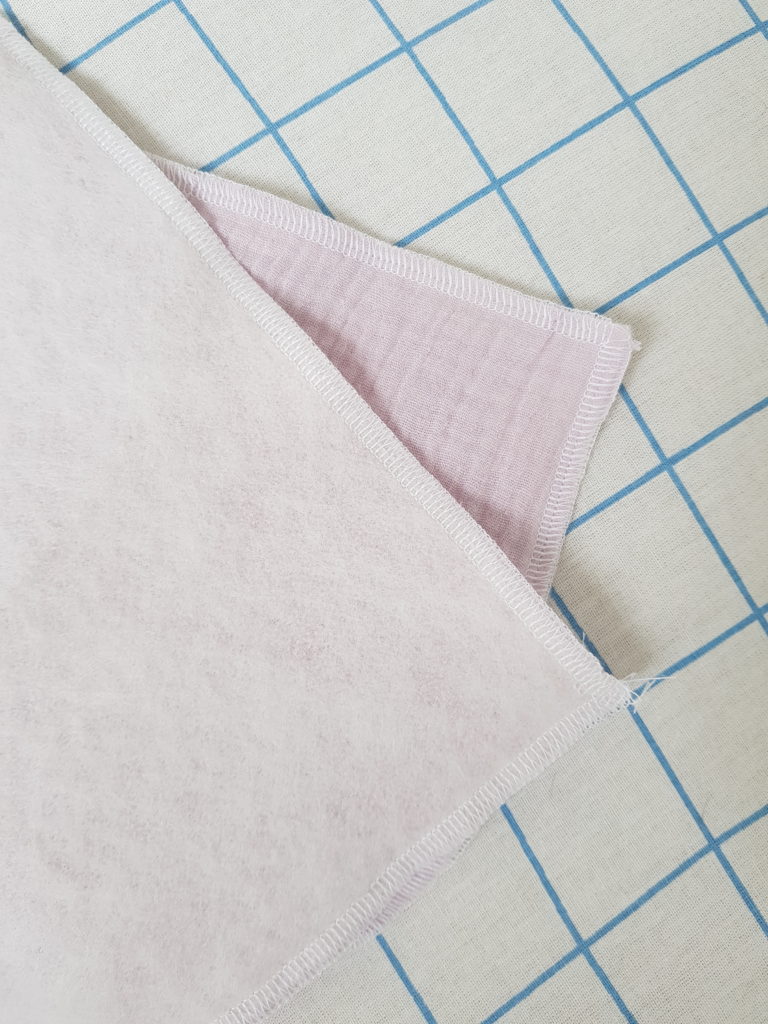
Volume fleece is not ironed, but stitched together with the outer fabric by hand. Alternatively you can use an overlocker for this.
If you’re using the machine, make sure that the sewing foot pressure is not too high, otherwise the muslin fabric will be “flattened out” by the overlocker and will change size.
Zip
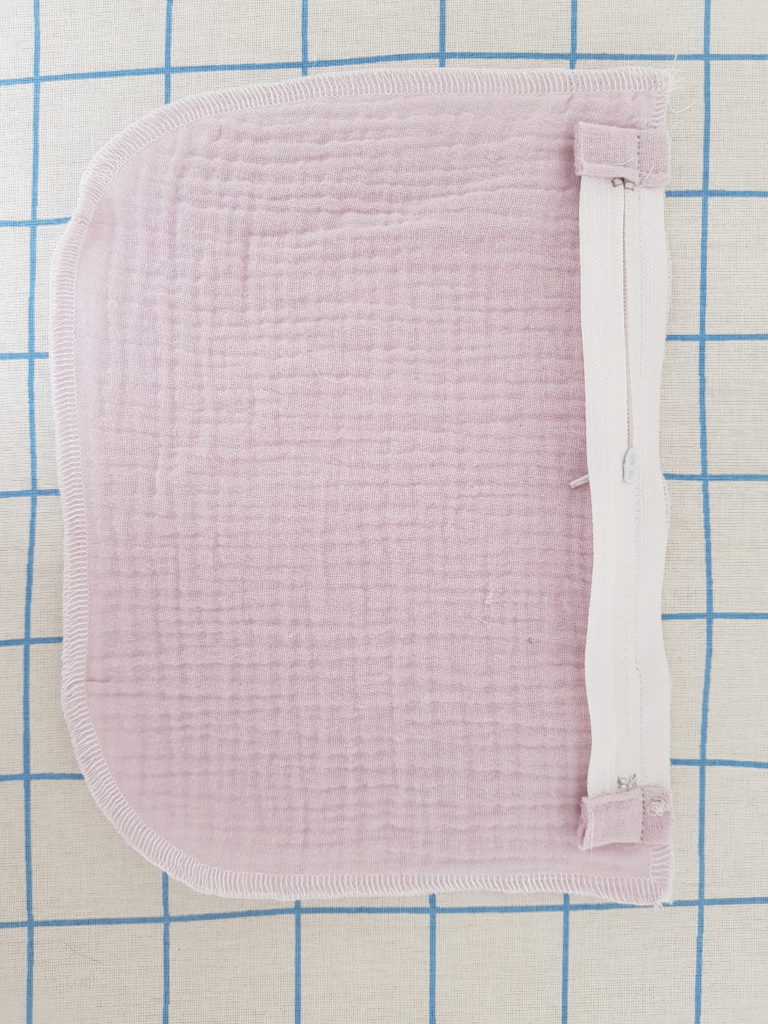
For a neat finish, I recommend that you include zipper tabs for the ends of the zip. There are definitely several methods of doing this, but I prefer this one here, where the end pieces are edged with the same fabric. This means that you get a neat finish once you’ve turned it and you still have enough room to sew to the side.
Sewing in the zip: Pin the zip to the top edge of the outer fabric, right sides together, and sew. Repeat on the other side.
Ruffle
Fold the long fabric strips lengthwise, right sides together, then top stitch the short fabric sides, turn right side out and shape the edges.

Gather up the ruffle along the length of the semi-circular fabric edge of the pattern piece and pin to the pattern piece. Make sure that the ruffle is positioned just below the seam of the zip. Sew on the ruffle on the short edge.
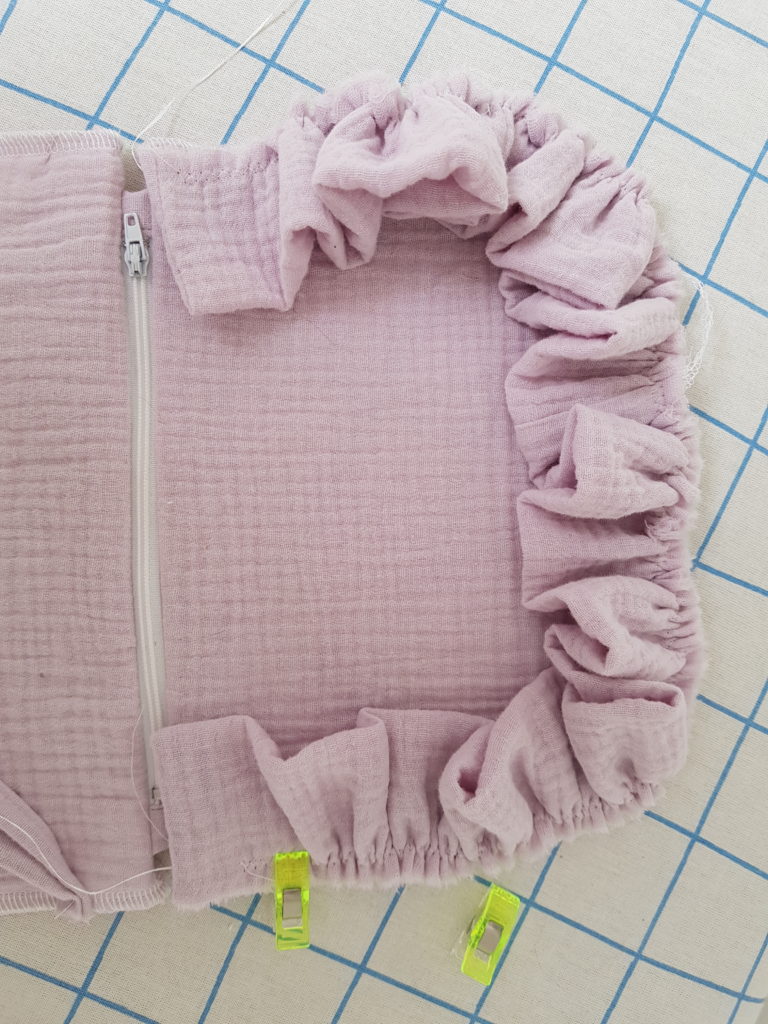
Gather up the ruffle along the length of the semi-circular fabric edge of the pattern piece and pin to the pattern piece. Make sure that the ruffle is positioned just below the seam of the zip. Sew on the ruffle on the short edge.
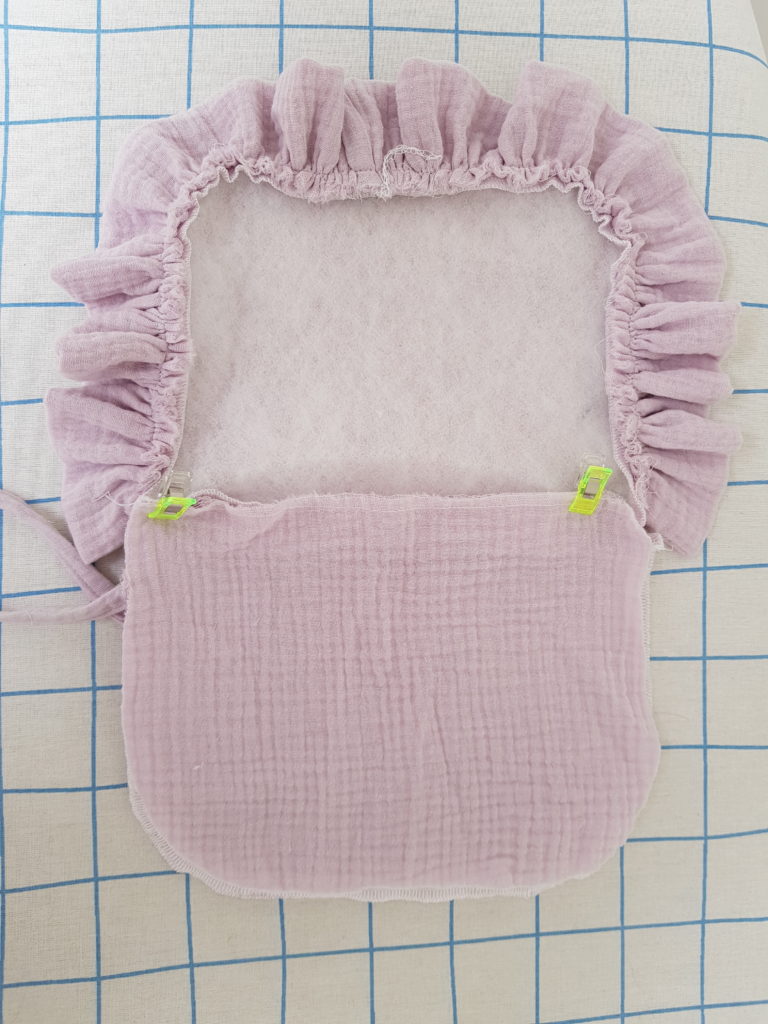
Open the zip. The bag will later be turned over through the opening.
Unfold the fabric pieces so that both outer fabric pieces and the two lining pieces are both right side to right side.
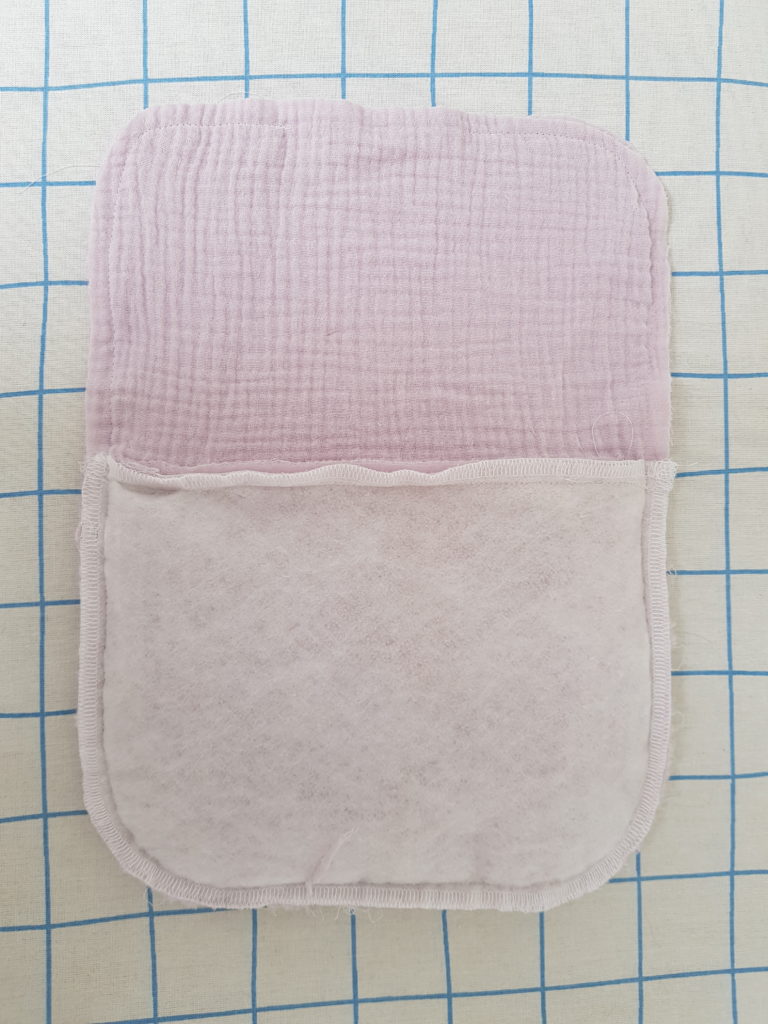
Mark an opening in the bottom of the bag (lining).
Sew all round, the width of the presser foot. Turn the bag; close the opening. Finished!

Nordhorn Cap
DIY Gauze Blouse
Shirt pattern
Wooli Jacket
Coat
Birte dress
Wrap dress
#sewwonderfully
Curvy sewing
Leonie pants
Wide leg pants

