DIY PICNIC BAG – SEWING PATTERN
Summertime is travel time and no matter how far away our travel destinations are this year – one thing is clear, without provisions, and organisation nothing goes well when traveling!
Whether a picnic in a city park, a relaxed afternoon on the riverbank or a long road trip. Your pack up of drinks, fruit, sandwiches and sweets all needs to be transported safely (and of cause beautifully!).
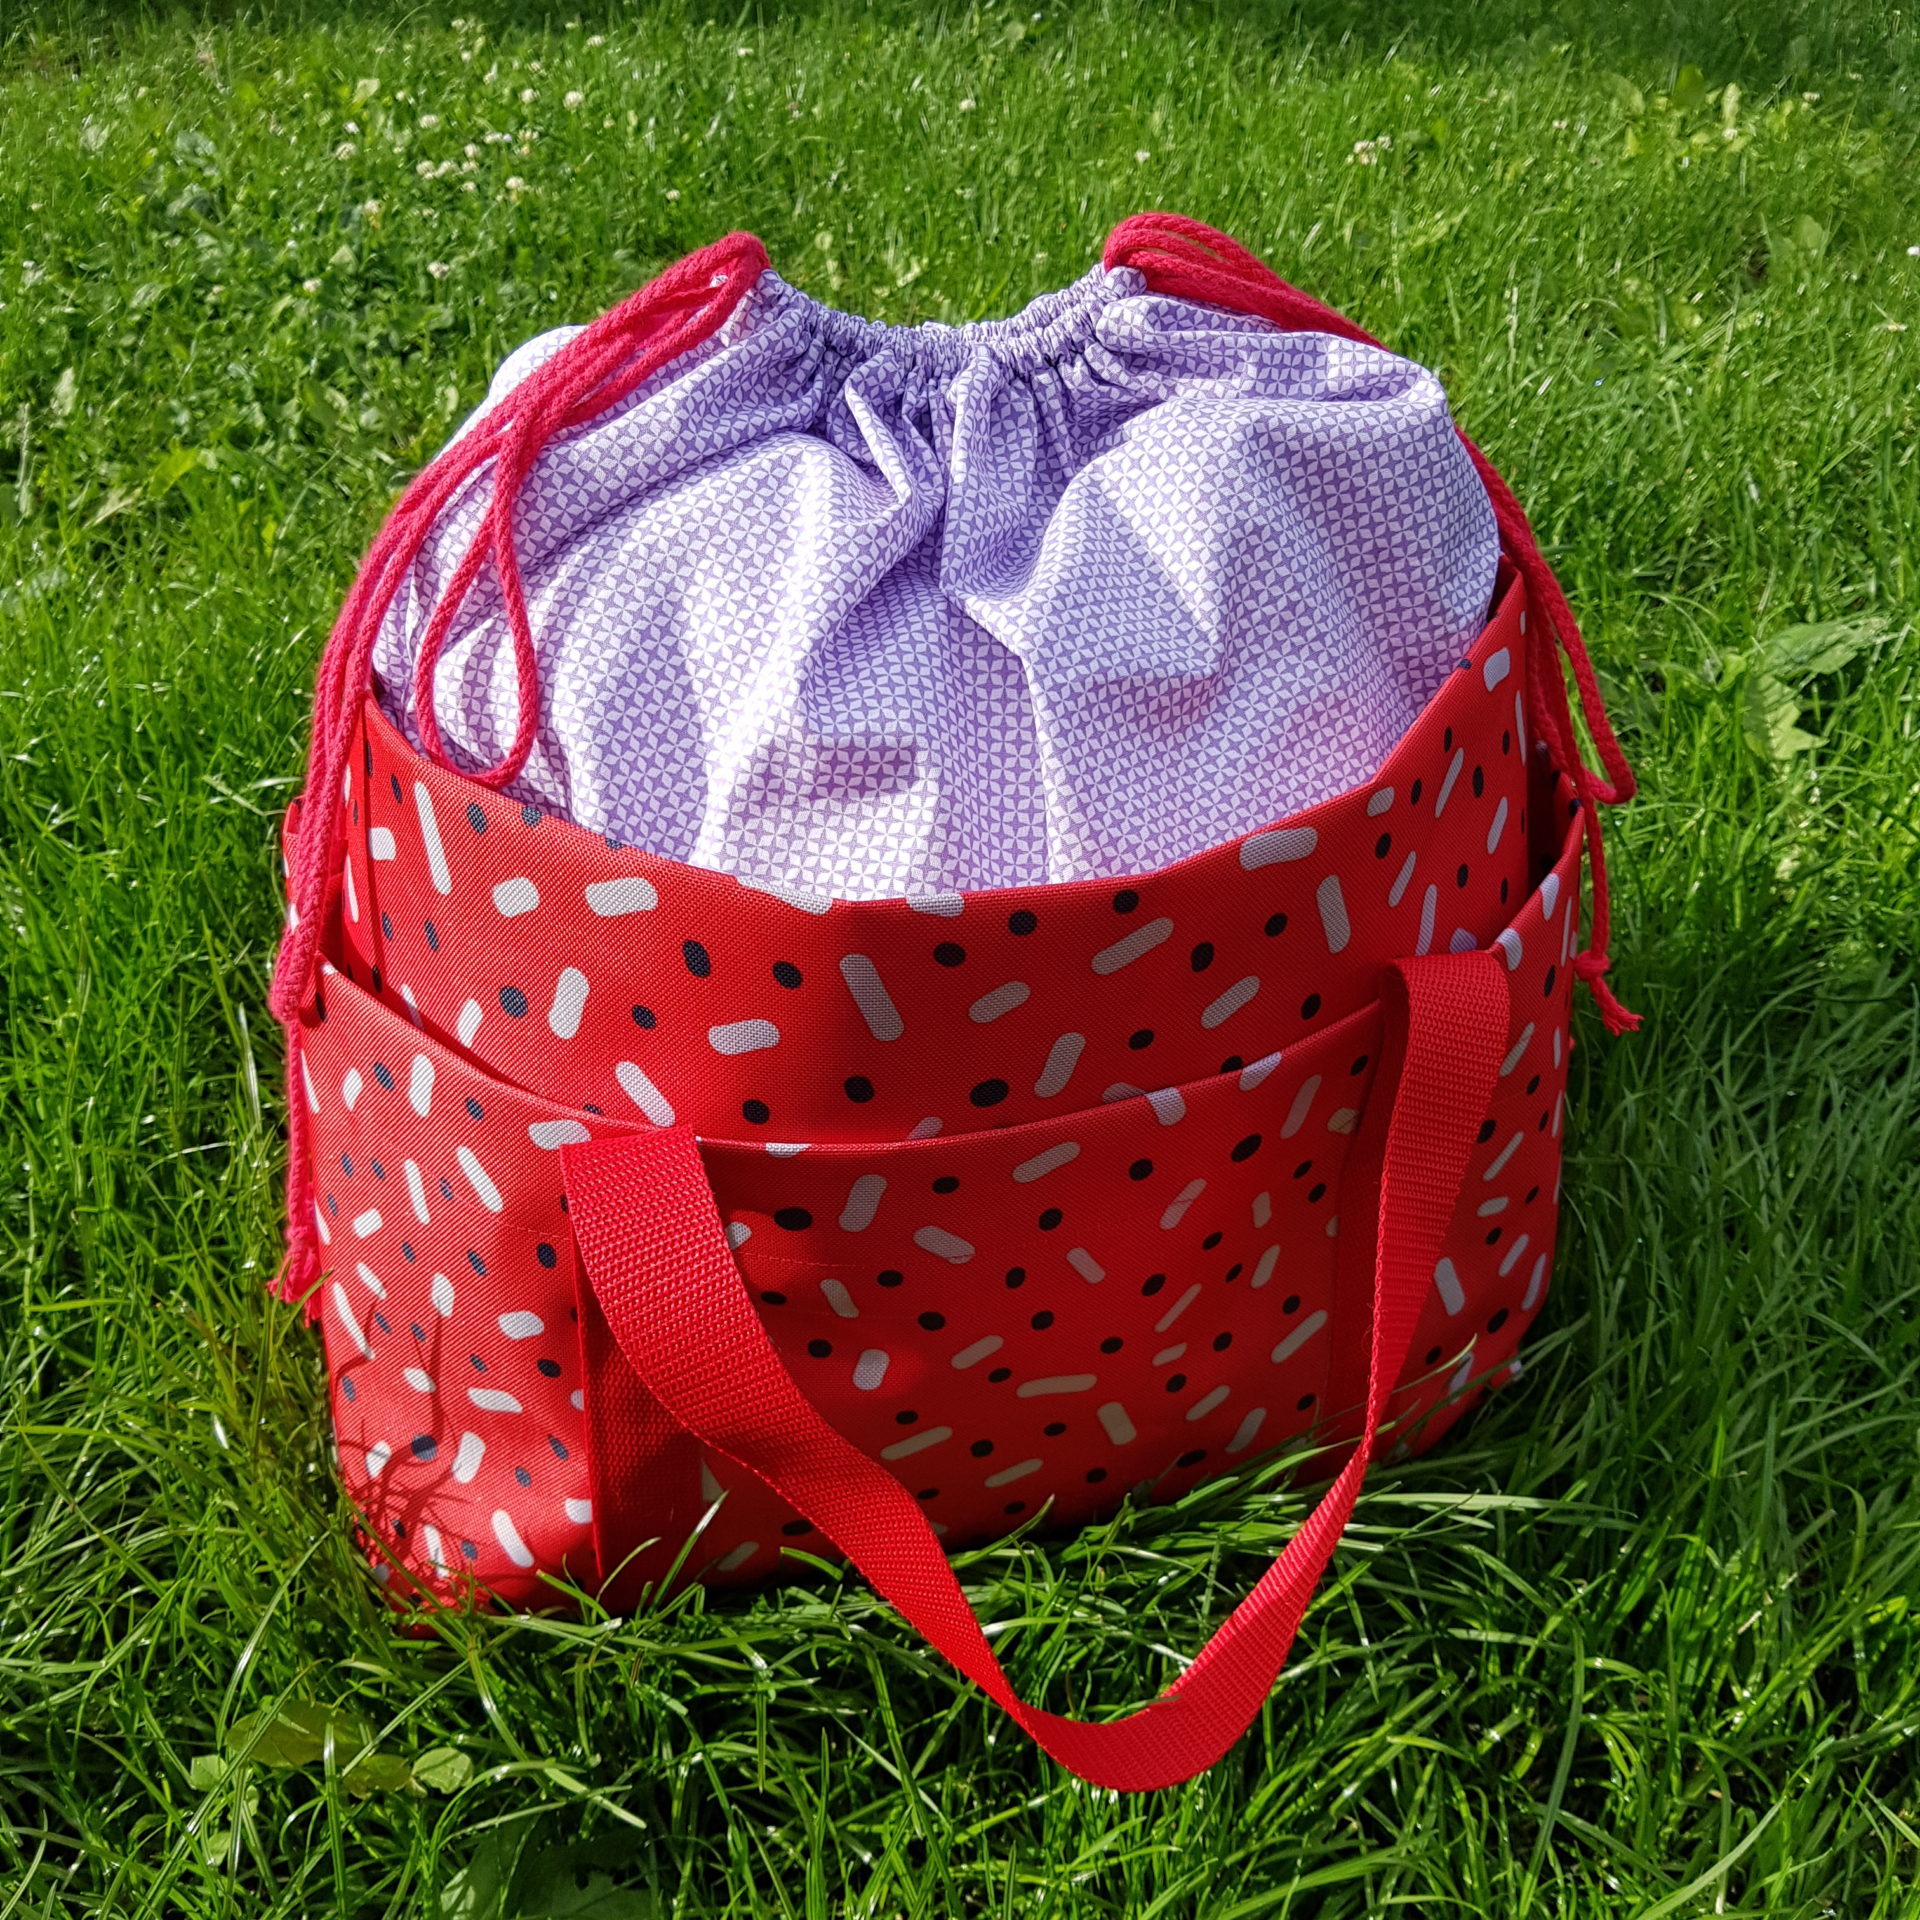
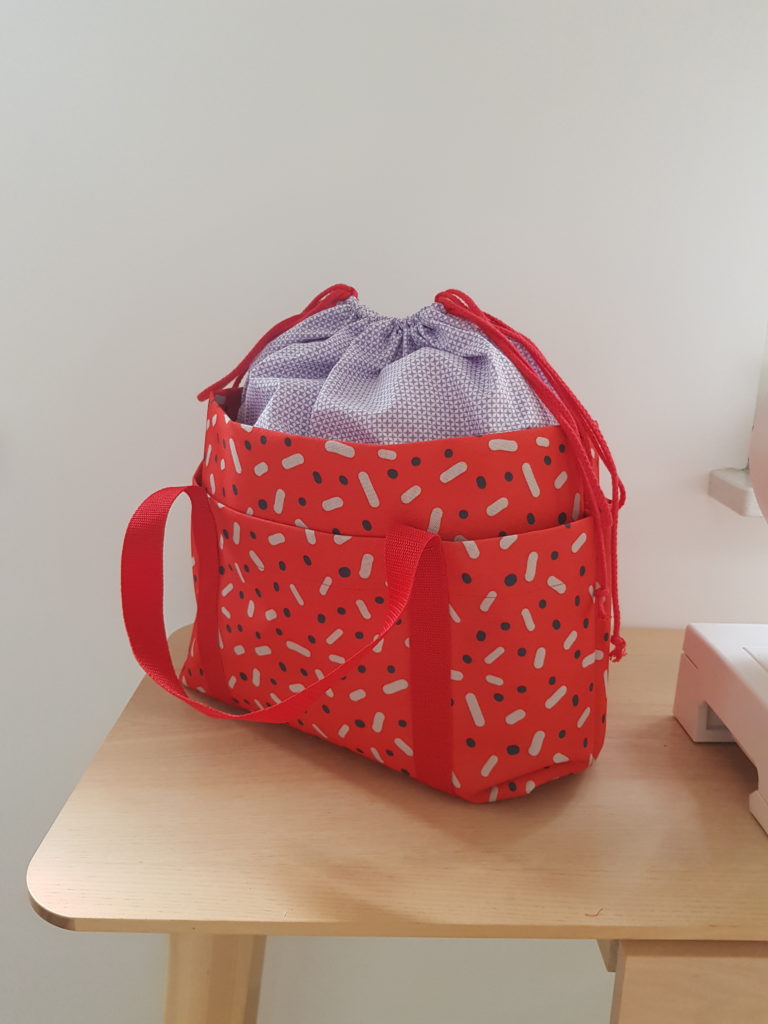
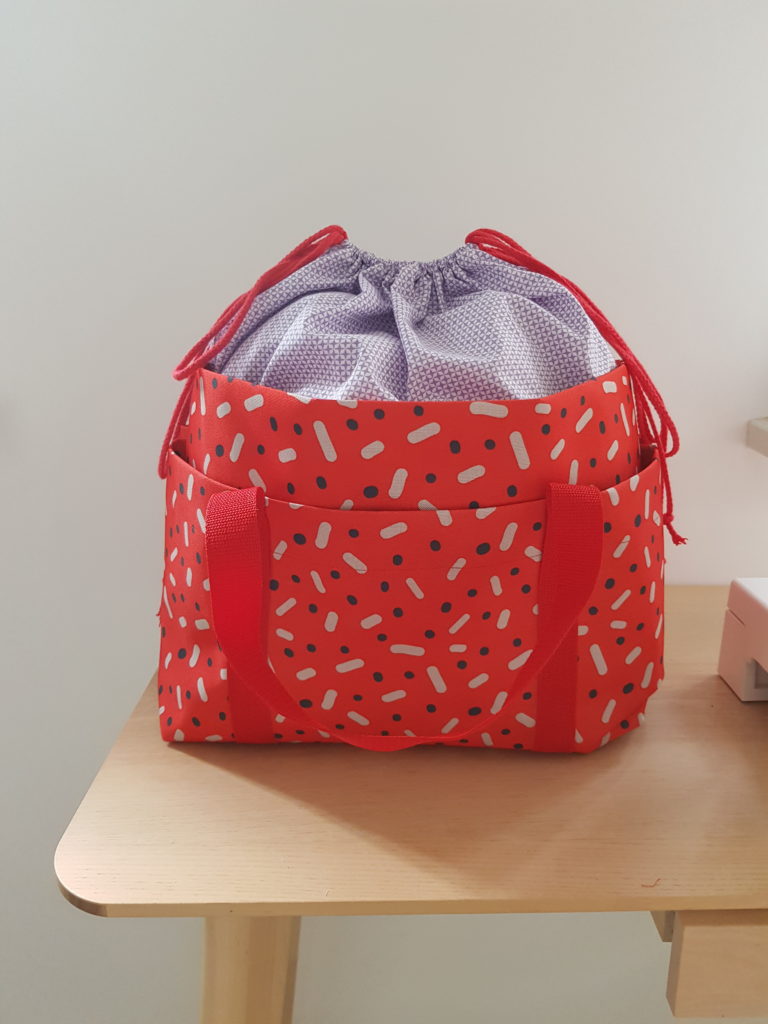
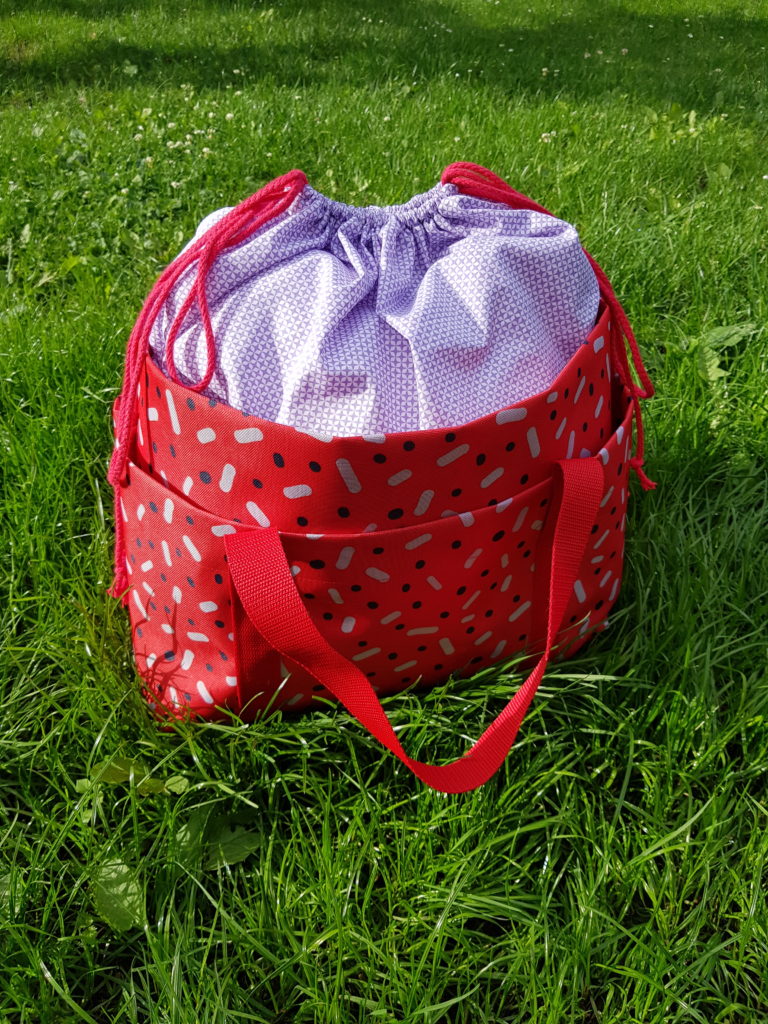
Our DIY picnic bag is big enough to store everything. At the top it can be tightened with a cord, so insects or sand have no chance to get in! In the front of the bag, there are additional compartments in which bottles can be stored upright.
FABRIC RECOMMENDATIONS
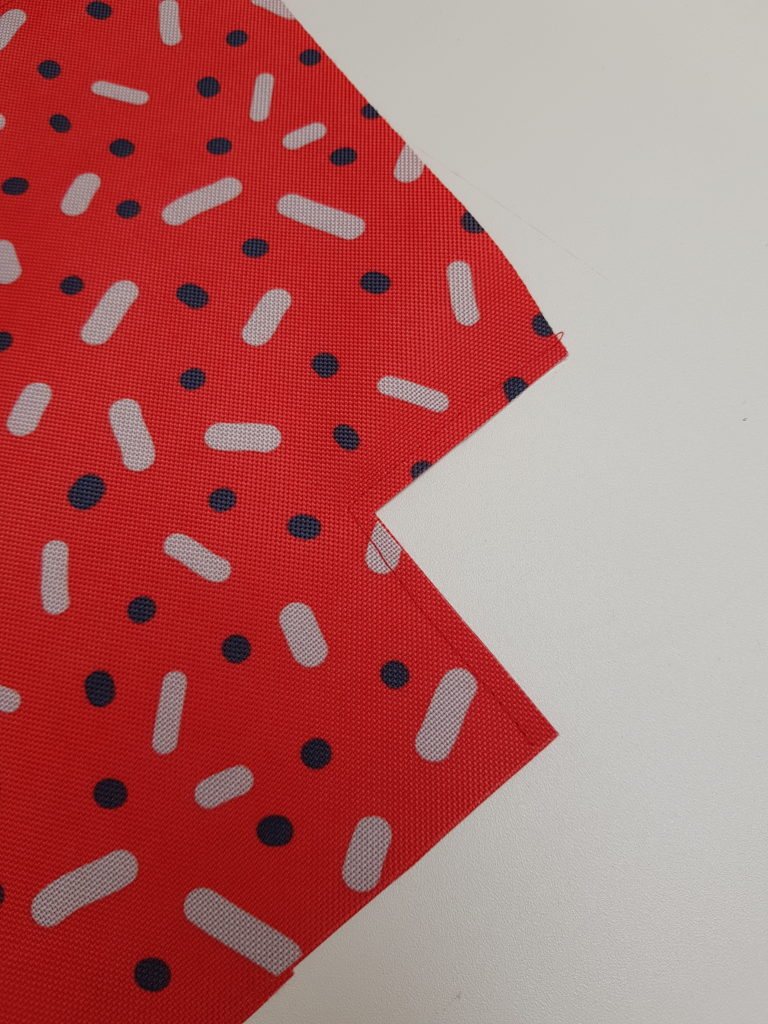
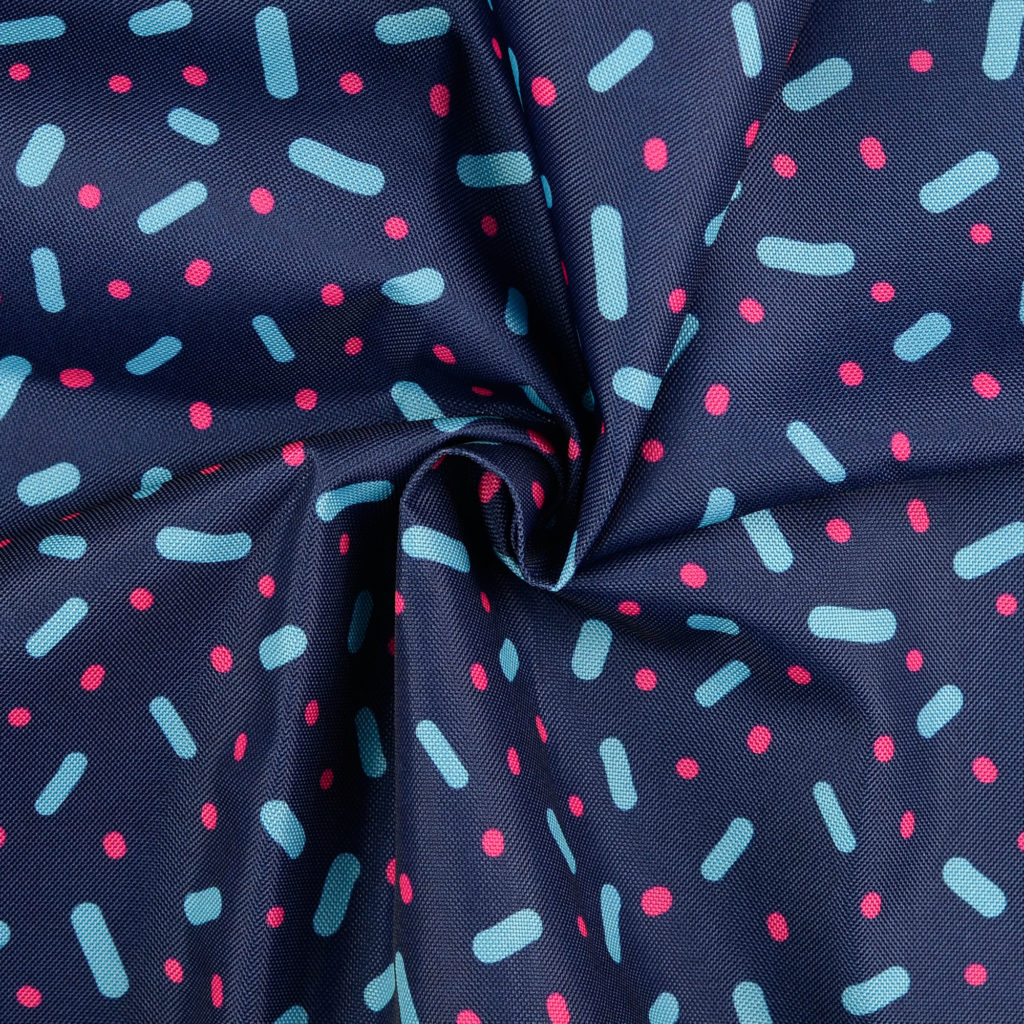
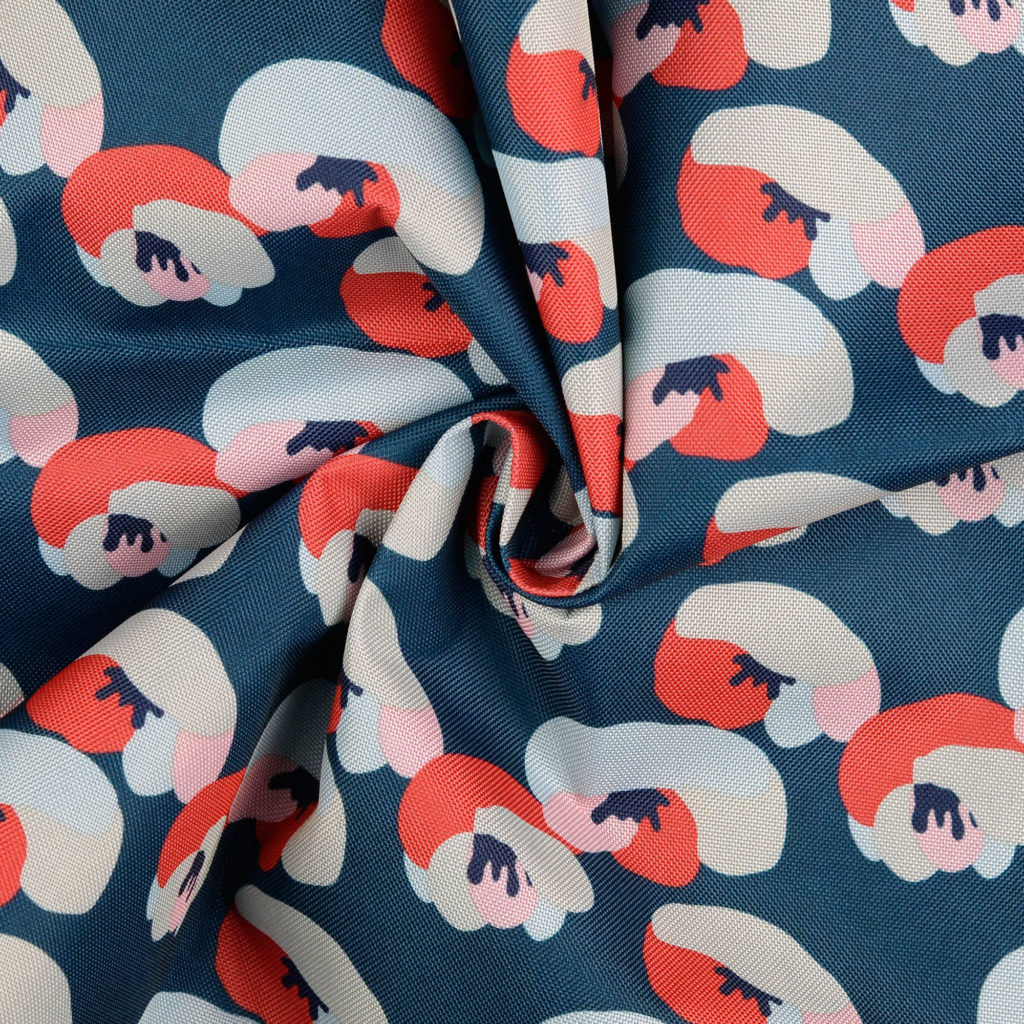
We sewed our picnic bag from a printed canvas that has a PVC coating, item no: 132567. The fabric is robust, very stable and has a wonderful, print. The wrong side of the fabric is smooth and can easily be wiped with a damp cloth or even washed under running water. The fabric is ideal for bags and various DIY outdoor projects.
Are you a fabric dealer? You can find more beautiful bag fabrics on our online shop!

SEWING PATTERN
Download the free picnic bag pattern now. If you have a photo of your finished make, please post it on Instagram and link us to @hemmersitex
The pattern consists of 12 x A4 pages, which have to be put together as follows:
1-2-3
4-5-6
7-8-9
10-11-12
PLEASE NOTE! The seam allowances are already included in the pattern.
The finished bag is approx. 35 x 30 x 10 cm (W x H x D)
MATERIAL:
1 m canvas with PVC coating
Cotton fabric approx. 0.4 x 0.95 mt
Cord: approx. 2.1 mt
Picnic bag sewing instructions
Fold parts A and B inwards along the fold lines and carefully iron them. To be on the safe side, you can cover the fabric with a cloth.
Topstitch the covers of the two shorter bag parts (part B) approx. 4 cm from the folded edge.
Place part B on top of part A, right sides together, and first only sew the bottom corners and possibly the bottom seam together close to the edge.
Transfer the markings for the bag strap to part B.
Position the belt in the middle of the marking and sew.
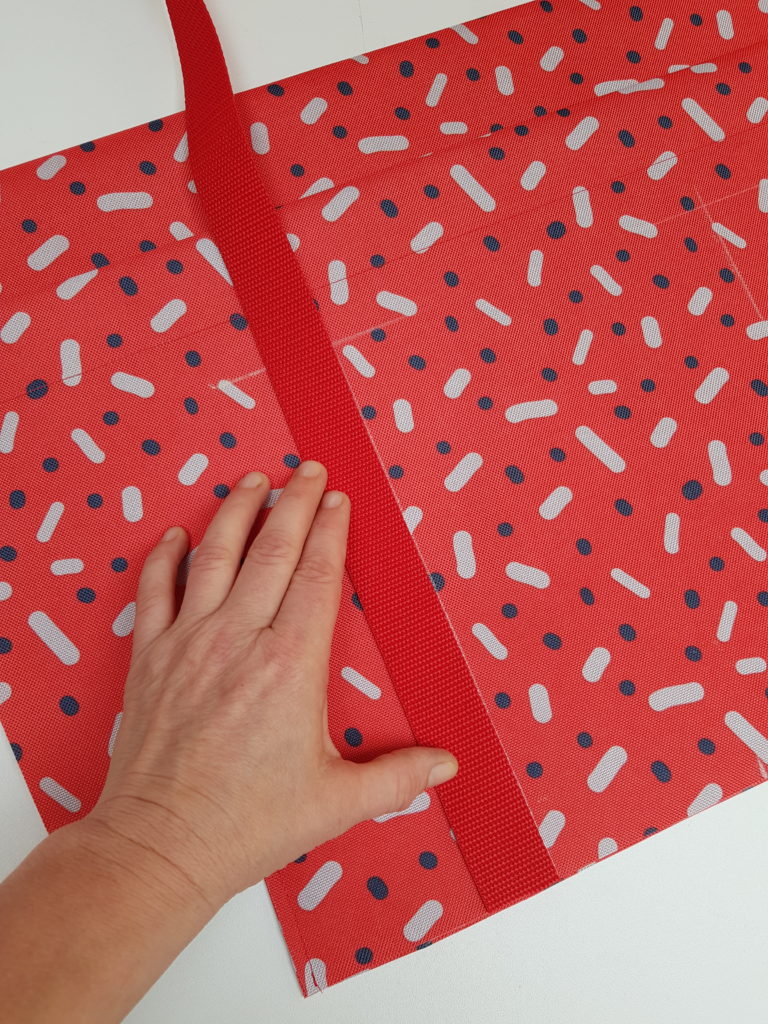
Part B is a bit wider so that larger items such as drinking bottles can easily fit into the outer compartments of the bag.
Pin this side edge of the fabric to the fabric edge of the bag and sew these two fabric edges together with an basting stitch.
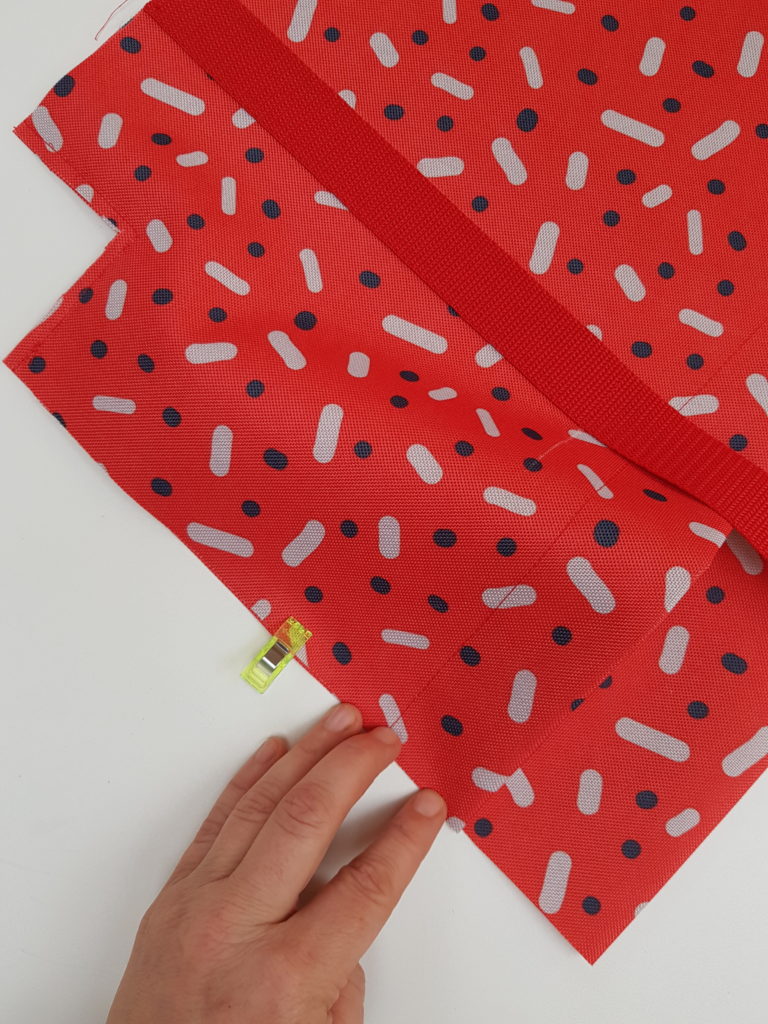
Now both main parts with compartments and carrying straps are finished.
Place them right sides together, sew the sides and the bottom seam together.
Unfold the bottom corners and stitch them into place.

SEW THE TUNNEL
Fold over the short fabric edges (part D) twice (2 x 1mt) and topstitch.
Fold the strip of fabric inside out, centre it lengthways and iron.
SEWING THE CLOSURE IN COTTON FABRIC
Neaten the lower, long fabric edges (parts C). Place both pieces of fabric on top of each other, sew the short edges of the fabric together.
Pin the drawstrings in the middle right sides together at the upper edges of part C, sew on, and topstitch from the right if necessary.
Put the finished cotton fastener right sides together on the upper edge of the bag. The tunnel should be looking down, stitch this on.
Draw in the cord. Finished!
We wish you lots of fun sewing and maybe a nice trip or a great excursion with your loved ones!

Nordhorn Cap
DIY Gauze Blouse
Shirt pattern

Wooli Jacket
Coat

Birte dress
Wrap dress

#sewwonderfully
Curvy sewing
Leonie pants
Wide leg pants

