Ice cream cushion sewing pattern and instructions
Mmmm … we love ice cream so much! that we came up with a whole new DIY project. An ice cushion! An ice cream to cuddle with, Just because we all love ice cream!
Ice, ice baby! An eye-catcher in every children’s room, whether as a cute decoration idea for your baby’s room or just cool for a teenager, an ice cream always works, regardless of age.
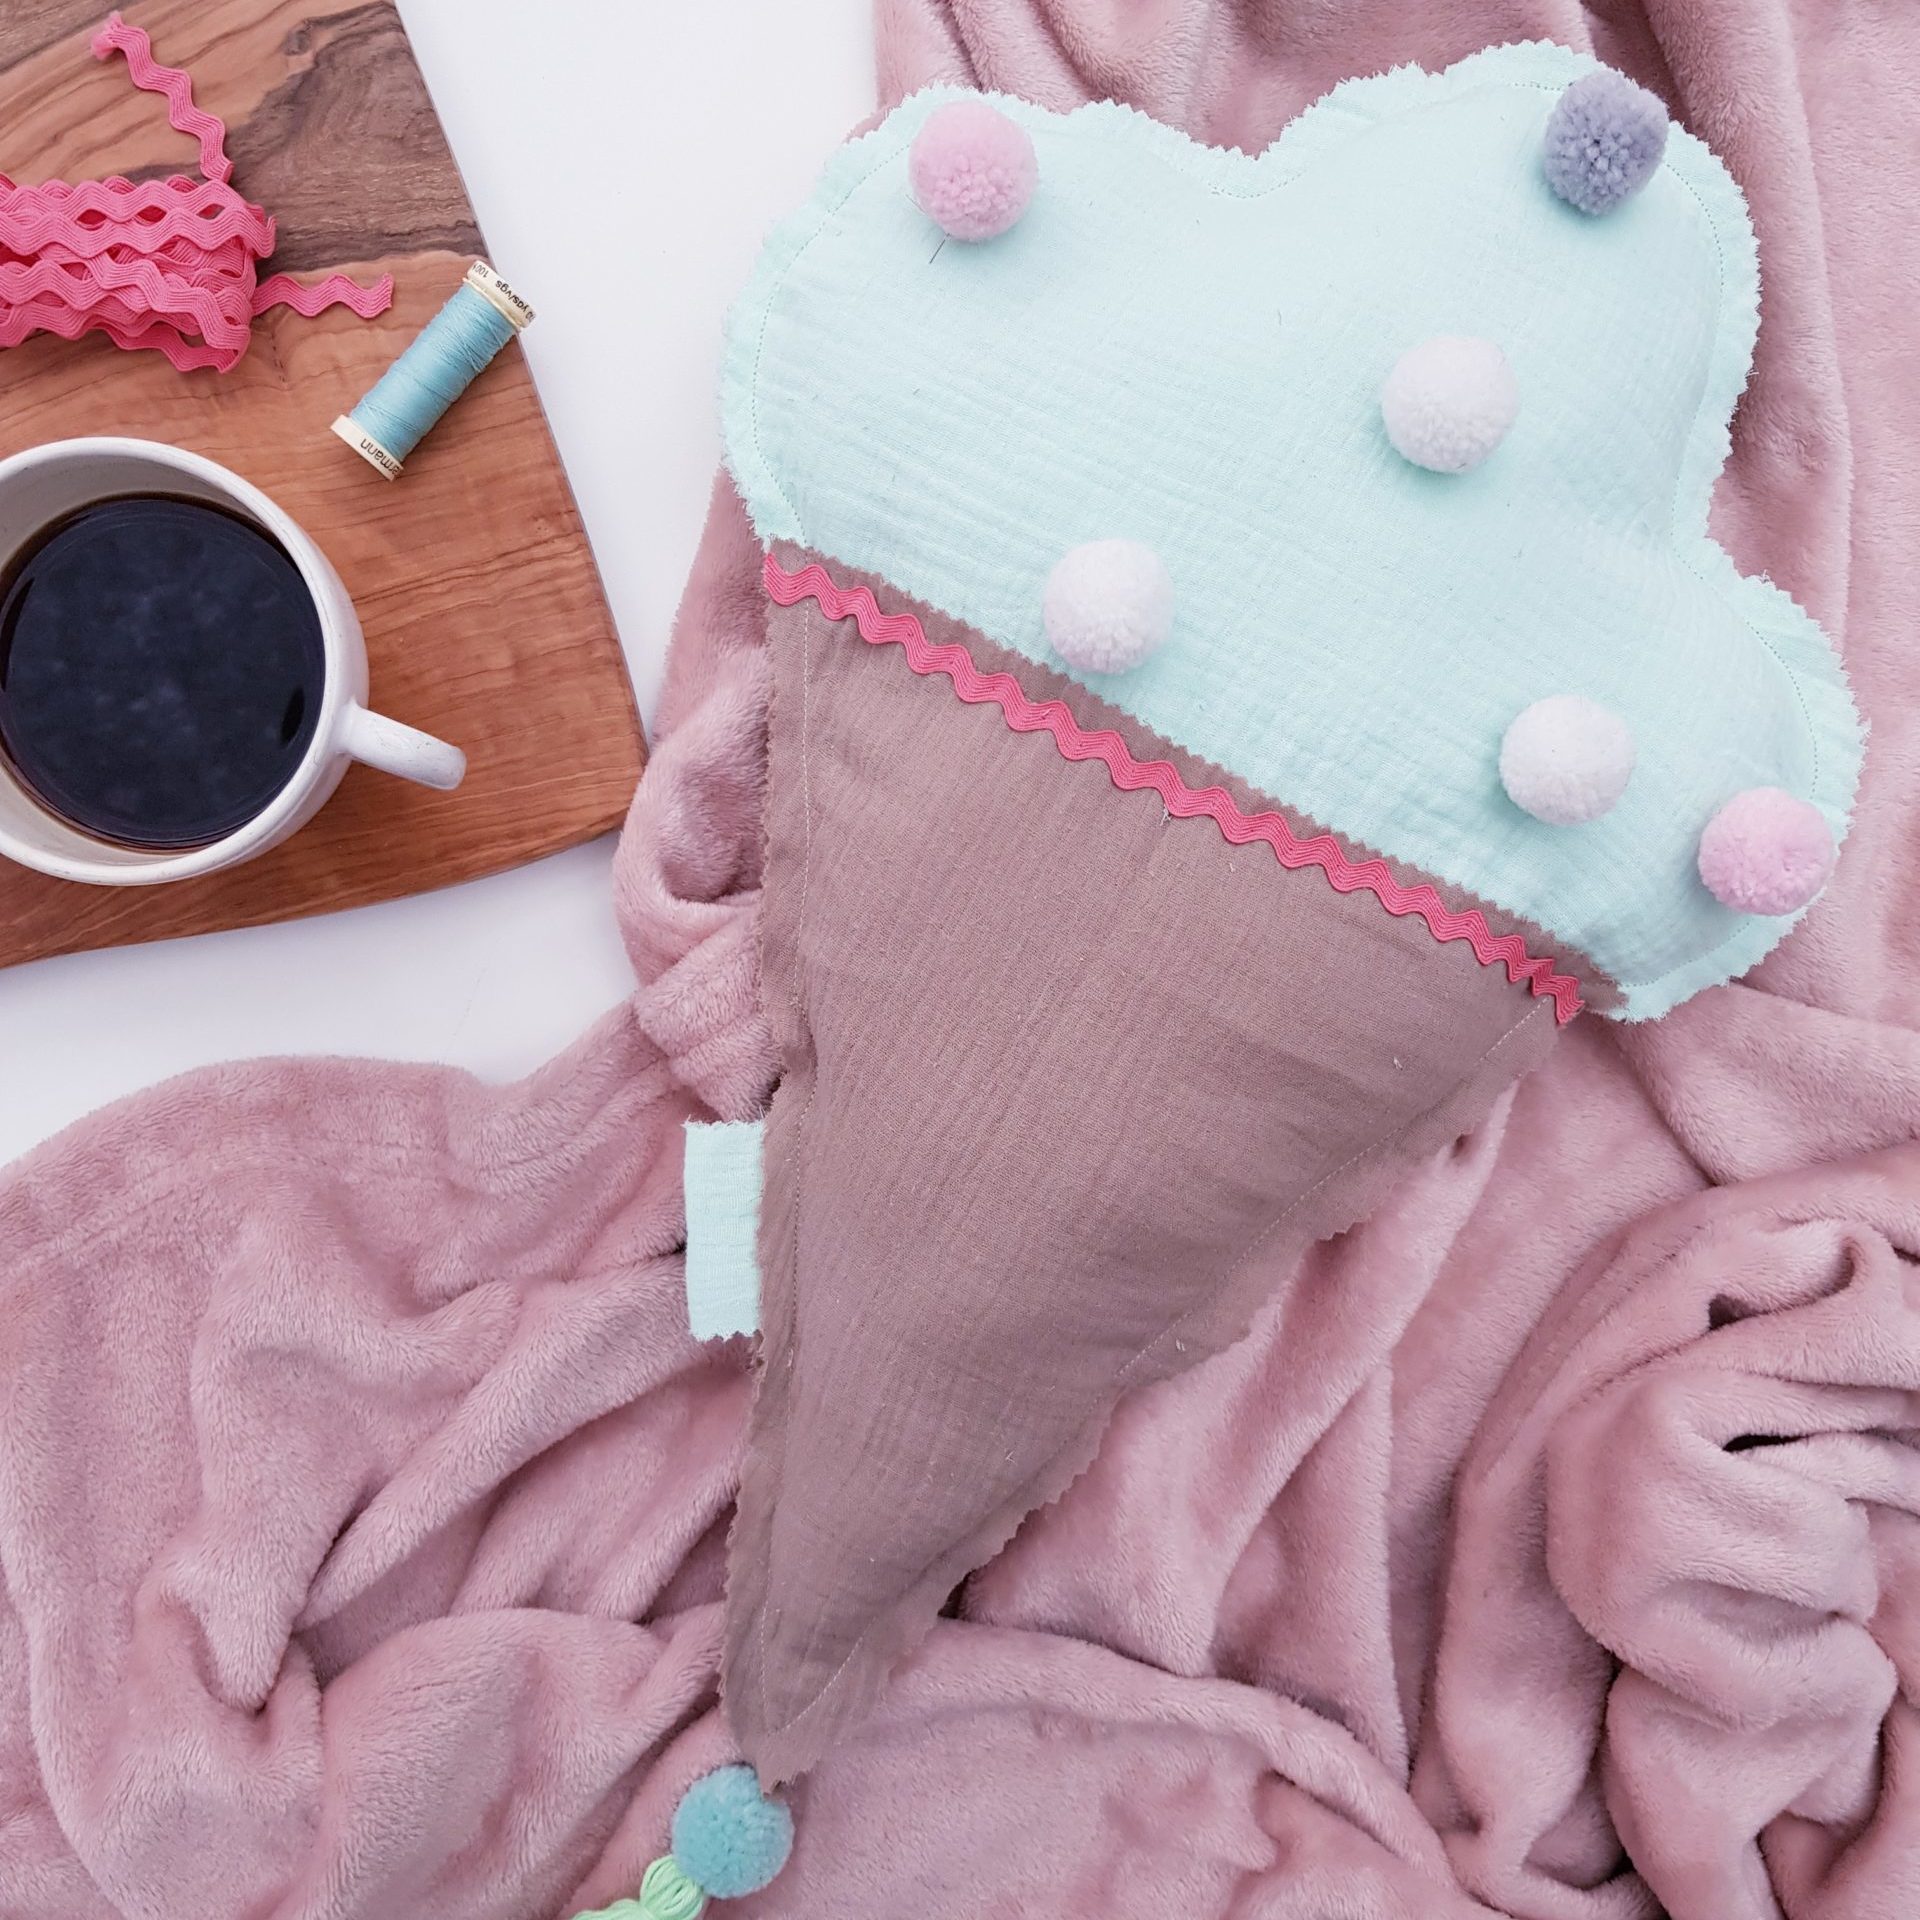
Whats great is, that you can sew the DIY ice cream cushion from scraps of fabric. The finished ice cushion is approx. 48 x 30 cm.
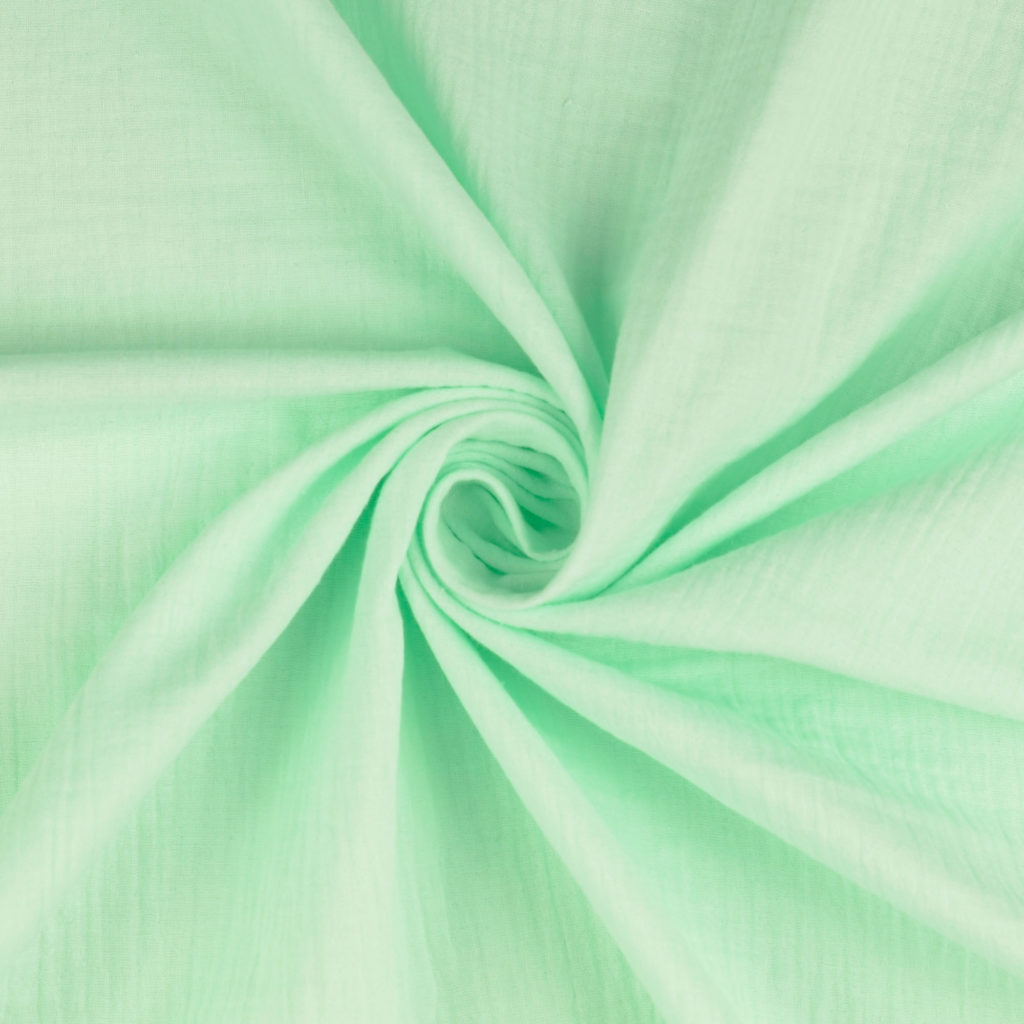
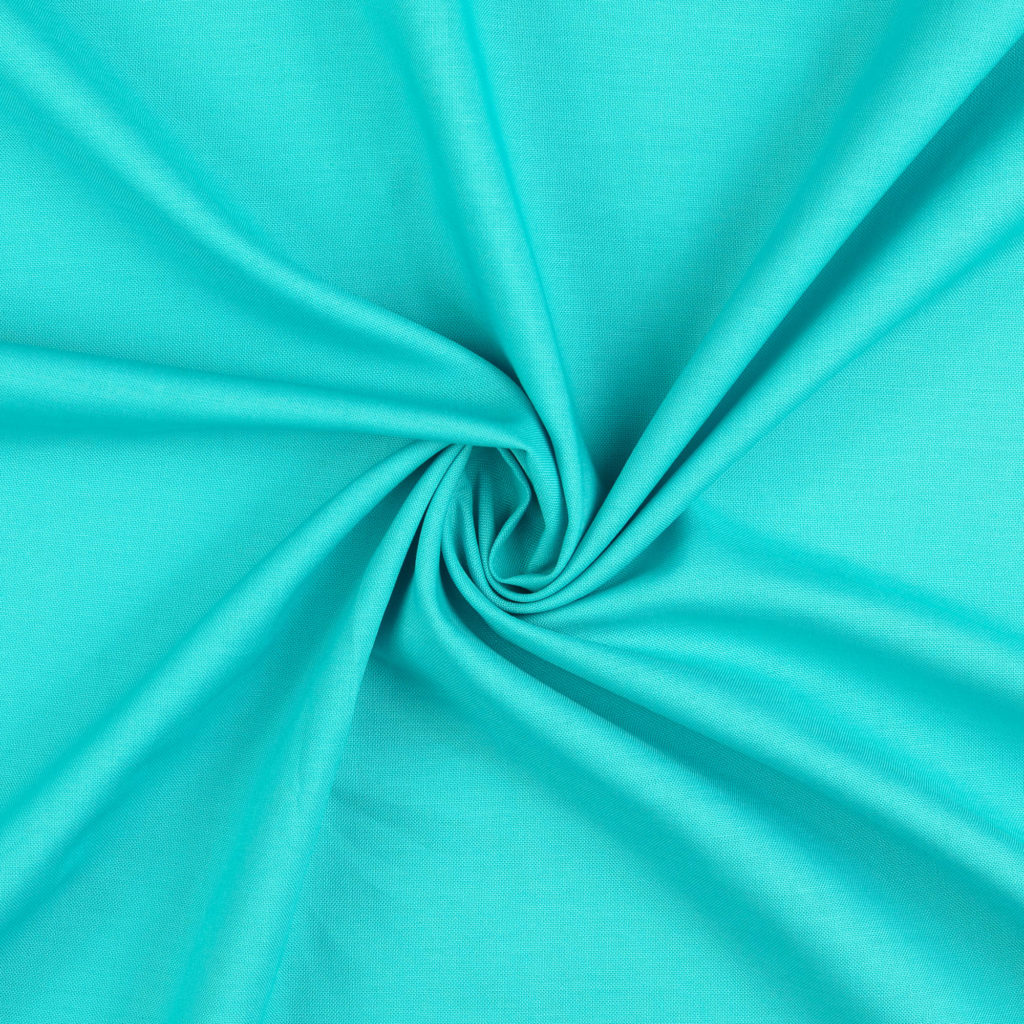
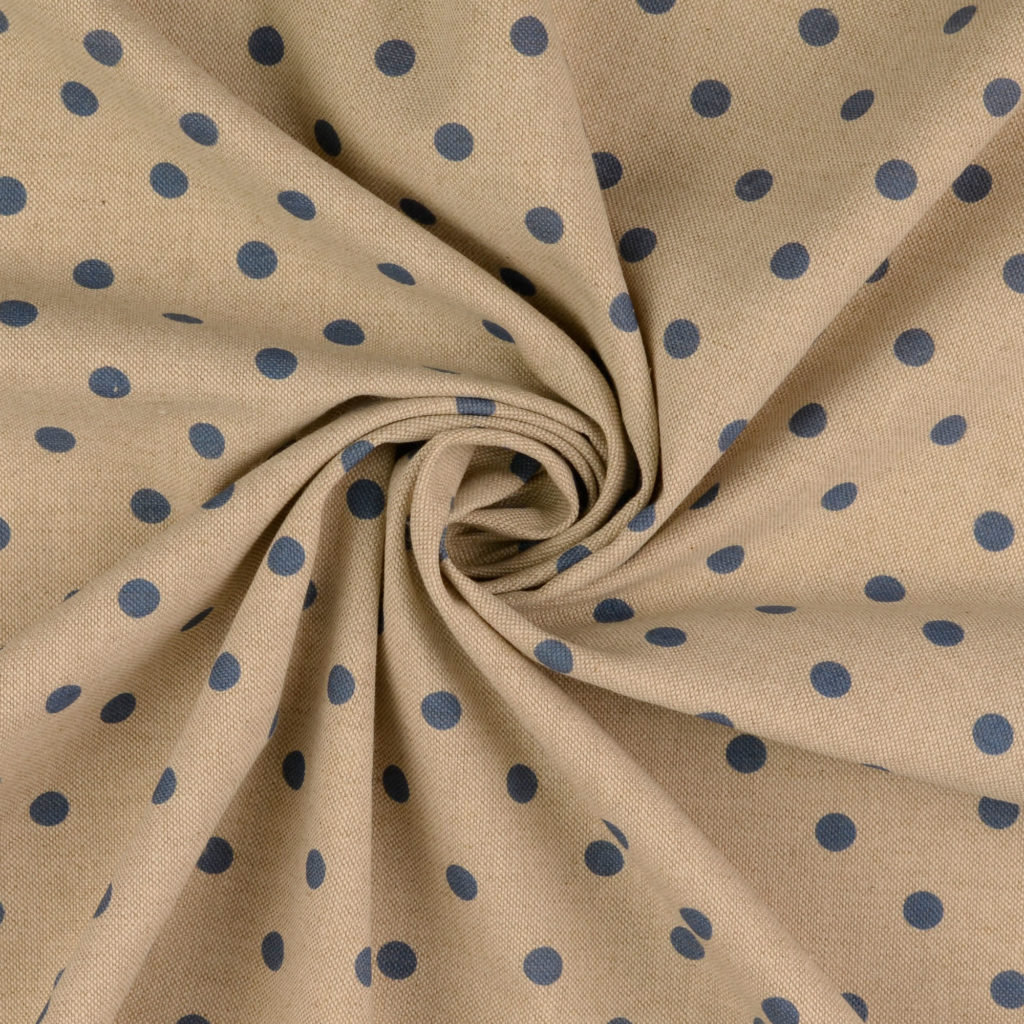
FABRIC RECOMMENDATION
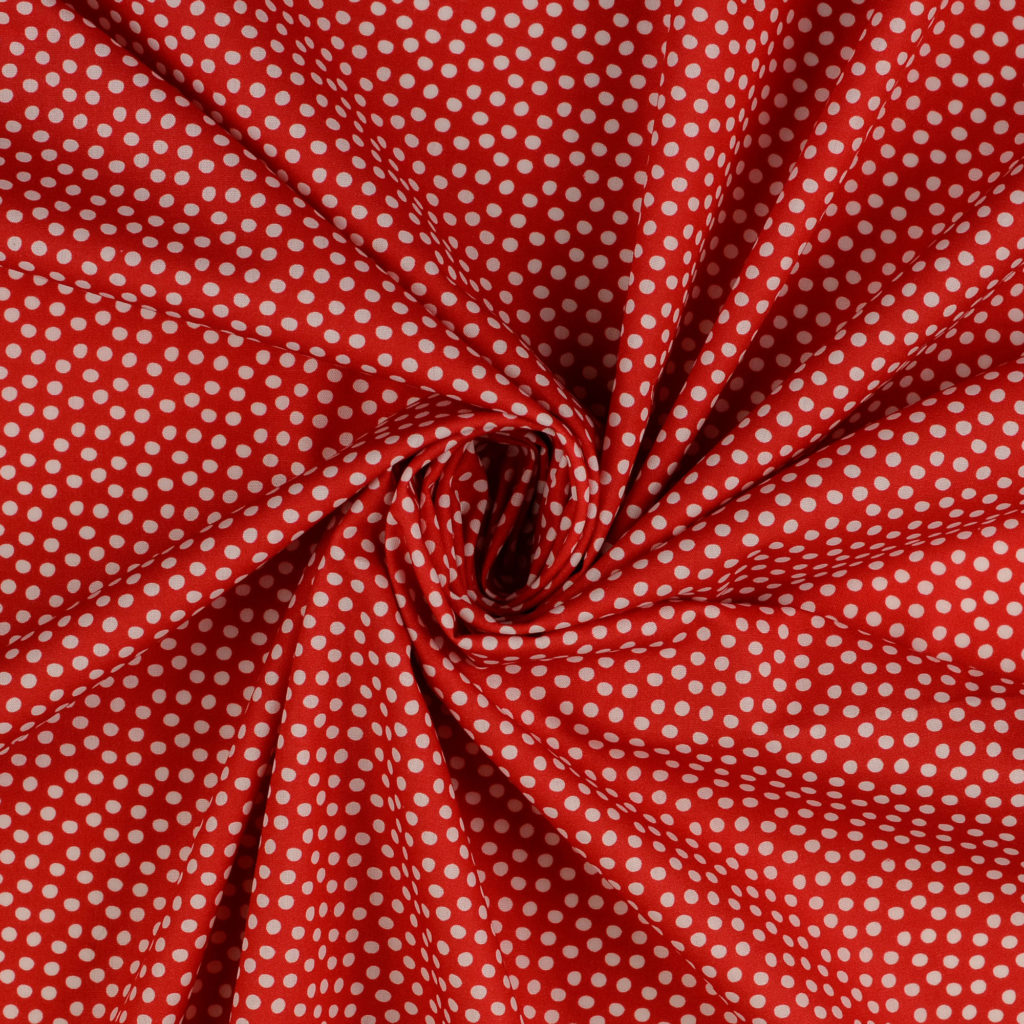
Your creativity knows no limits! You can sew the cushion from muslin, light cotton, poplin or decorative fabrics such as panama, etc. Solid fabrics are best for this project. Let yourself be inspired by our small selection. Traders can find all of these fabrics on our online shop.
DIY ICE CREAM CUSHION
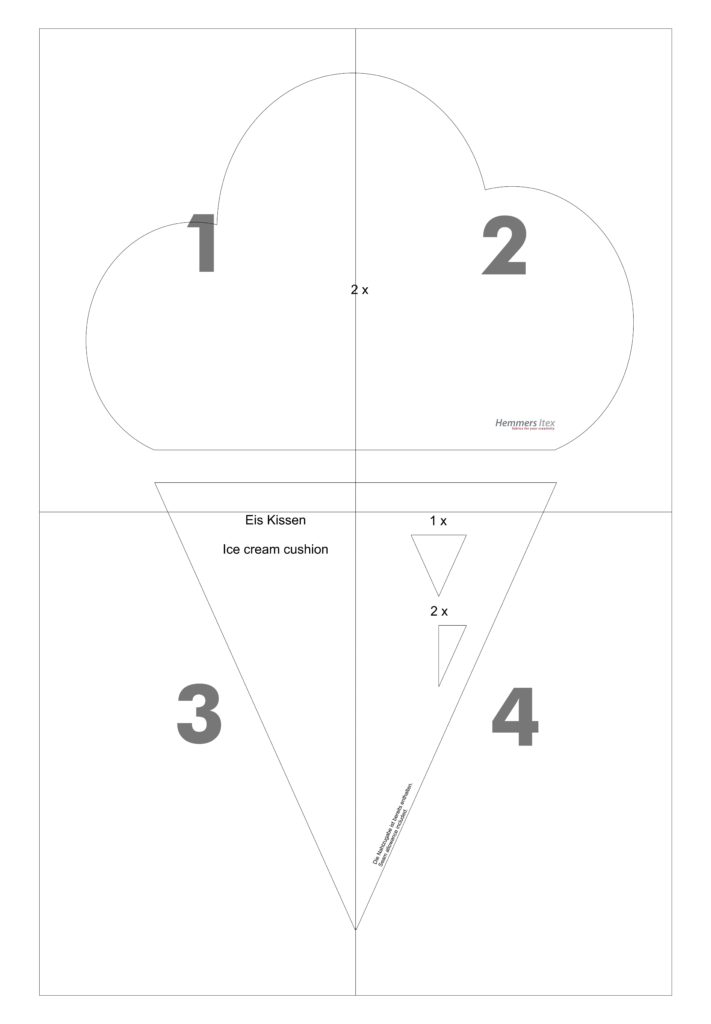
Download the free ice cream cushion pattern now.
If you have a photo of it, feel free to post it on Instagram and link us to @hemmersitex
This is how the pattern is put together:
Sew it and share it!
SEWING THE ICE CUSHION
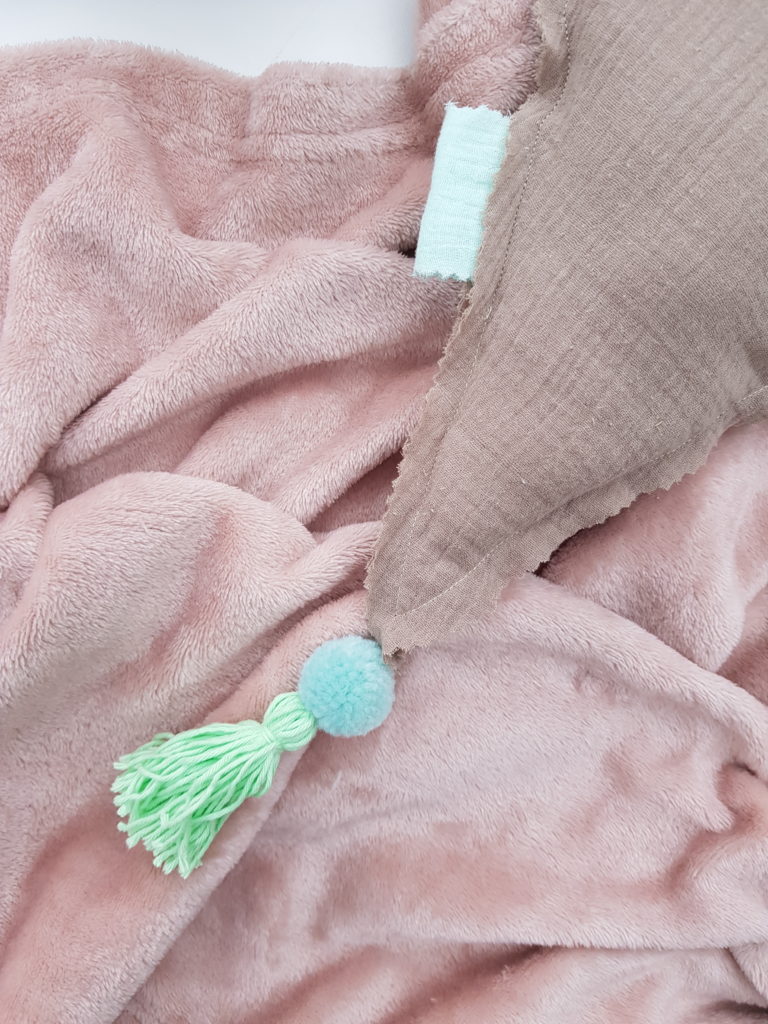
We sewed our cushion from muslin Art.No .: 129110 with open edges. That means, here both parts of the pillow were placed inside out and sewn all around except for a small opening for the filling.
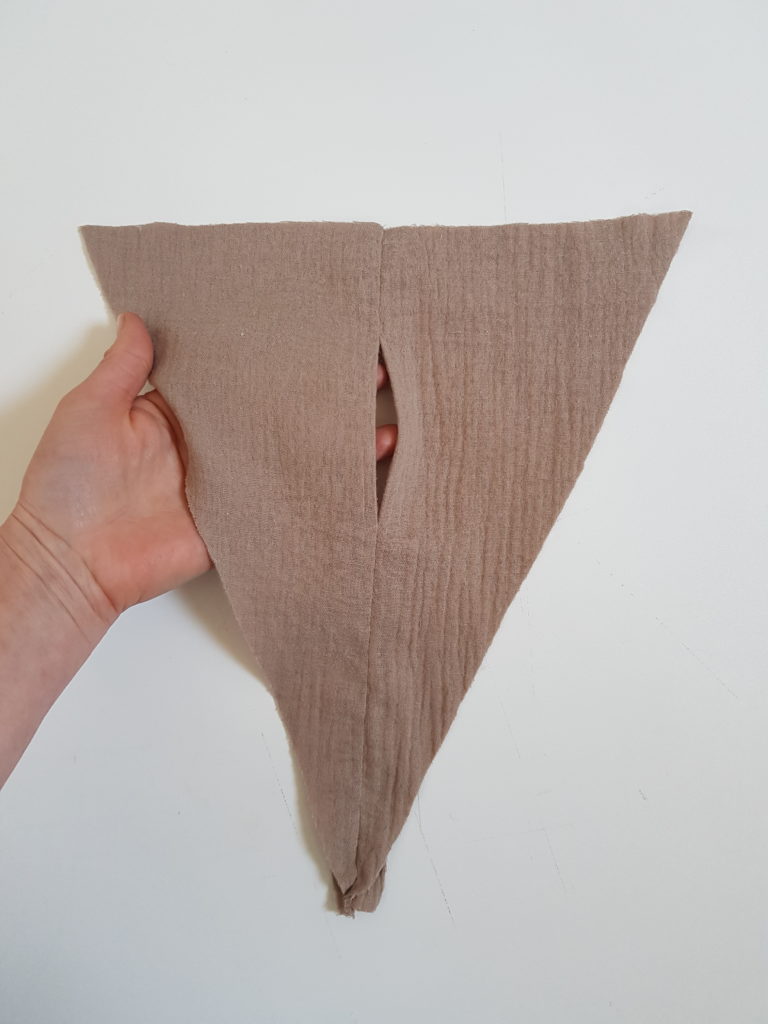
If you want to sew the pillow “normally”, make sure that the back part of the ice cream cone consists of 2 parts, as shown.
Transfer the templates to the fabric and cut out the pattern pieces. The seam allowance is already included. For the variant with the opening at the back, you have to draw a 1 cm seam allowance on the long, straight fabric edges of the ice cream cone.
“Back filling opening” version
The back part of the waffle consists of two parts. Place both parts right sides together and sew together except for a small opening.
Iron the seam allowances apart.
Pin the upper part of the cushion (ice cream) onto the lower part (ice cream cone) right sides together, sew together. Iron the seam.
Place the front part of the cushion onto the back, right sides together and sew all the way around. Cut back the seam allowances in the upper area (ice cream) a little. Turn right side out and iron. Fill with cotton wool, close the opening.
Version “side filling opening”
Here, the ice cream is first attached to the ice cream cone – just like it should be in every ice cream parlor 🙂. If you also want to sew your ice-cream pillow with open edges, then place the two parts wrong sides together. If you prefer to have the seam allowances inside, then as with the first version right sides together.
Now just place both pillow parts on top of each other and sew them together, except for a small opening on the side of the pillow for the stuffing
Version: raw edges: place the left side to the left side. Seam allowances inside: right sides together.
Finished! We hope you enjoy sewing!

Nordhorn Cap
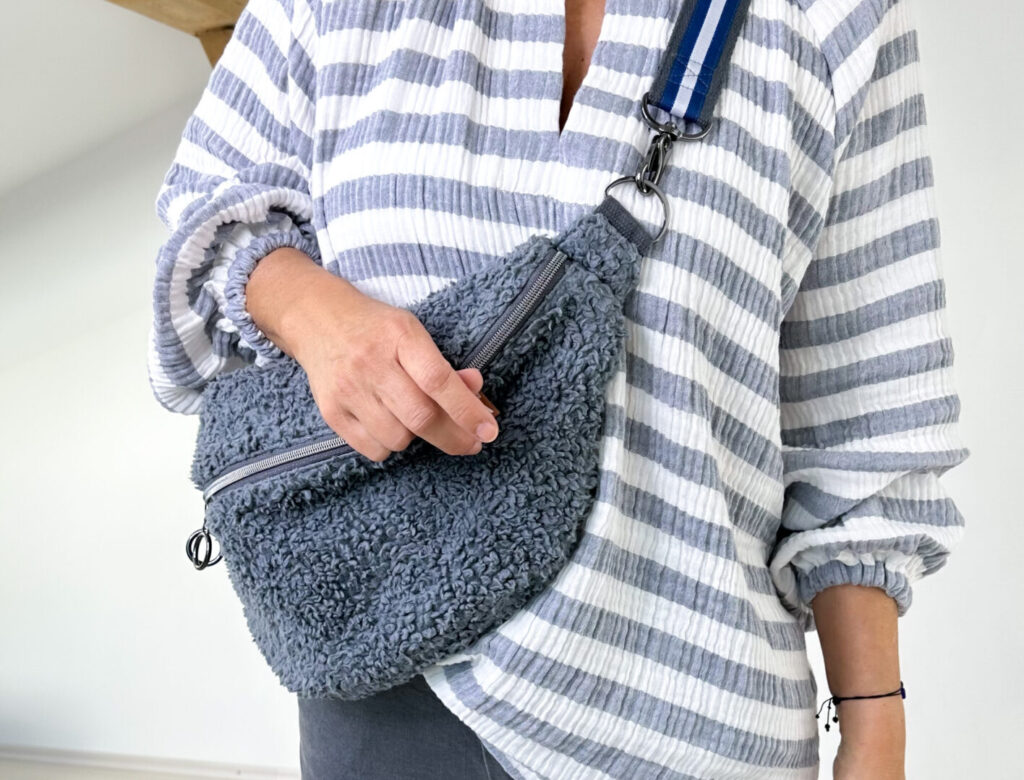
DIY Gauze Blouse
Shirt pattern
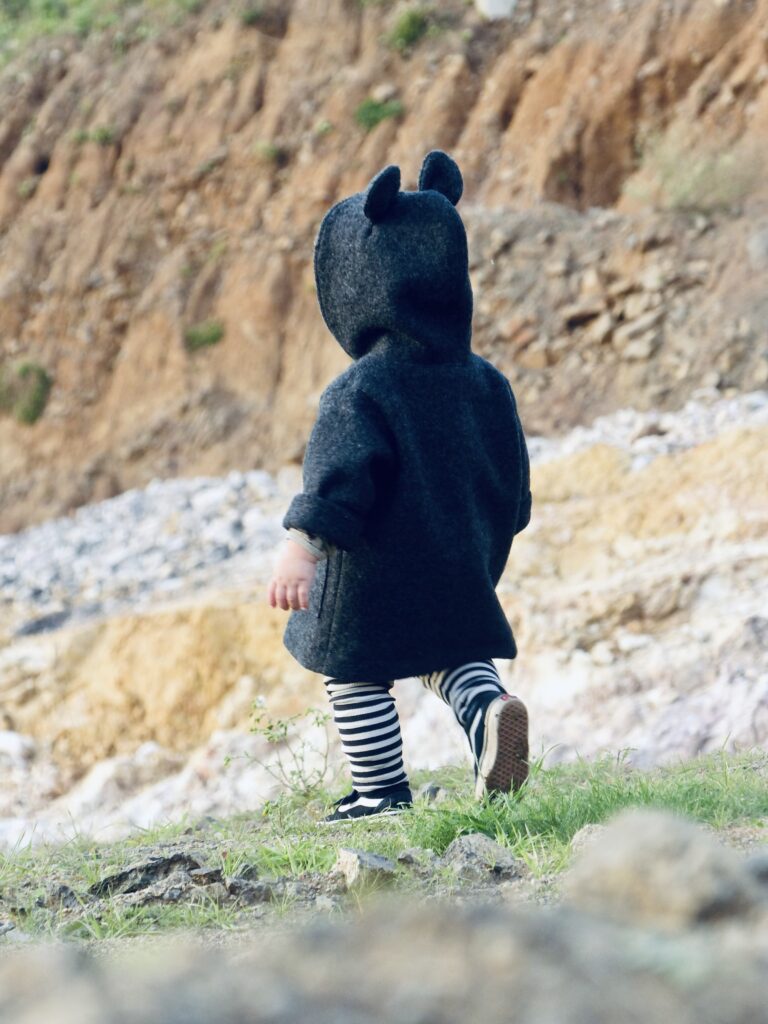
Wooli Jacket
Coat
Birte dress
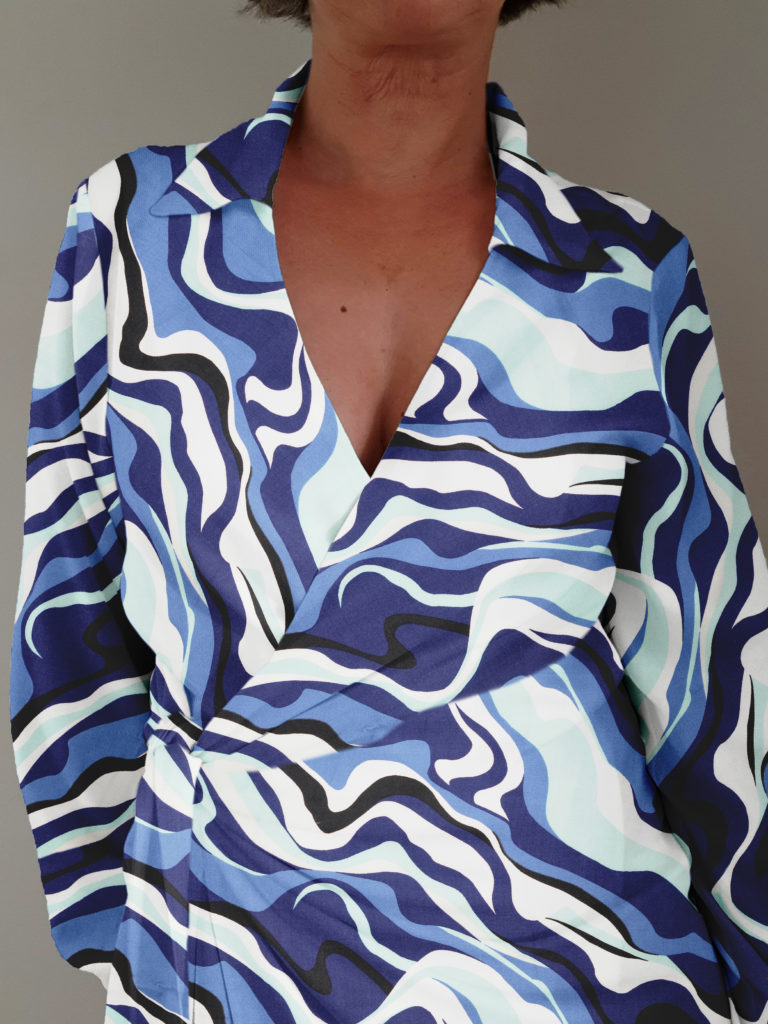
Wrap dress

#sewwonderfully
Curvy sewing
Leonie pants
Wide leg pants
