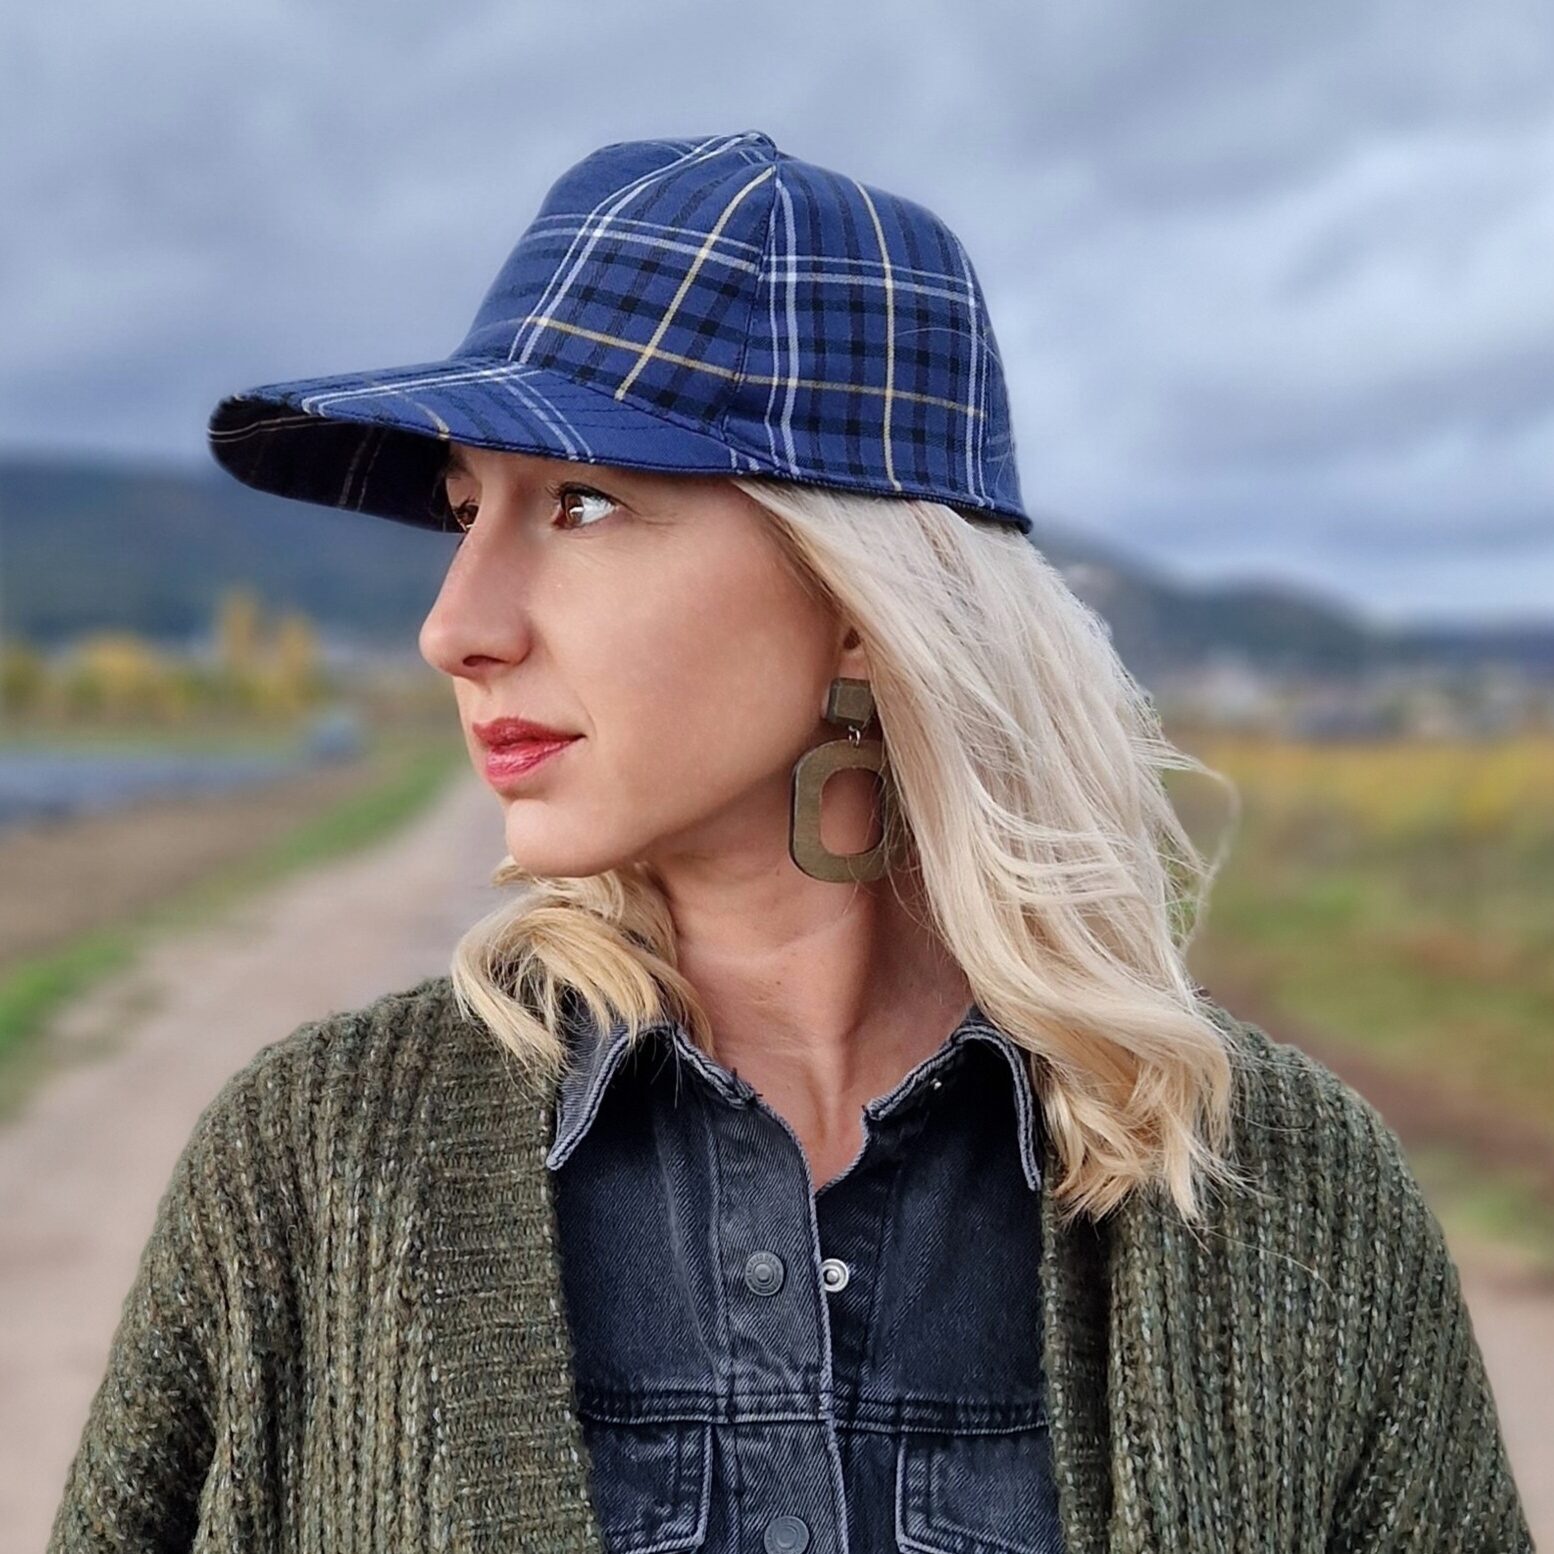
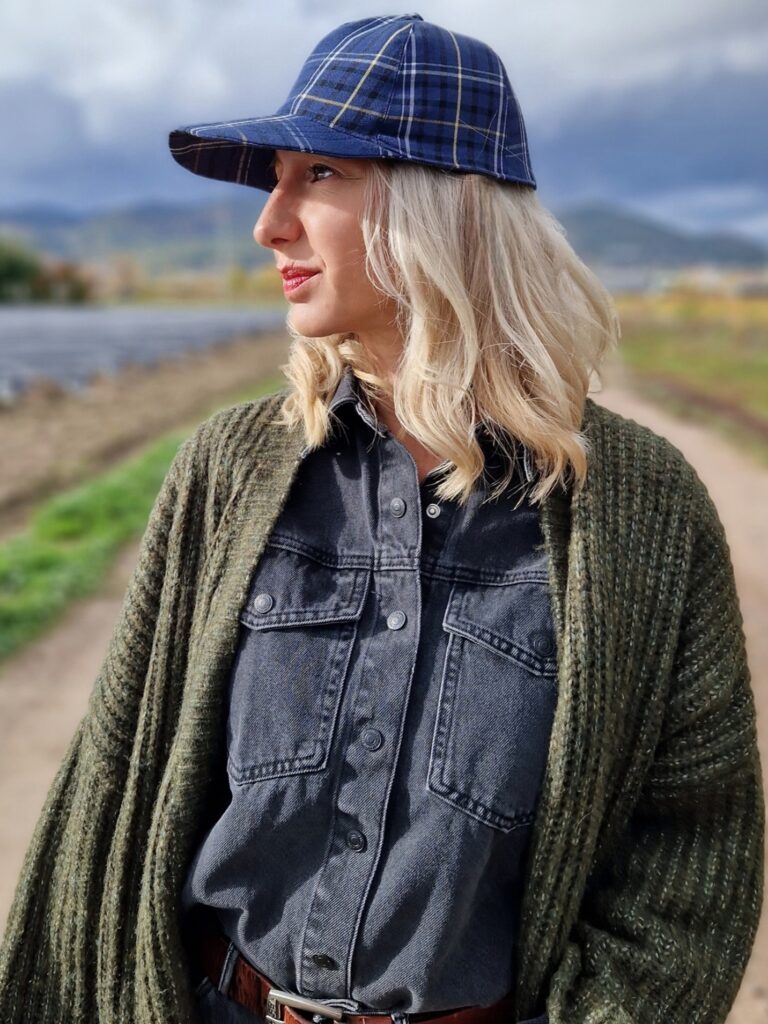
Baseball cap free sewing pattern
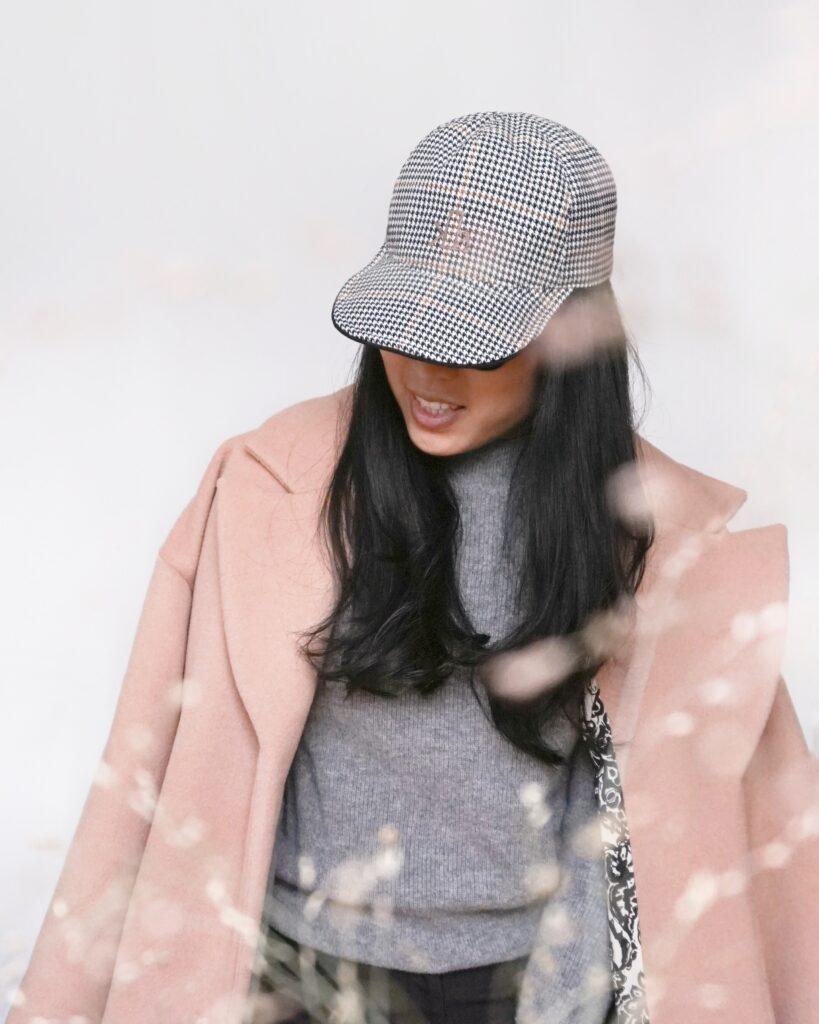
Hello bad hair days! Here comes the Nordhorn cap in a freebook version, because this casual accessory is very trendy again, but not only that – it’s also a great sewing project for utilising fabric remnants.
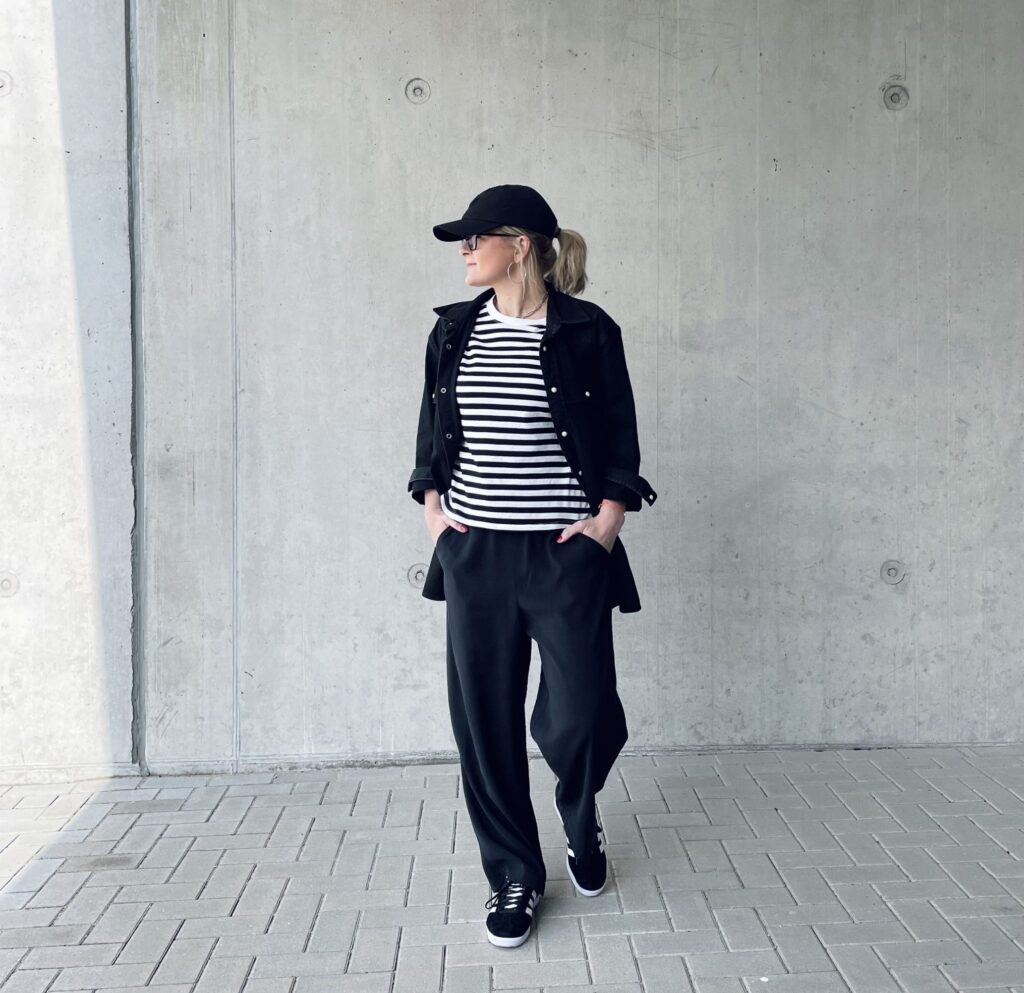
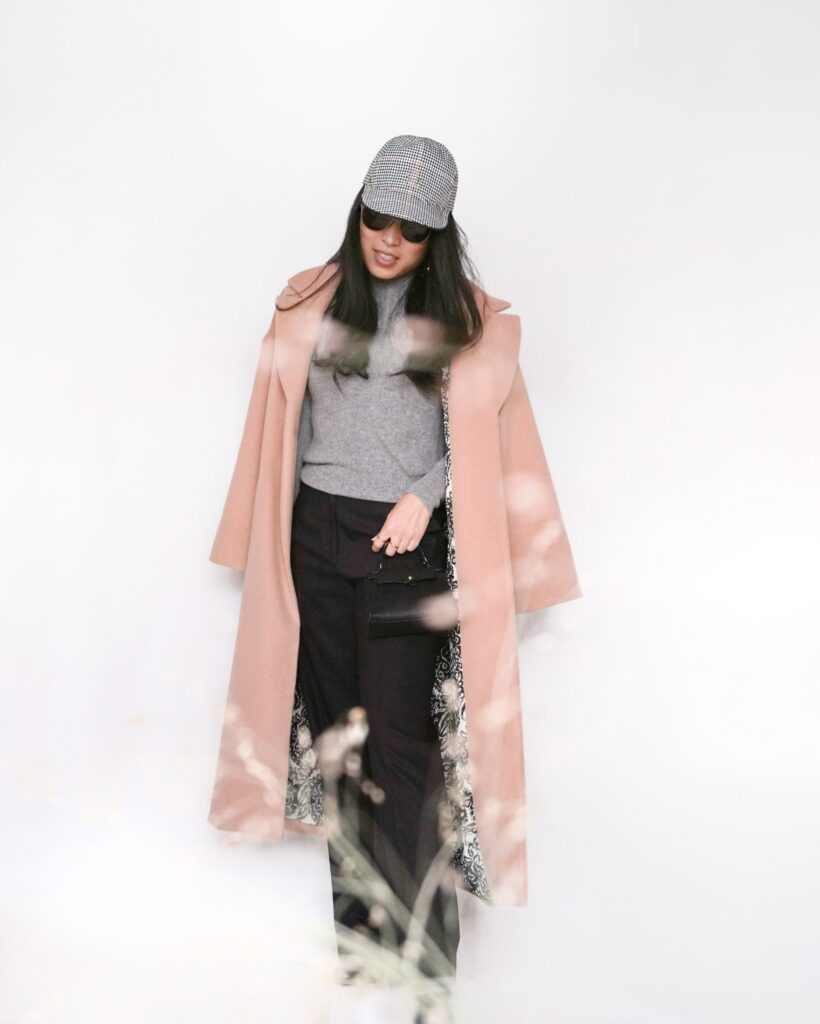
The baseball cap is the new beanie. Combined with a classic woollen coat, denim trousers and a hoodie, the cap makes for an uncomplicated, cool style on the streets.
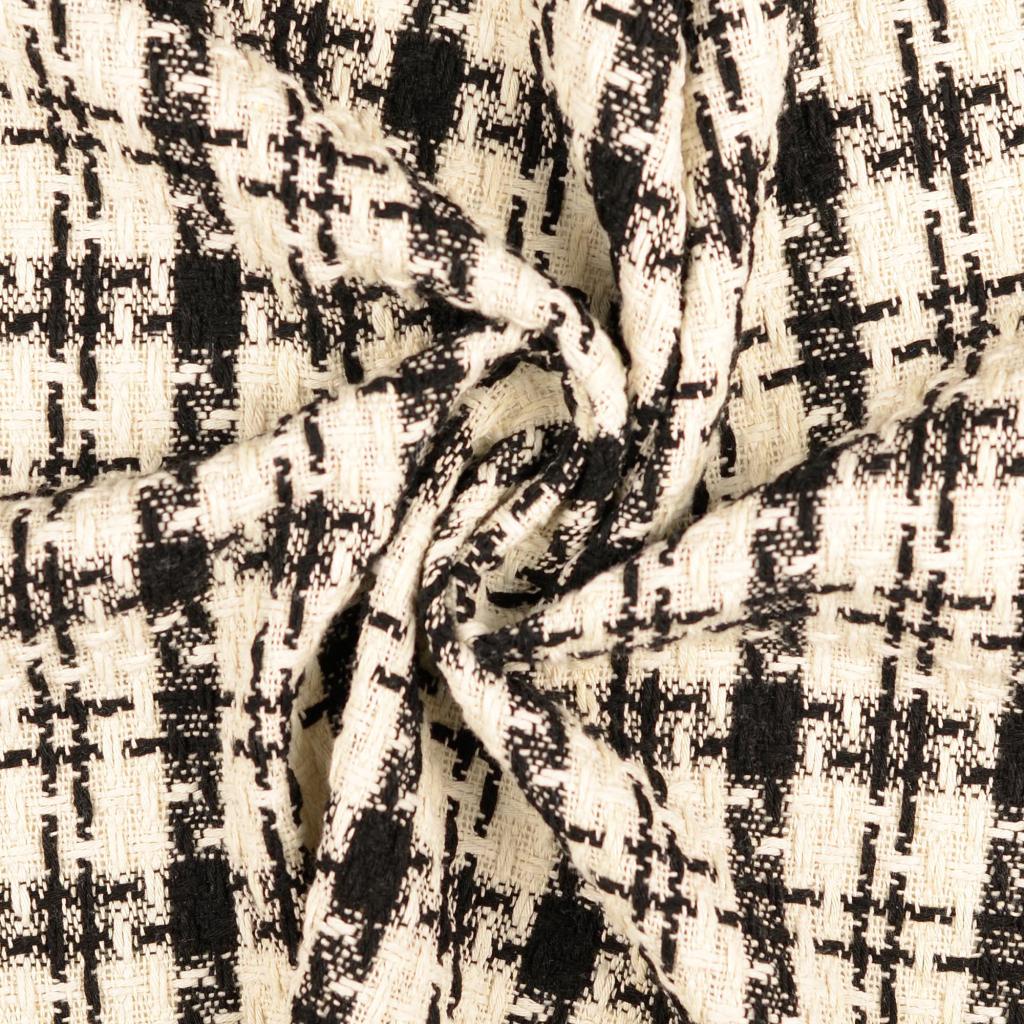
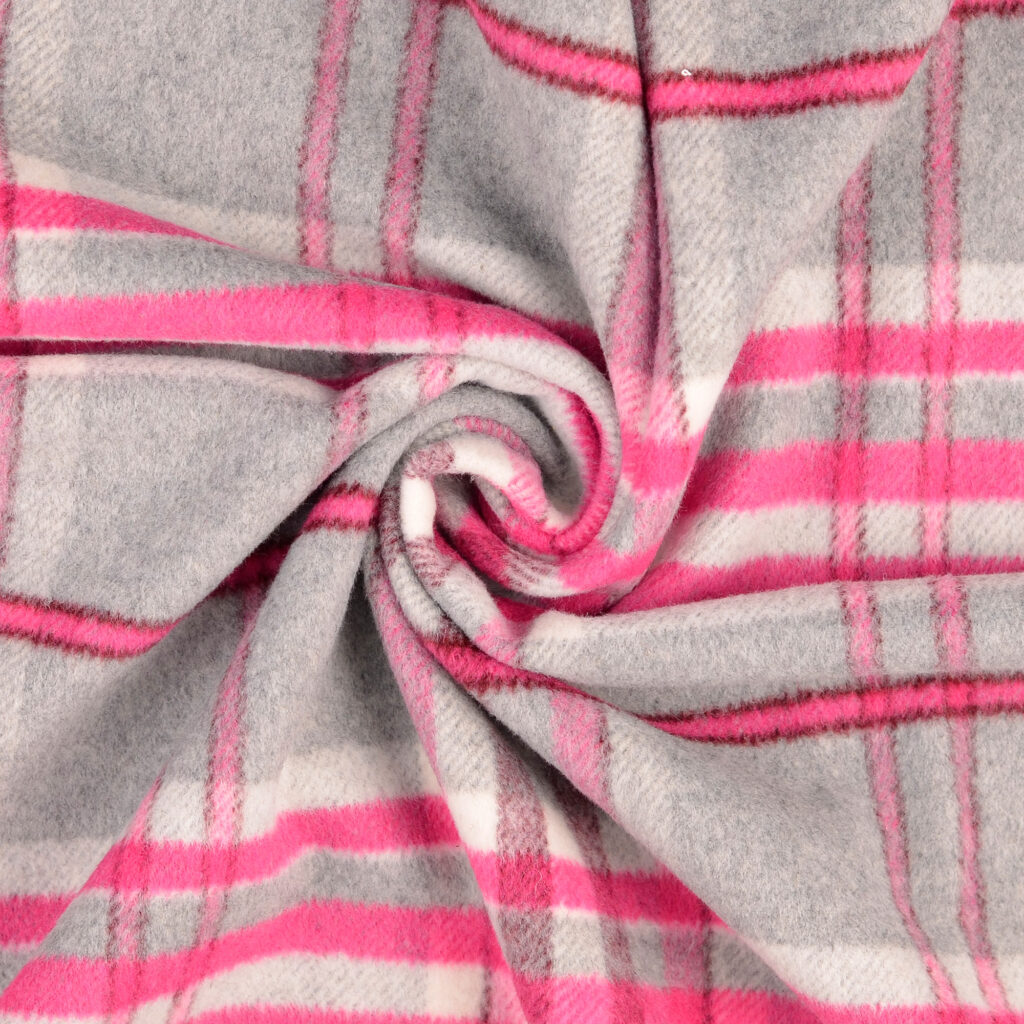
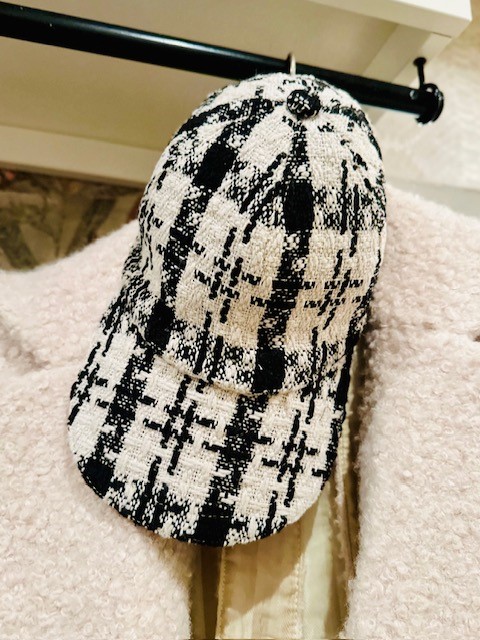
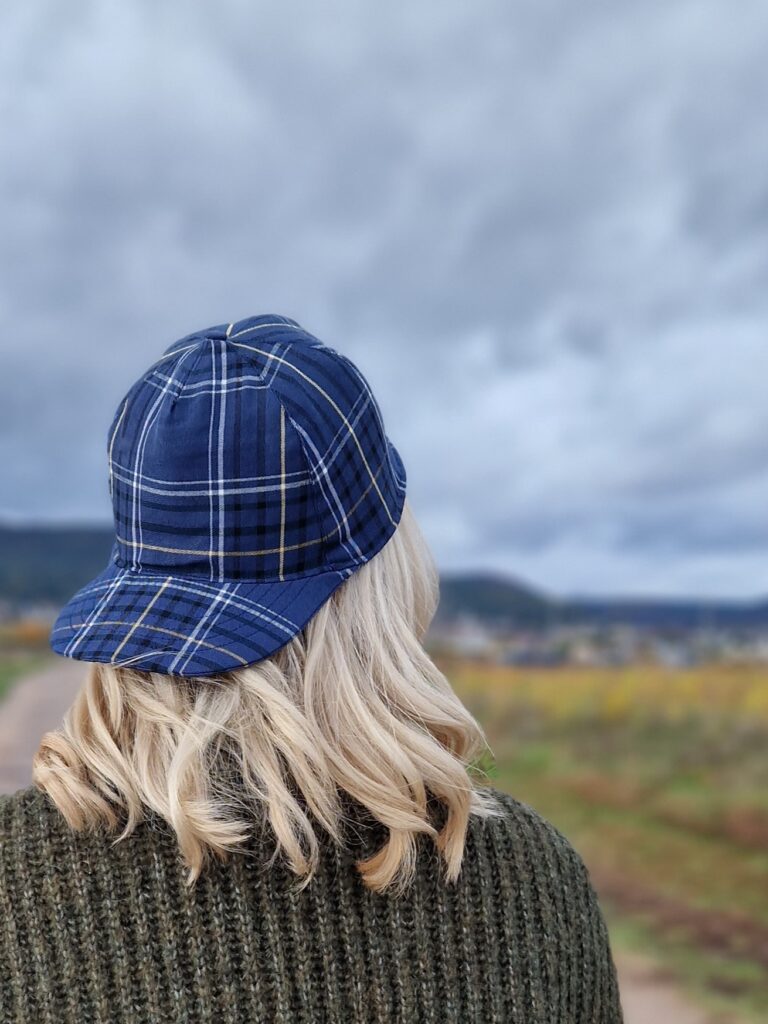
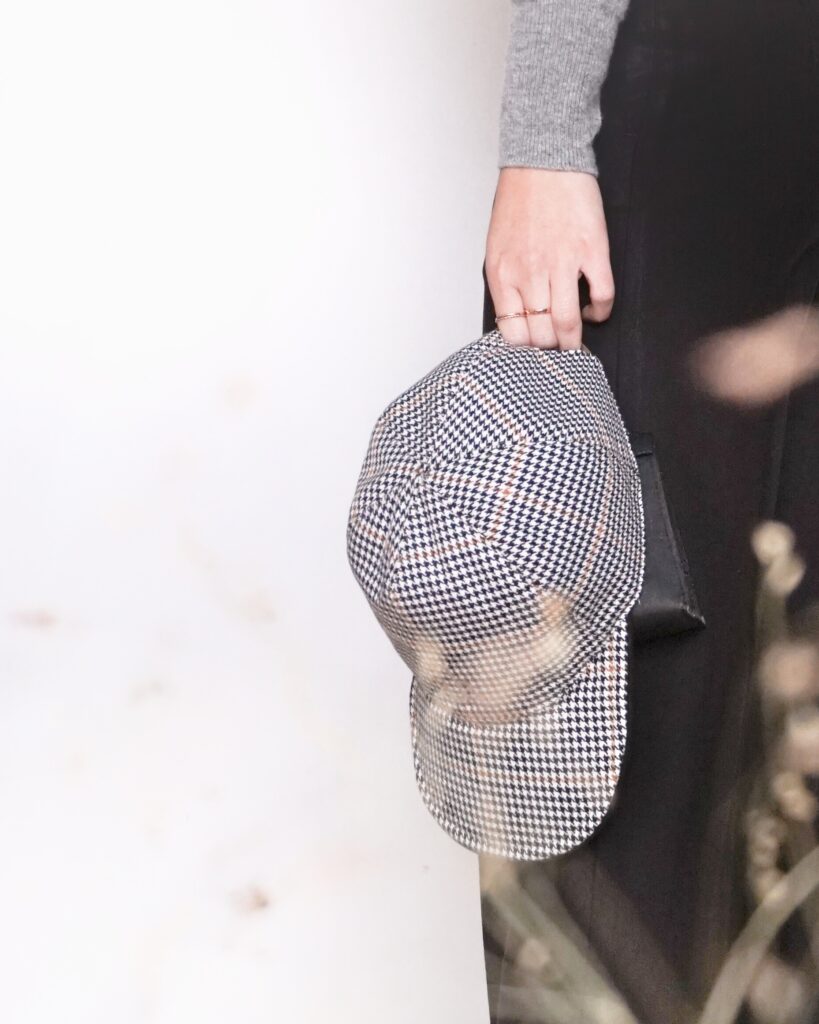
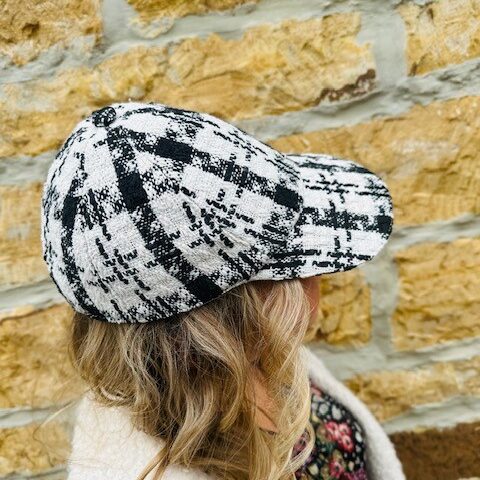
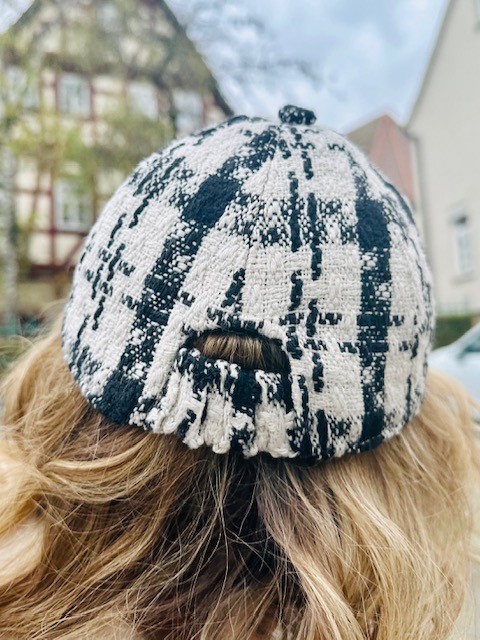
Capes in classic colours such as black, dark blue, khaki or beige made from canvas, cotton twill or denim are absolutely timeless. The it-piece of the season is currently very popular and comes in a completely new look. Made from chequered wool or fluffy teddy fabric, the rather sporty cap is becoming a fashionable accessory with a statement character.
So give your outfit that certain something and sew your own baseball cape with our free sewing pattern Nordhorn cap!
FABRIC RECOMMENDATION
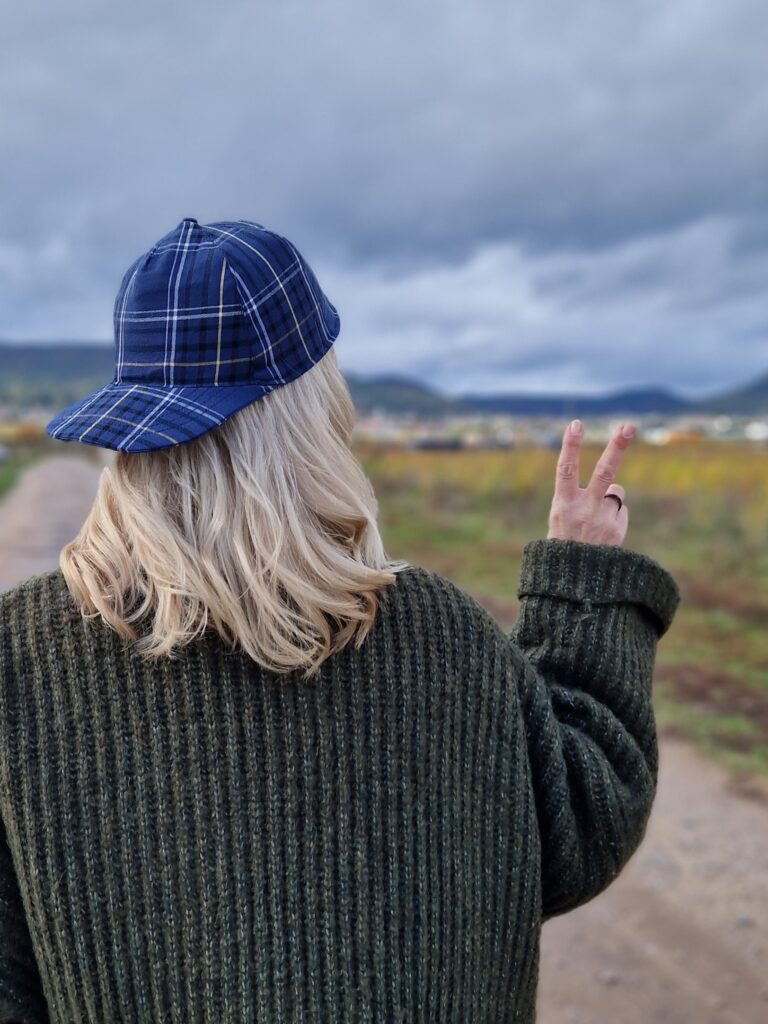
Are you thinking about what fabric you could sew the cap from? Generally, we recommend firm, medium-weight fabrics with a bit of stand – jeans, canvas, corduroy, twill, but also beautiful woollen fabrics, teddy plush, boucle and even quilted fabrics.
Are you a fabric retailer? In our online shop you will find many fashionable fabrics that are perfect for hats and caps.
Hemmers Itex Fabrics
Customers often ask where they can purchase our fabrics. Hemmers Itex is a wholesaler based in Nordhorn, so unfortunately, direct purchases from us are not possible.
Instead, please inquire with your preferred fabric retailer and request our products. Share them on our social media pages with the hashtag #fabricsforyourcreativity. We would love to see your sewing projects! We are thrilled to see your creations!

BASEBALL CAP SEWING INSTRUCTION
The pattern already includes a seam allowance.
Cutting:
Outer fabric:
A cap front 1x
B cap side 2x
C Cap back 2x
D cap brim 2x
Lining fabric:
A cap front 1x
B cap side 2x
C cap back 2x
Iron under the tag with Decovil or Freudenberg S 520 interfacing. Please note: The interfacing is the actual size of the pattern (i.e. without seam allowance).
For better stability, cut parts of the hat can be stabilised with horsehair interfacing.
Sewing:
Fold the front section of hat A right sides together in the centre and sew the dart at a tapered angle. Press the seam open.
Tip: If you are sewing the hat from jeans or canvas, you can topstitch all seams from the right side at a narrow edge.
Pin and sew the side pieces B to the front piece A, right sides facing. Press the seams open.
Pin and sew the back pieces C, right sides together. Press the seam open.
Pin and sew the two halves right sides together. Press the seam open.
Brim
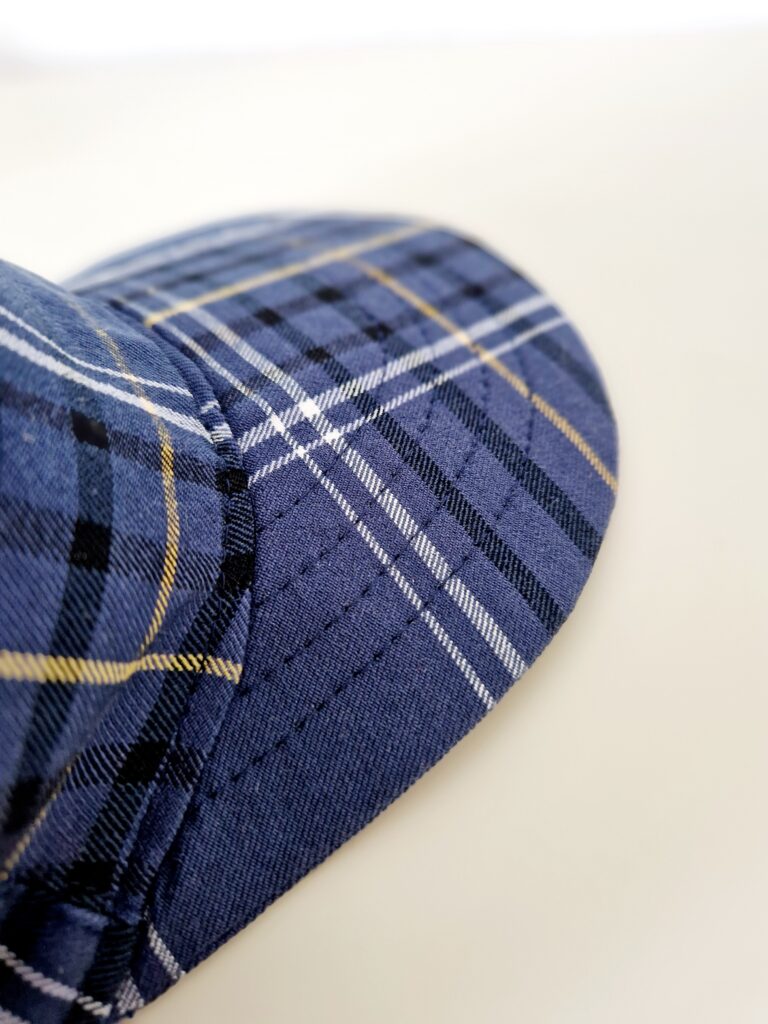
Pin right sides together, sew along the interlining (this works wonderfully with the zip foot). Cut into the seam. Turn the brim right side out and press.
Topstitch the brim twice at the rounding at the front.
Sew along the interlining using the zip foot.
Sew the brim to the cap:
Pin the visor to the front piece A, right sides together, and sew close to the interlining.
Adjusting the width of the cap
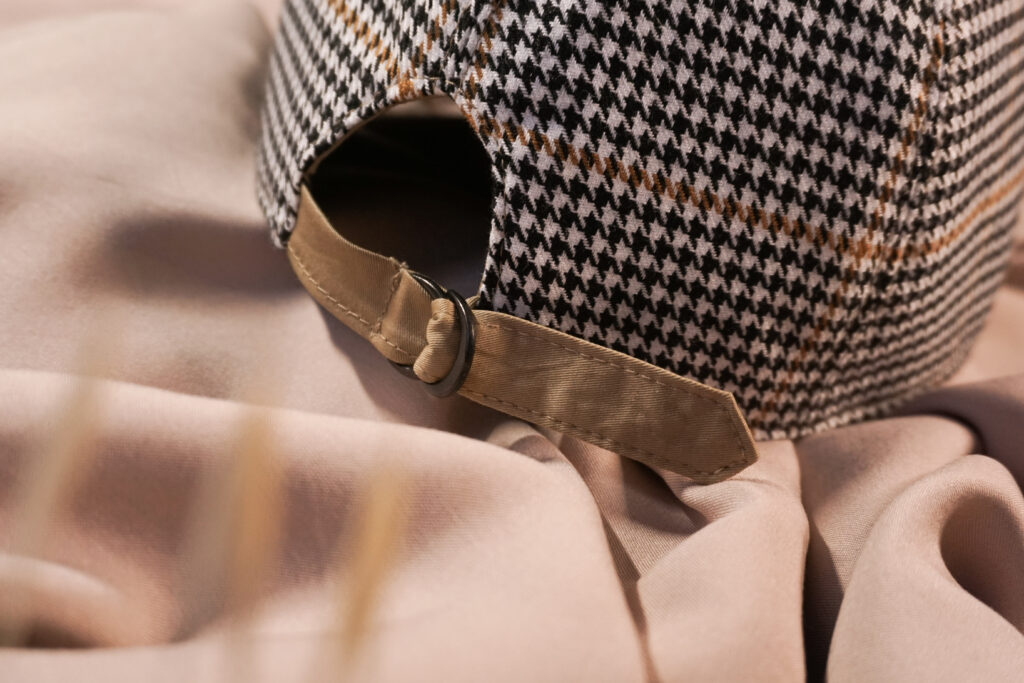
Now it’s up to you to be creative, because this is where you decide how to adjust the width of the cap at the back of the head. You can sew two narrow straps and attach a metal buckle fastener.
You can use Velcro instead of a buckle fastener.
Another alternative would be an elasticated band at the back.
Assemble:
Now put the two caps together, right sides facing.
The peak is on the inside.
Sew the edges together all the way round, but leave a turning opening open at the peak.
Press the seam. Turn the cap inside out. Press the seam into the edge and topstitch close to the edge from the outside.
DIY Gauze Blouse
Shirt pattern
Wooli Jacket
Coat
Birte dress
Wrap dress
#sewwonderfully
Curvy sewing
Leonie pants
Wide leg pants
A dress for Andrea
Tunic dress
Dress Maren
Sewing with woven fabrics
Cardigan CINDY
Long jacket

