
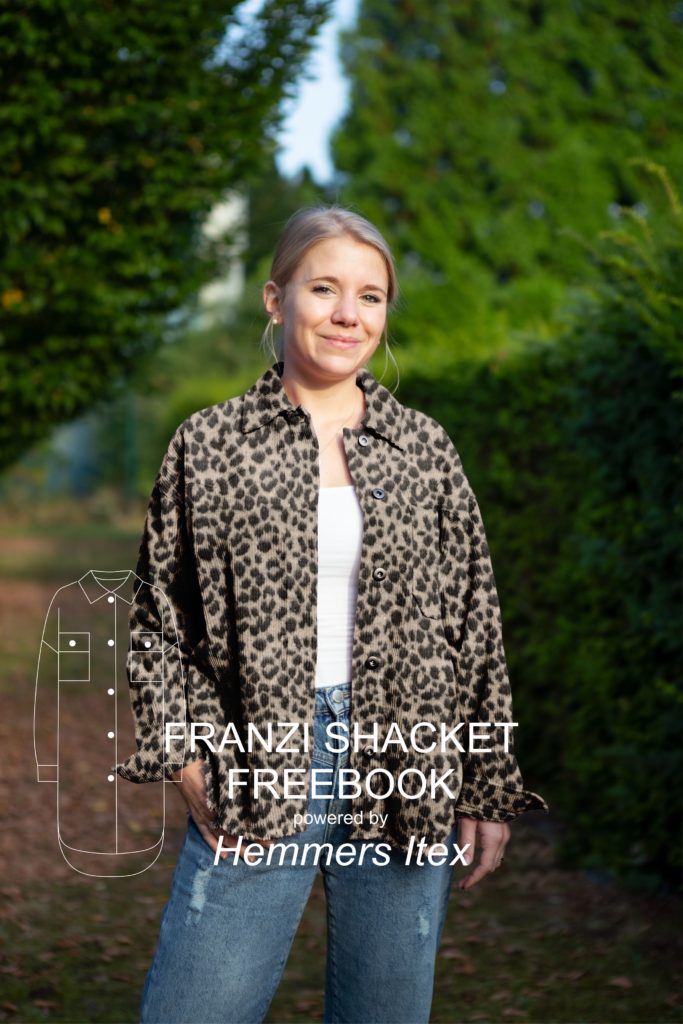
Shacket free sewing pattern
You can’t avoid the Shacket trend this Fall!
A Shacket is a perfect mix of shirt and jacket. It is cut like a classic men’s shirt, and the warm coat fabrics make it an ideal companion when the temperatures are slowly falling.
With our Shacket Freebook, nothing stands in the way of your DIY jacket of the season!
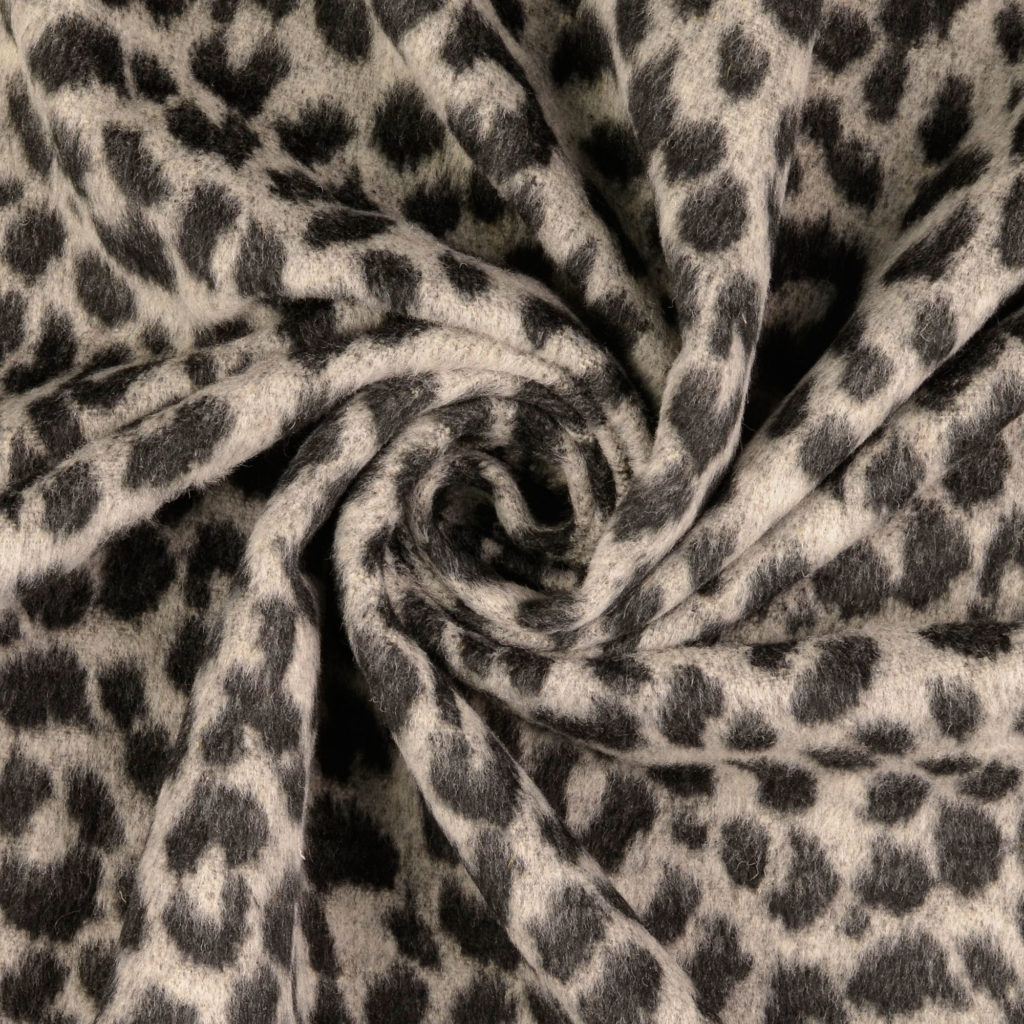
FABRIC RECOMMENDATION
Sewing a Shacket out of the following recommended fabrics would be fabulous:
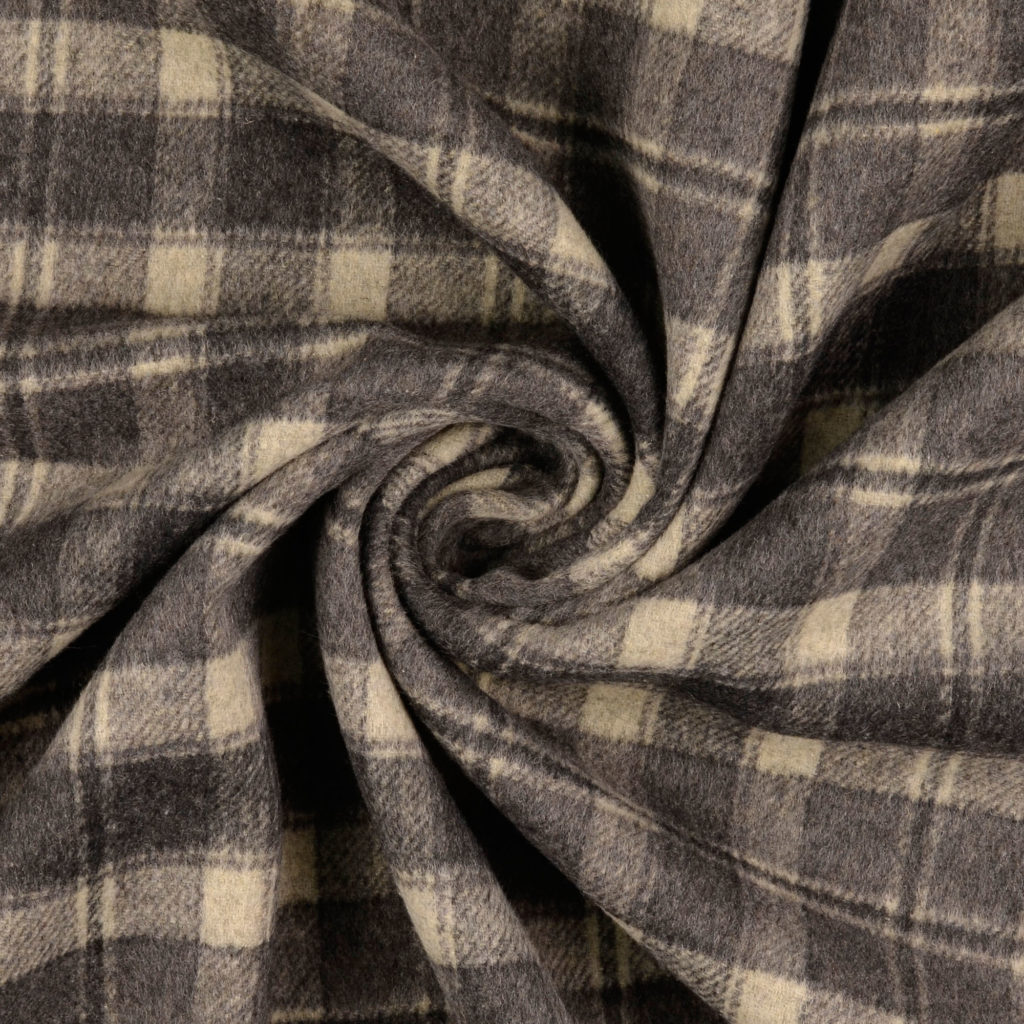
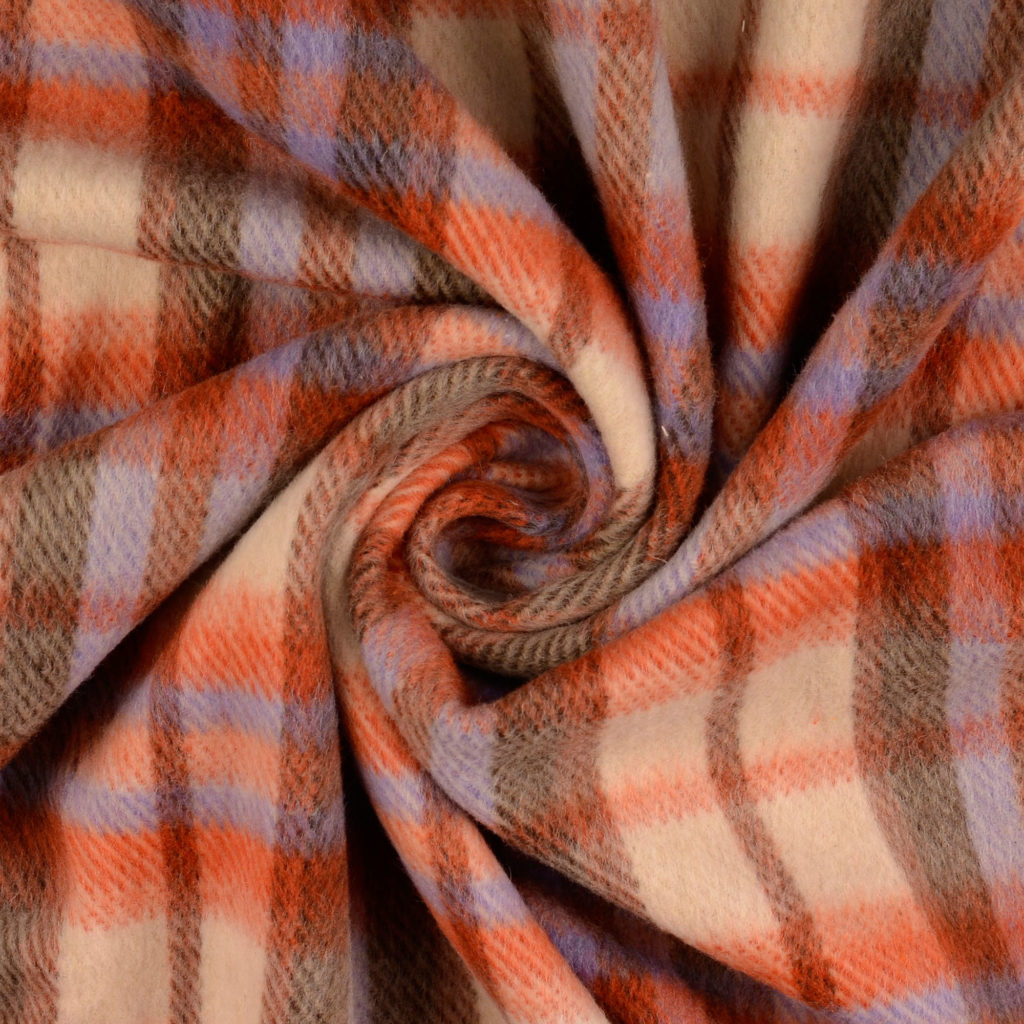
Checked coat fabrics, boucle, broad cord or cord with fur on the side, but also teddy or jeans would be a nice alternative.
Are you a fabric dealer? You can find a large selection of trendy coat fabrics on our online shop.
SHACKET FREE SEWING PATTERN
Download the free Shacket pattern FRANZI now. If you have a photo, please post it on Instagram and link us to @hemmersitex.


SHACKET SEWING INSTRUCTIONS
Material list
Wool fabric 1.45 m wide
Size XS 2.25 m
Size S – L 2.30 m
XL – XXL – 2.35 m
Vlieseline
8 buttons with a diameter of 2 cm
First print page no. 3 on which the control square is shown and check whether the edge length of this control square is 5 cm.
Reinforce with Vlieseline:
Button placket, cuffs (only half) the lower collar, pocket flap (only 1 x) and the upper edge of the breast pocket
Sewing the breast pocket
Pocket flap: Sew both cut parts right sides together, leave the upper edge open. Turn, press and topstitch and Sew buttonhole.
Put the pocket flap on the marking on the front part, stitch, iron down and stitch again in the upper area to secure.
Breast pocket: Fold the pattern piece at the marking right sides together. Sew on the short sides, shorten the corners, turn right side out. The seam allowances are almost automatically inward.
Iron the seam allowances of the pocket inside.
Tuck the breast pocket under the pocket flap in the middle and stitch.
Place front piece onto the back piece, right sides together and the sew shoulder seams together.
Sleeve
Pin the sleeves to the sleeve openings, making sure that the markings are on top of each other, sew and neaten the edges.
Sew sleeve seams and continuously sew the side seams, and neaten raw edges.
Cuffs
Fold the cuff center right sides together and sew the narrow, sloping sides to form a ring. Iron the seam. Turn right side out.
Fold the cuff in half and sew it to the lower edge of the sleeve. Make sure that the seams are on top of each other.
Sew the collar
Put pattern pieces right sides together. Sew the side edges and the top edge together. Shorten the seam allowance in the corners, turn the collar. Shape the corners, and press
Pin the collar to the neckline, and sew.
Buttonhole placket
Fold the buttonhole placket inwards at the markings and press.
Fold the button placket back to the right, according to the ironed edges, so that the collar is between the front part and the button placket. Sew the neckline. Turn right side out.
The buttonhole placket at the bottom of the hem is still folded right to right. Topstitch.
Turn right side out, shape corners and press. The hem automatically disappears into the buttonhole and the seam allowance rolls inwards almost automatically.
Sew in buttonholes on the right front piece.
Topstitch the hem.
Nordhorn Cap
DIY Gauze Blouse
Shirt pattern
Wooli Jacket
Coat
Birte dress
Wrap dress

#sewwonderfully
Curvy sewing
Leonie pants
Wide leg pants