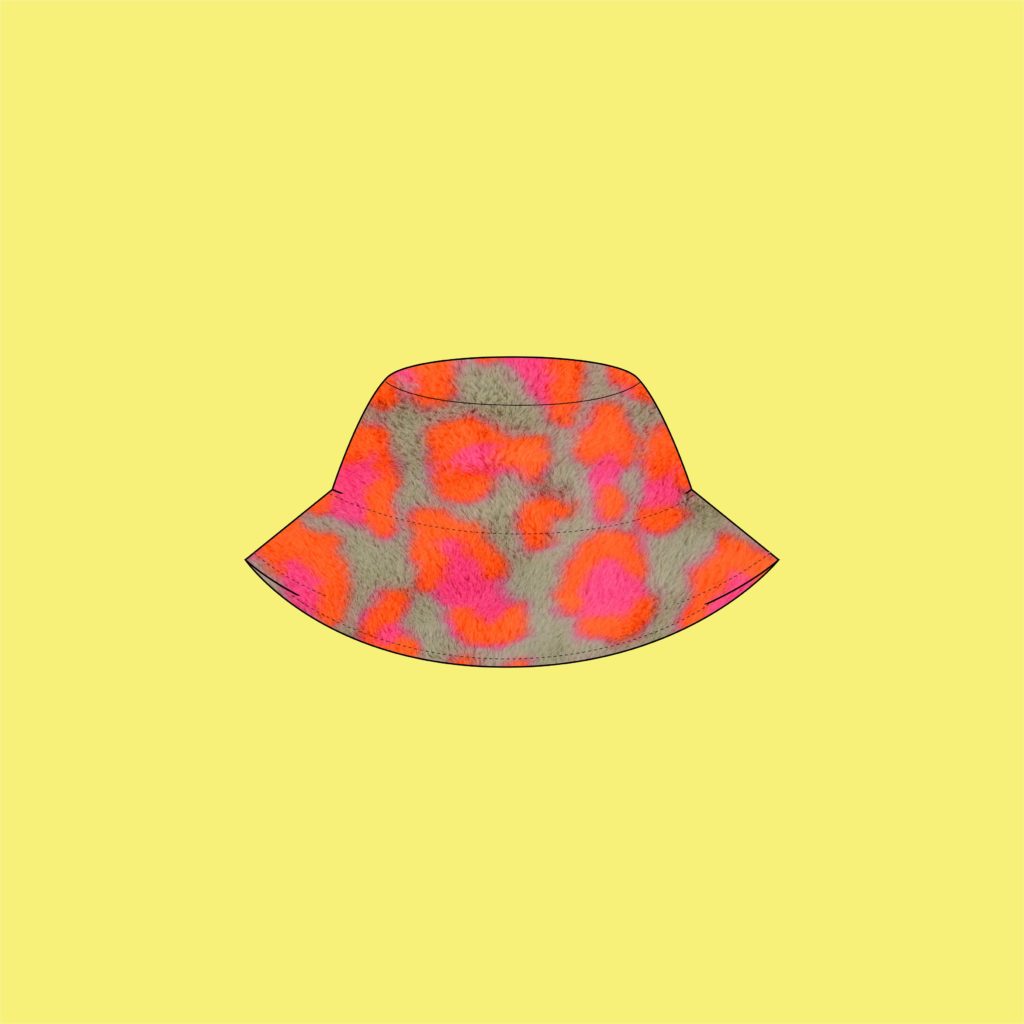
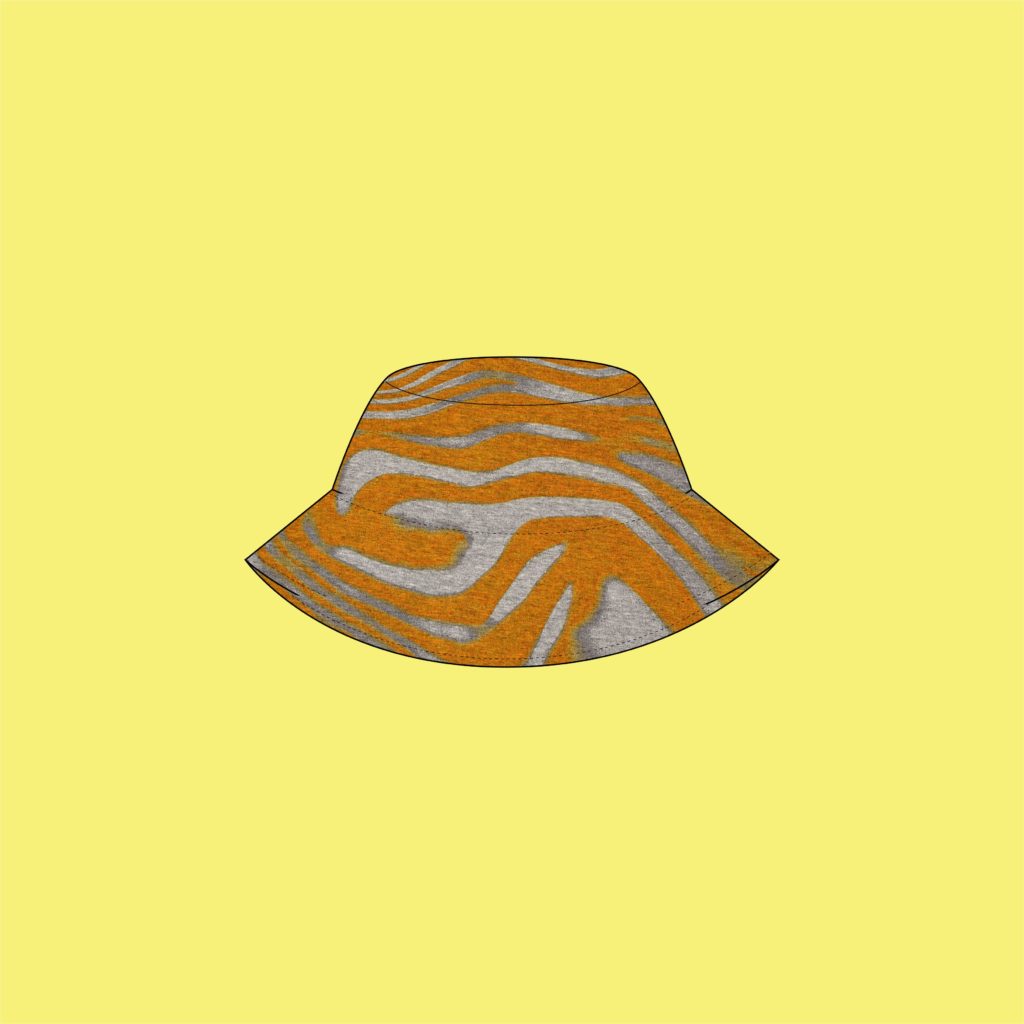
Free Bucket Hat Pattern – Fishing Hat Guido.
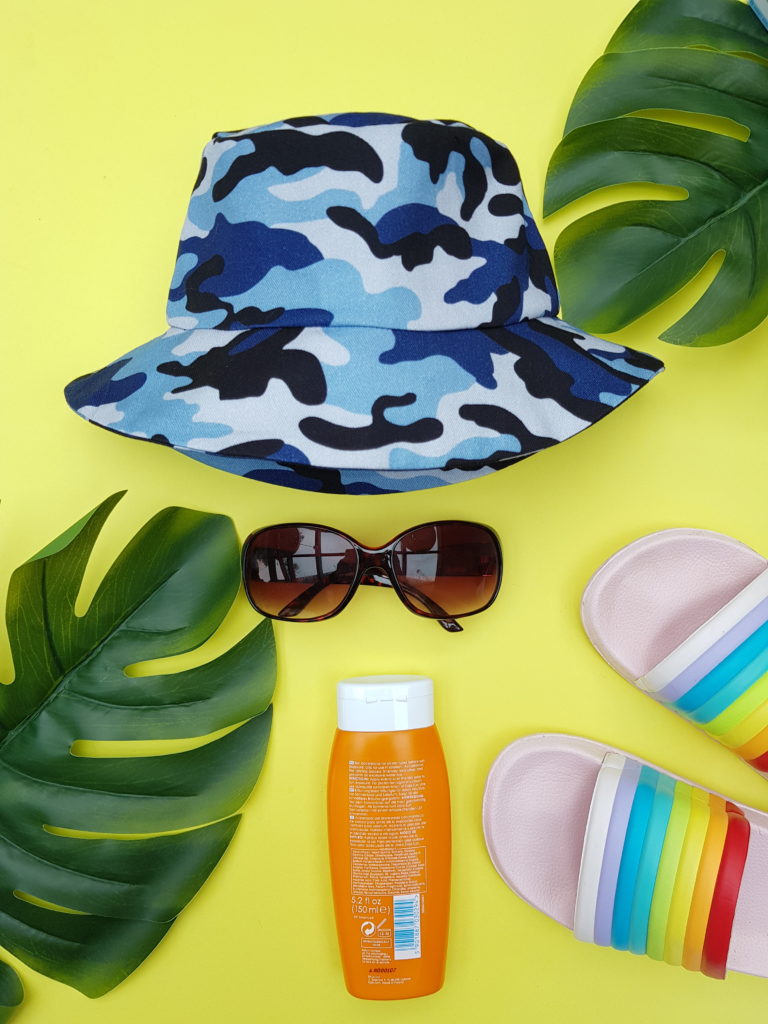
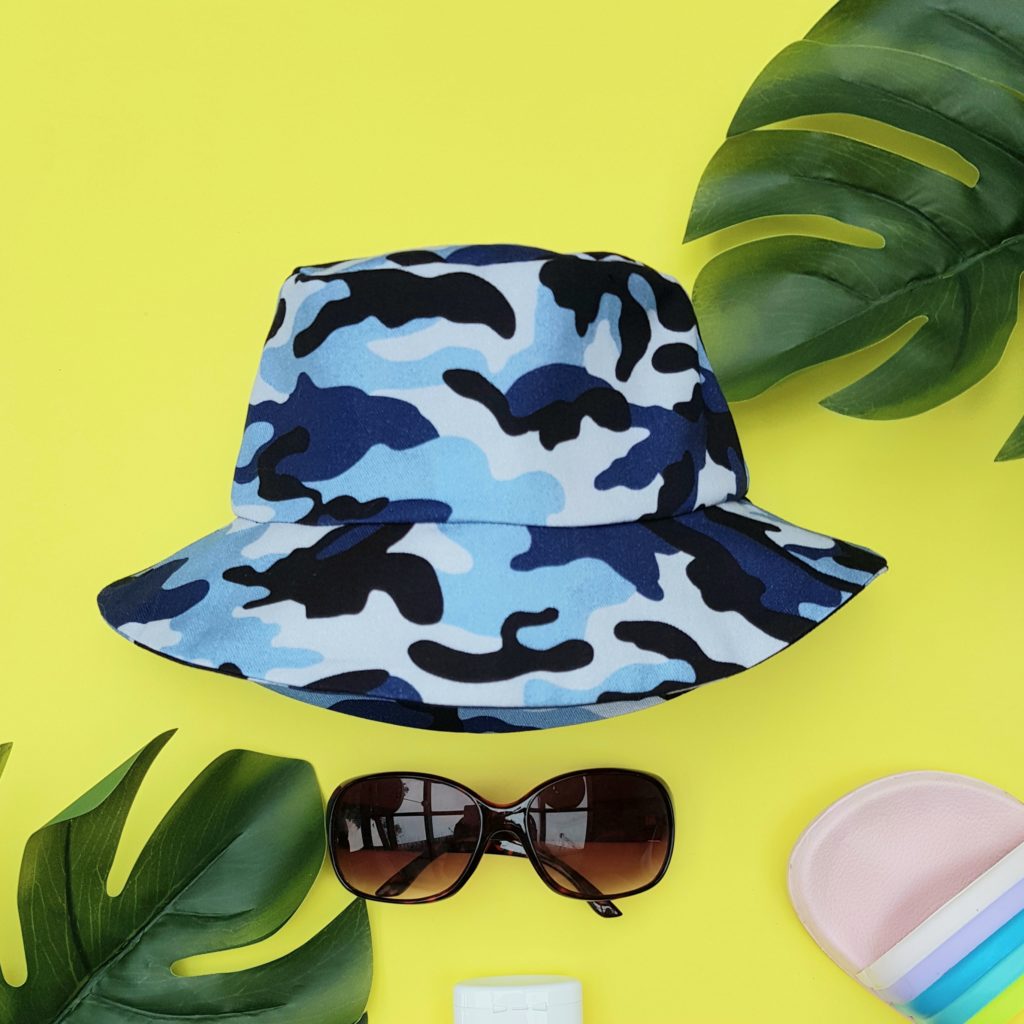
It’s the same with a bucket hat as with a bum bag – either you love it or you hate it! We think the good old bucket hat is very cool! There is a lot of potential in this headgear!
The bucket hat is currently becoming a real style statement. Sewn from different types fabrics, suited and worn in both the summer months or in the colder seasons, depending on the material.
Thanks to trendy prints and fabric qualities, the hat is getting a fashionable update and can be co-ordinated to your individual dress style.
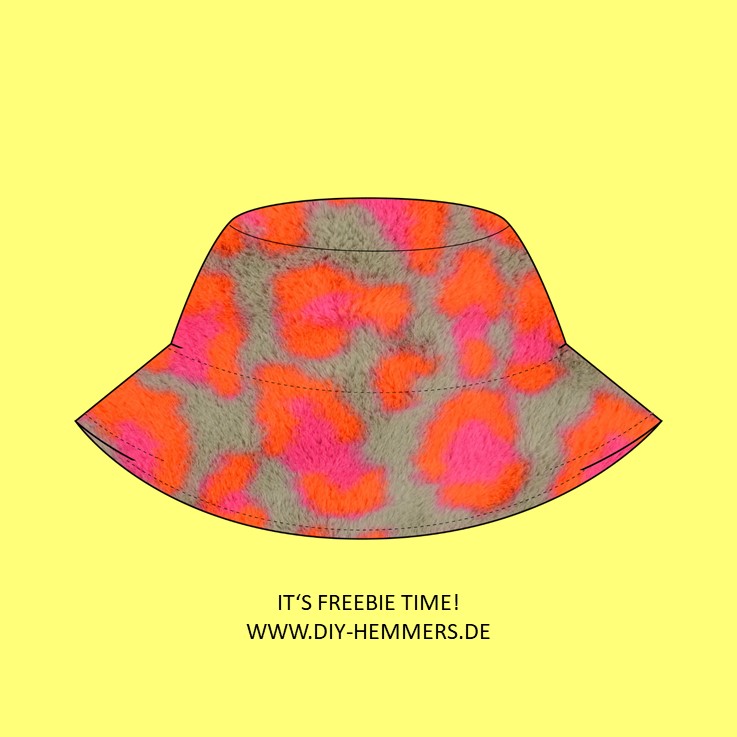
We have picked up on the retro trend and are providing you with a free sewing pattern for a bucket hat.
SEWING PATTERN FOR THE BUCKET HAT
The Bucket Hat Guido pattern is available in two versions: Mini Guido for children in sizes 54 and 59 cm. For adults: Big Guido in sizes 58 cm and 60 cm.
Download the free Bucket Hat pattern now. If you have a photo, please post it on Instagram and link us at @hemmersitex.
SEWING THE BUCKET HAT
Fabric consumption: for the simple, unlined summer version, you need approx. 0.5 mt 1.5 m of fabric.
You can also reinforce the brim with an interlining.
CUTTING:
Head part A 1 x on the fold
Side part B 2 x
Brim C 4 x
Instructions
Neaten the short edges of piece B (side part). Pin both side parts right sides together, stitch the short sides. press the seams apart.
Carefully pin the round head section (A) right sides together to the side section (B). Make sure that the markings are on top of each other. Sew everything together all the way around and finish oft he raw edges.
Pin the two brim pieces (C) right sides together and sew together along the two short edges. press the seams apart. Repeat the process for the other 2 brim pieces.
Pin the finished brim pieces right sides together, stitch the outer fabric edge all the way around. Cut into the seam allowances, shape the fabric edge nicely from the right side and press.
Pin the brim to the headform and sew together all the way around. Neaten the seam allowance. Press this seam into the head piece, stitching on the right side.
Topstitch the edge of the brim. Complete!
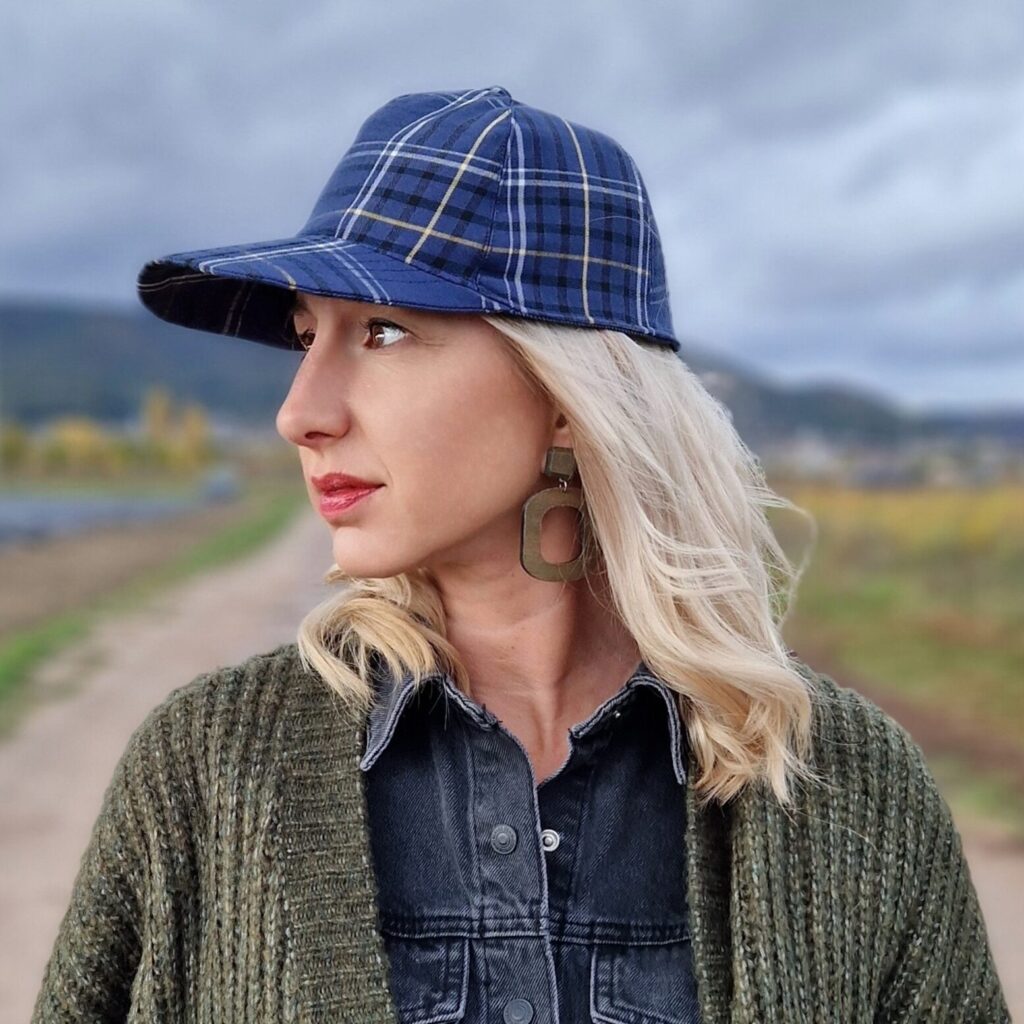
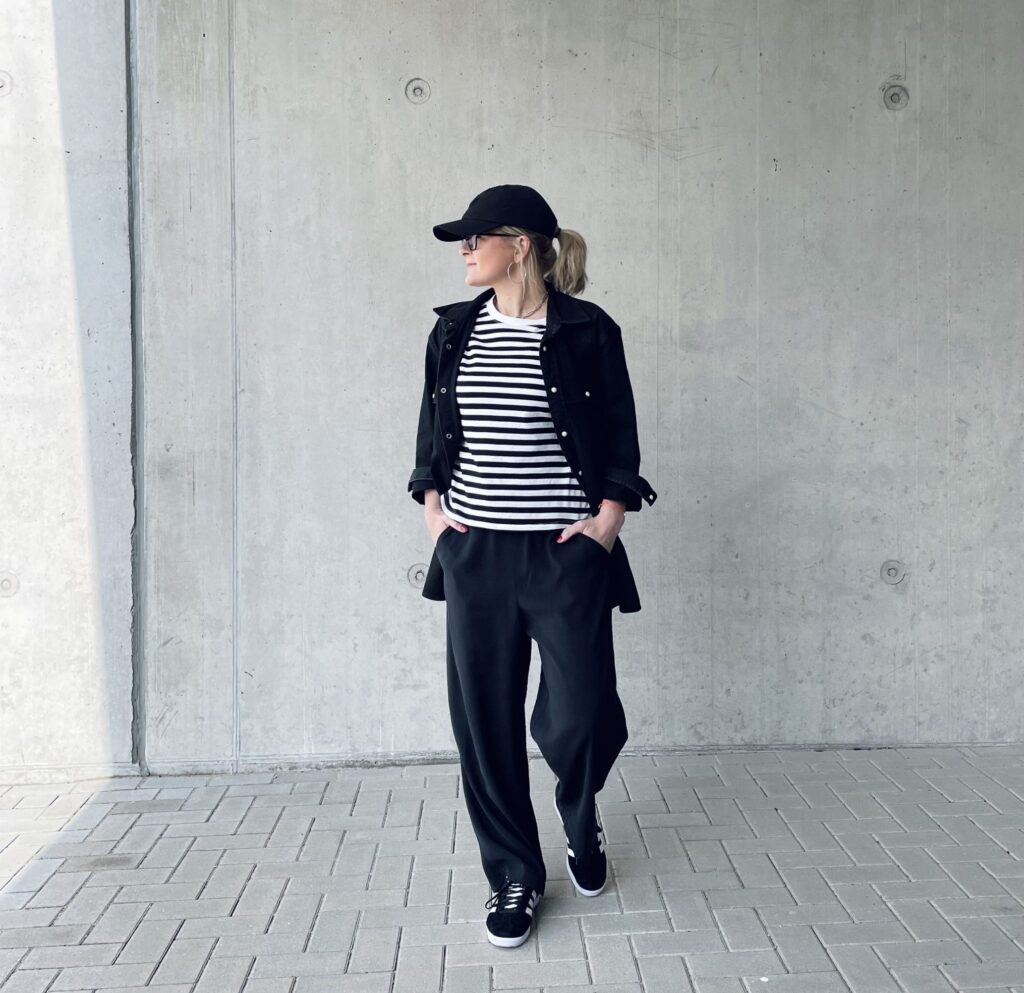
Nordhorn Cap
DIY Gauze Blouse
Shirt pattern
Wooli Jacket
Coat
Birte dress
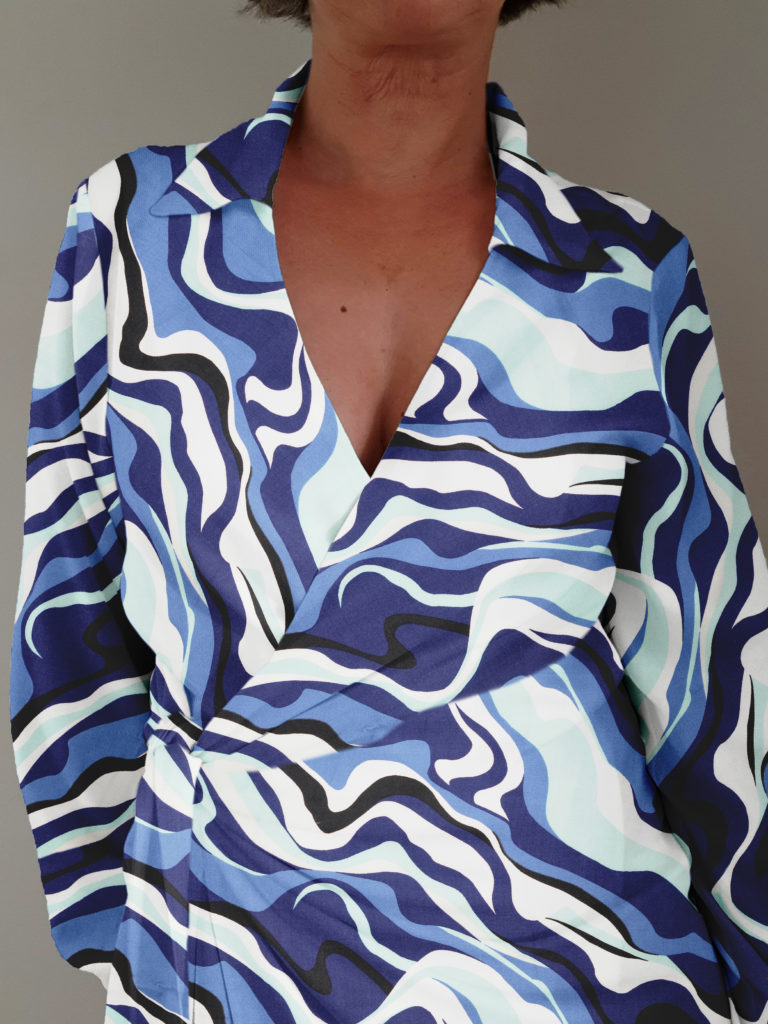
Wrap dress

#sewwonderfully
Curvy sewing
Leonie pants
Wide leg pants
