Collar pattern making tutorial
Today I’ll show you how you can easily construct a flat-lying collar with an inserted stand on an existing pattern (tailor’s English!)
That means: This is a collar (attention, it is not a Peter Pan collar!) With an integrated stand that can be turned over. This collar is often found on coats, vests or jackets.
With this pattern hack you can add a DIY collar to any pattern.
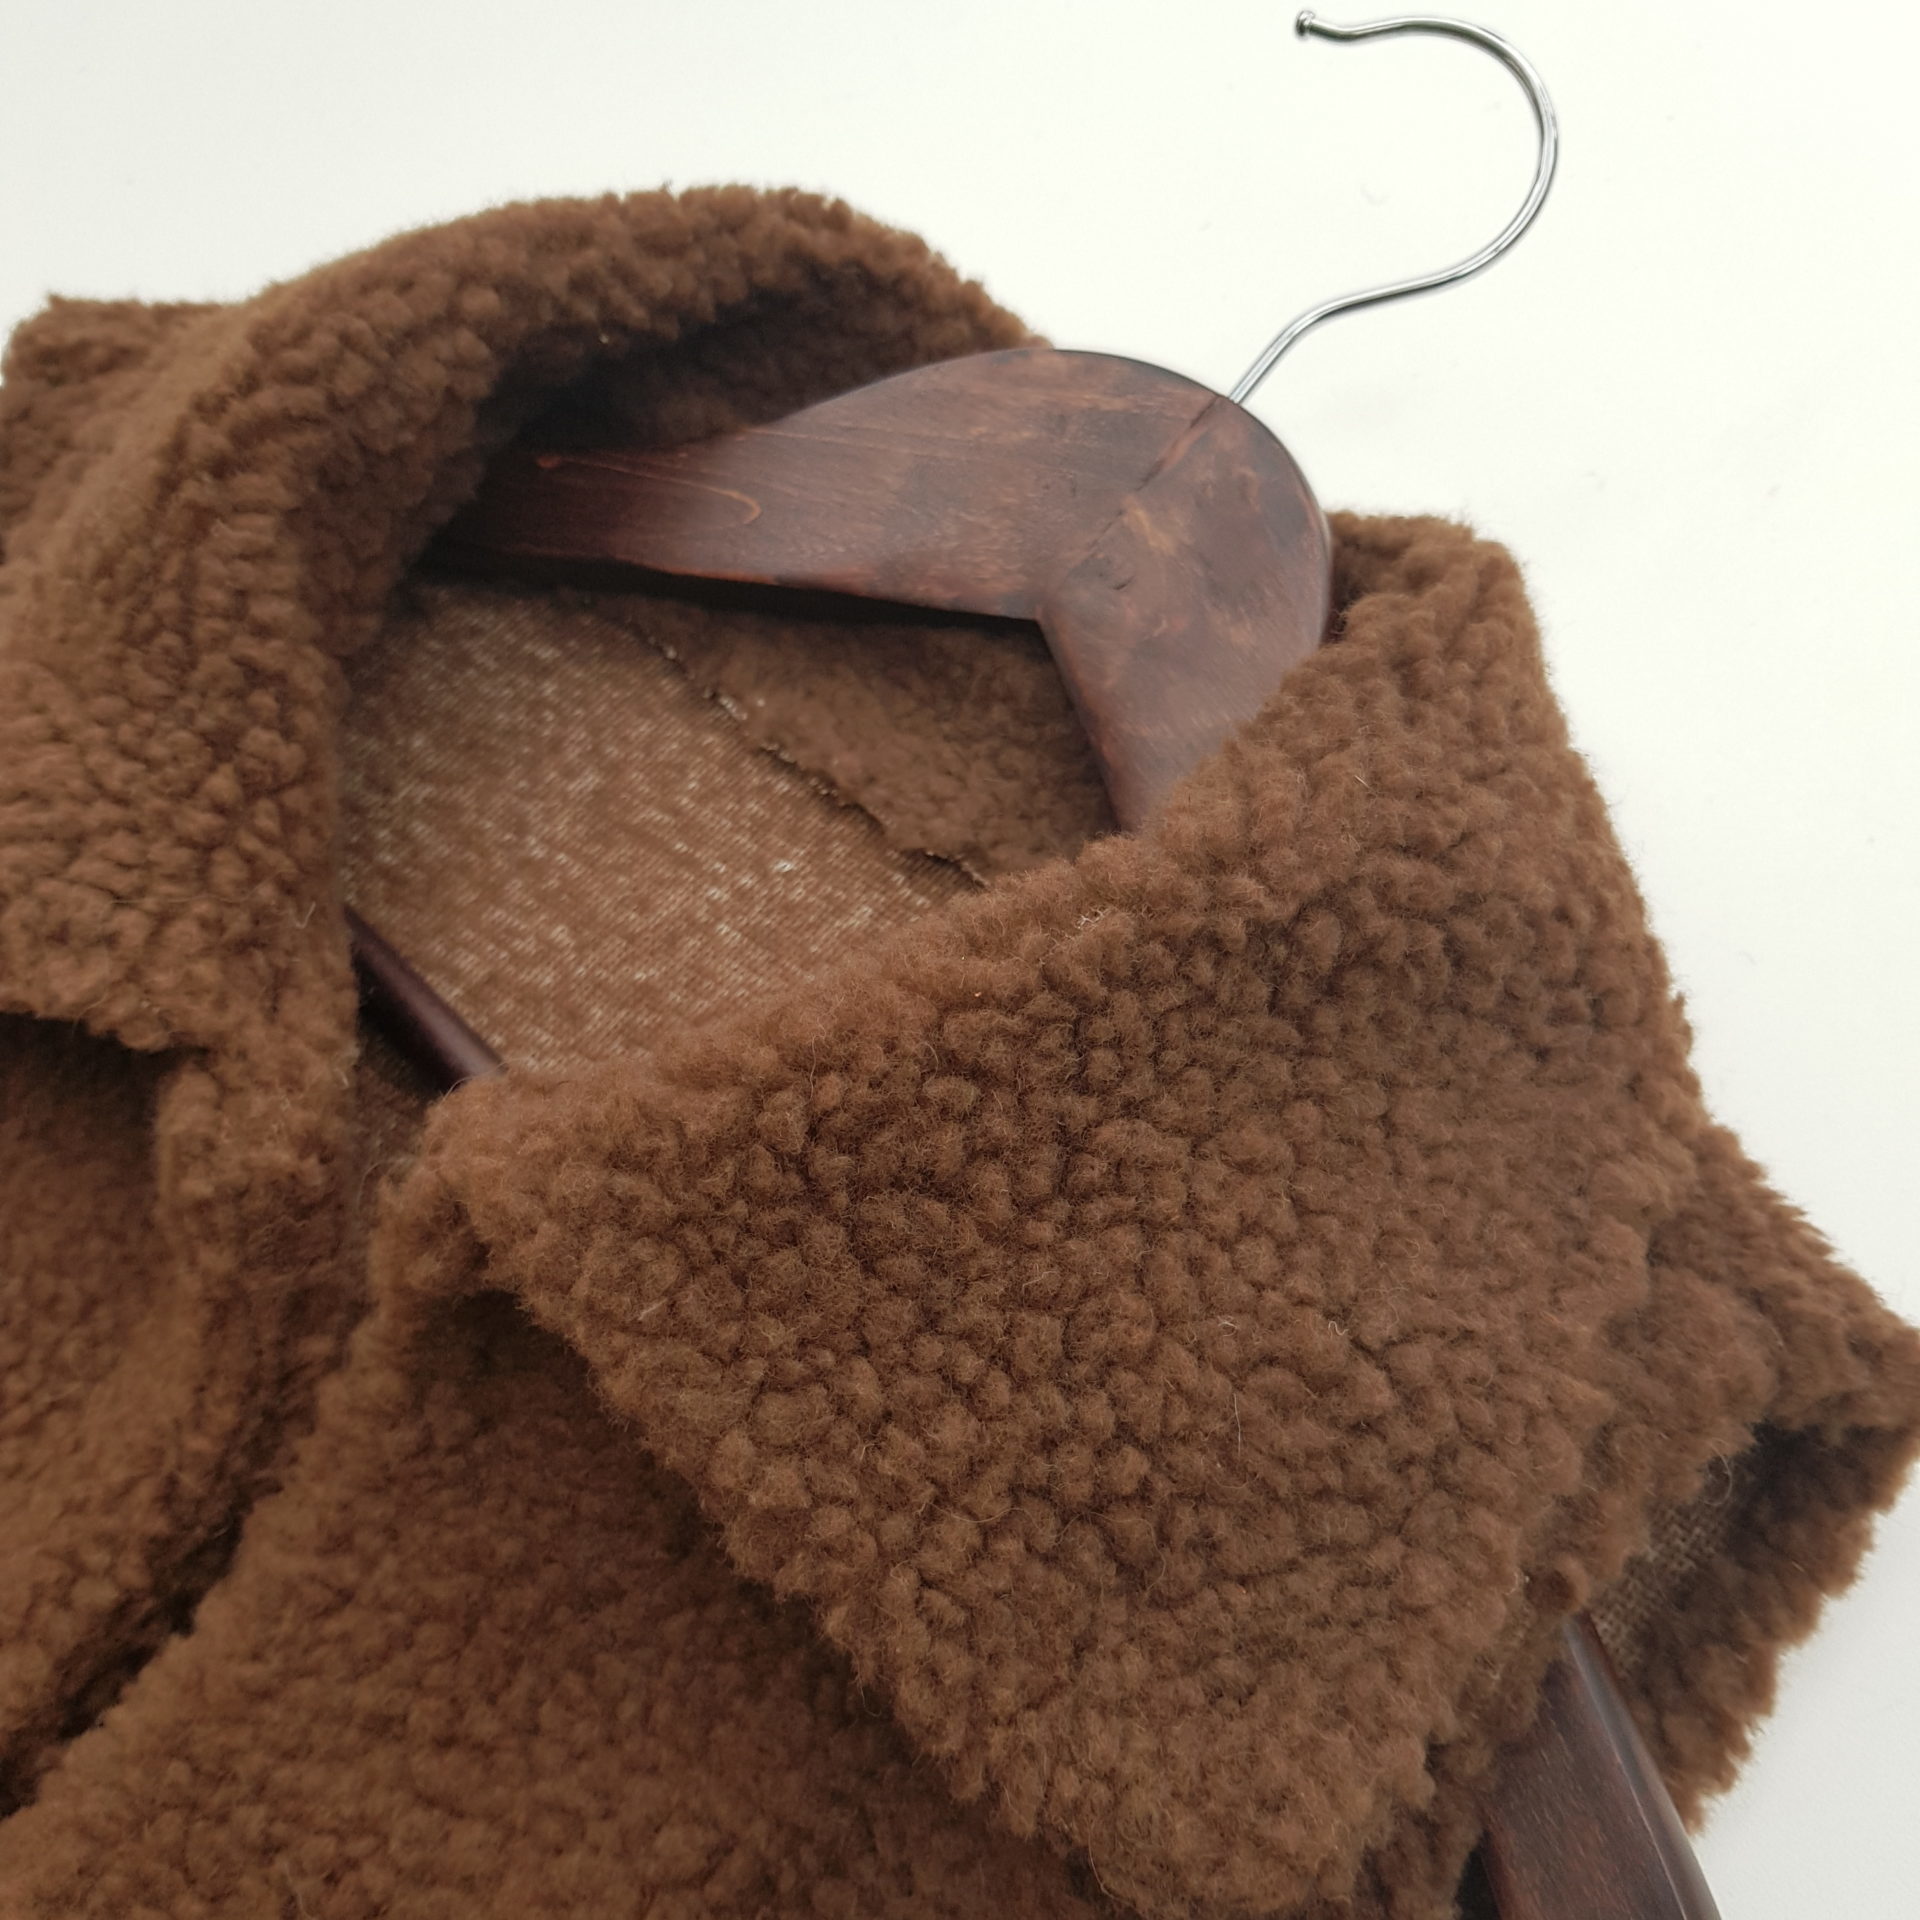
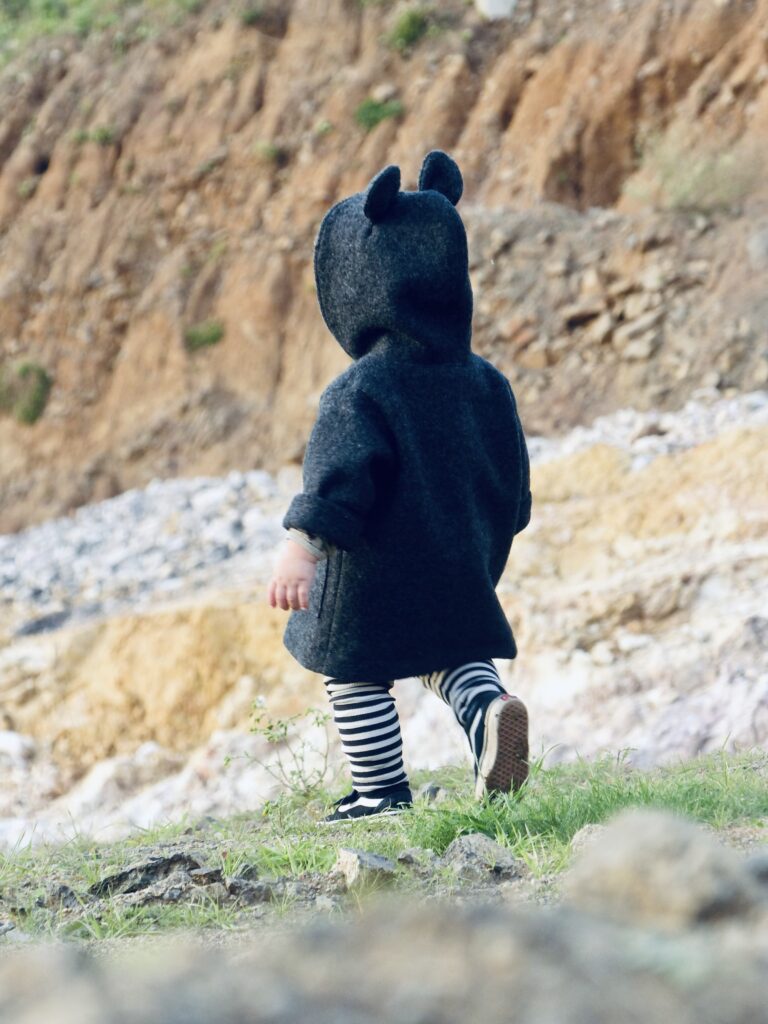
TEDDY VEST SEWING PATTERN
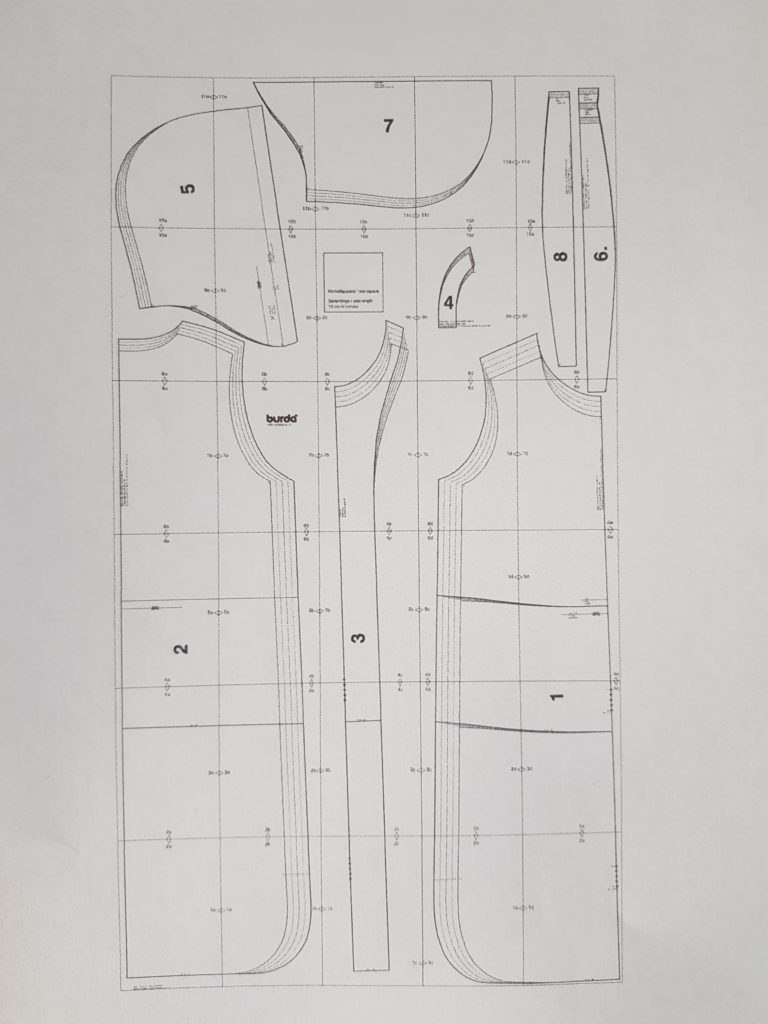
For my base pattern I used the long hooded vest from Burda, item no. 118 052020
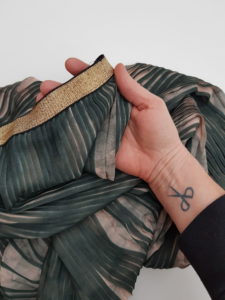
I sewed the hood, but since my vest is made of thick teddy fabric Art.No. 100097, it seemed much too voluminous for me. So, a nice collar was needed to replace it.
DIY COLLAR SEWING PATTERN
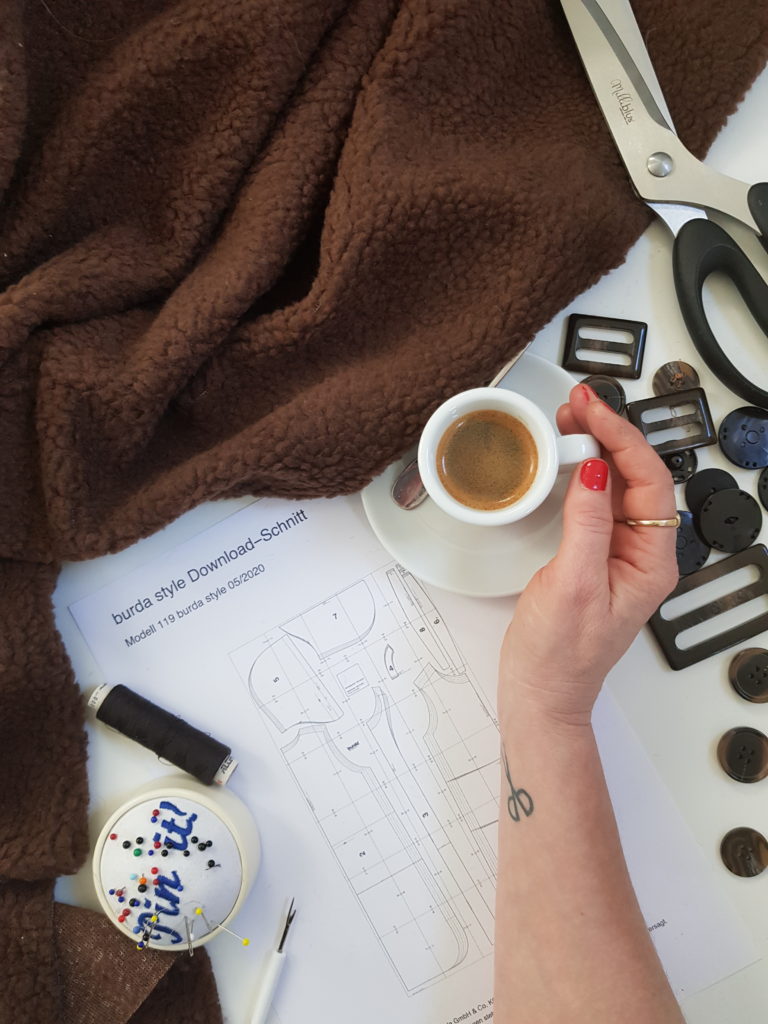
For the pattern making of your collar you need:
your sewing pattern
pencil
ruler
curve ruler – if you don’t have one, you can also use… a bias tape. In this post, I’ll show you how to do it.
paper – a sheet of A4 squared paper would be perfect!
COLLAR SEWING PATTERN TUTORIAL
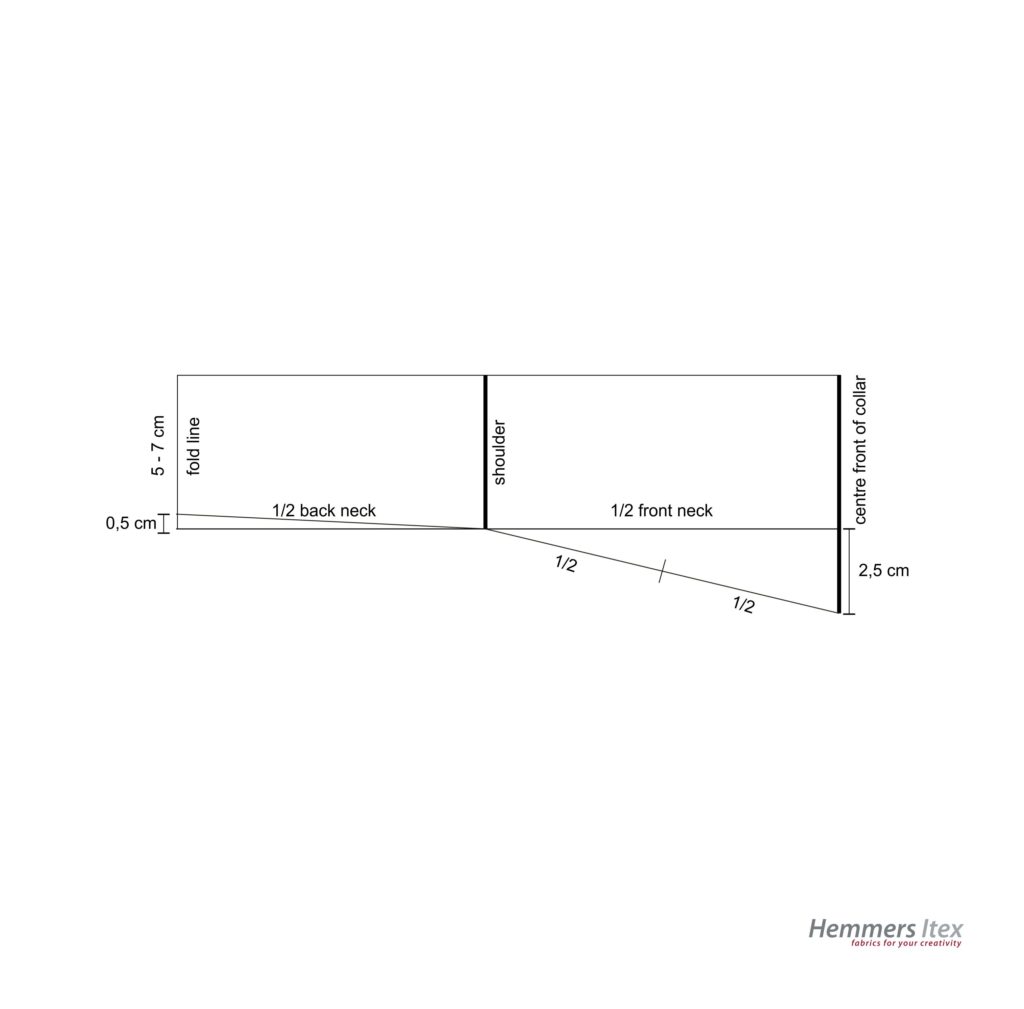
To make the pattern for the collar yourself, you have to measure the front and back neckline.
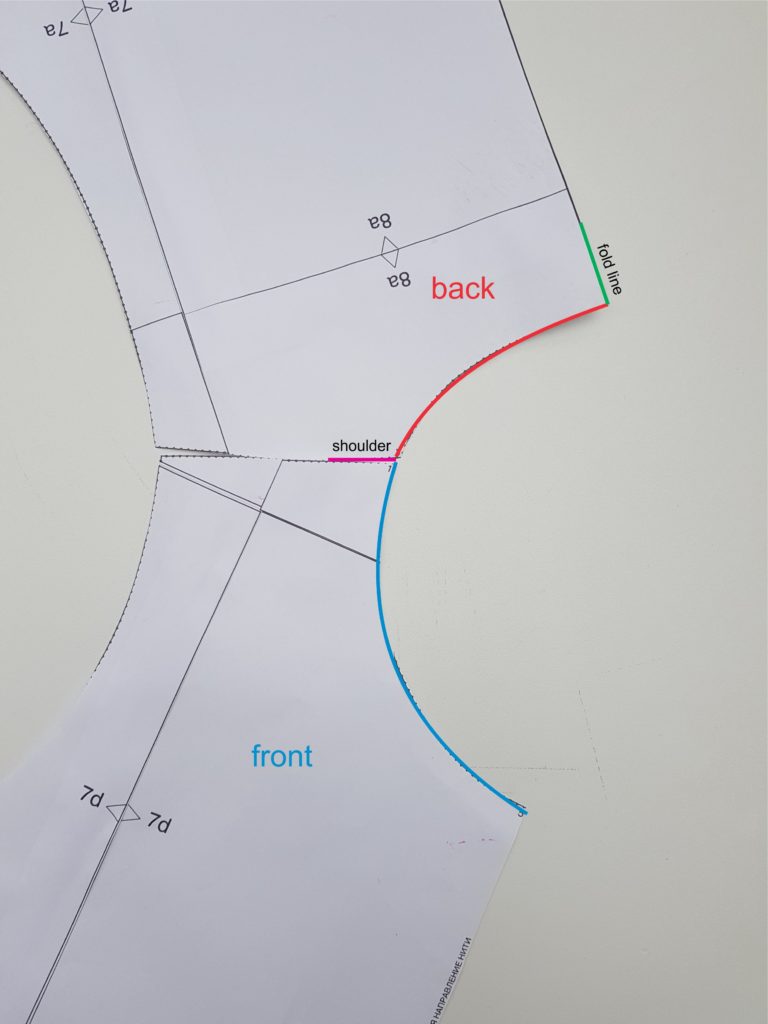
Be sure to write down these numbers.
First, draw a horizontal line on a piece of paper and enter your values as shown.
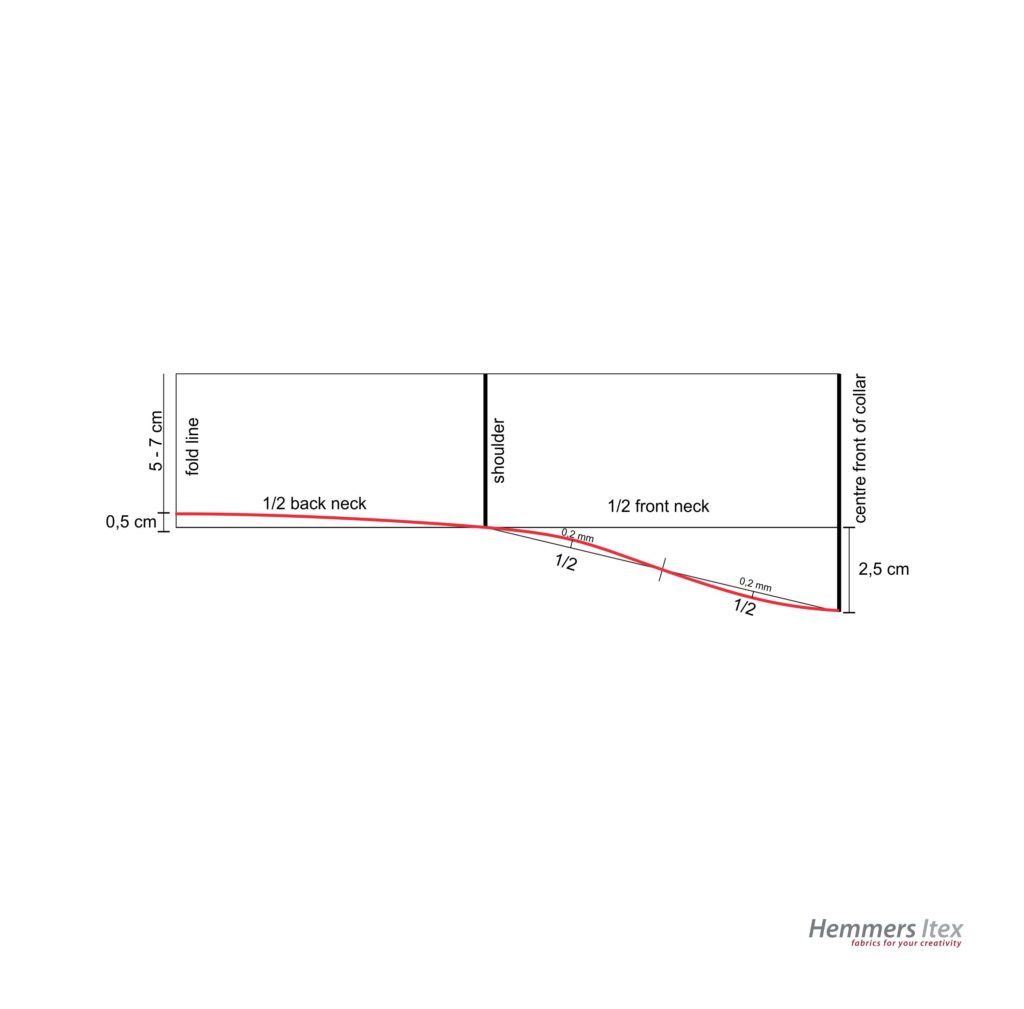
You have to round off the red lines. If you don’t have a special tool for this, you can also use a bias tape and place it in a curve at these points.
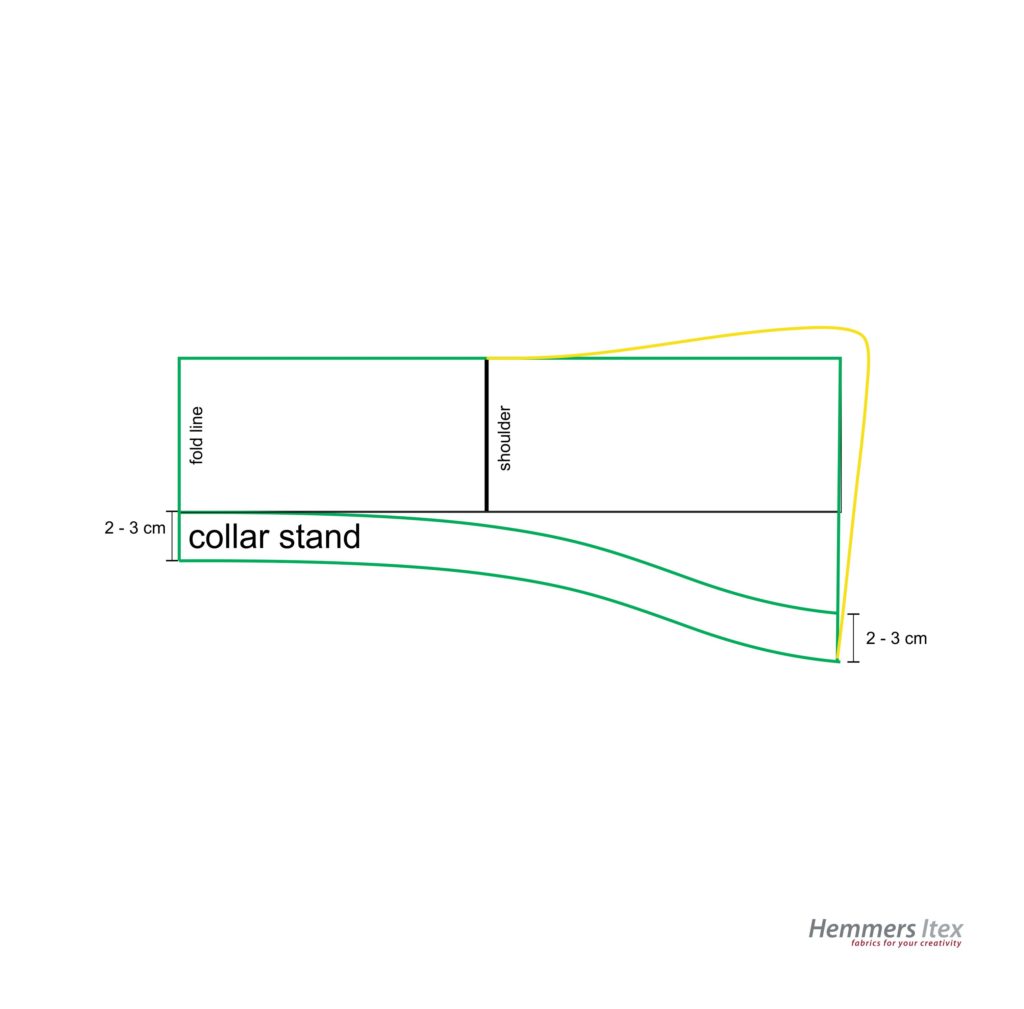
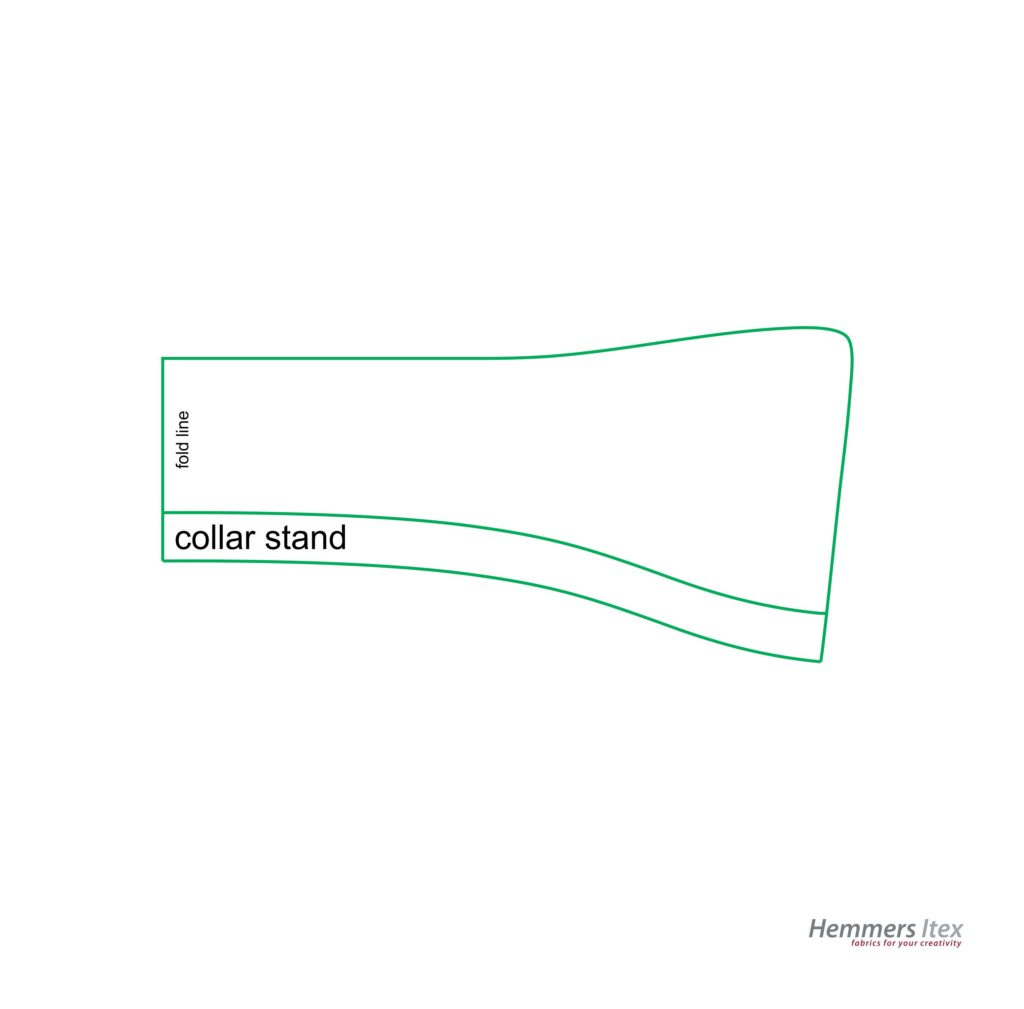
Now draw a curve parallel to the neck line (the red line) at a distance of 2 – 3 cm (height of the bridge). This curve is exactly the same shape as the neck line.
The easiest way to do this is to use a hand-held rular to draw markings along the neckline at a distance of 2 – 3 cm and then connect them.
You can design the front corners of the collar (the yellow line on the picture) as you wish.
I hope you enjoy designing and experimenting! And if you are not sure whether your collar has actually turned out nice, it is essential to sew a sample model beforehand!
Did you like the post? Then share it with your friends!
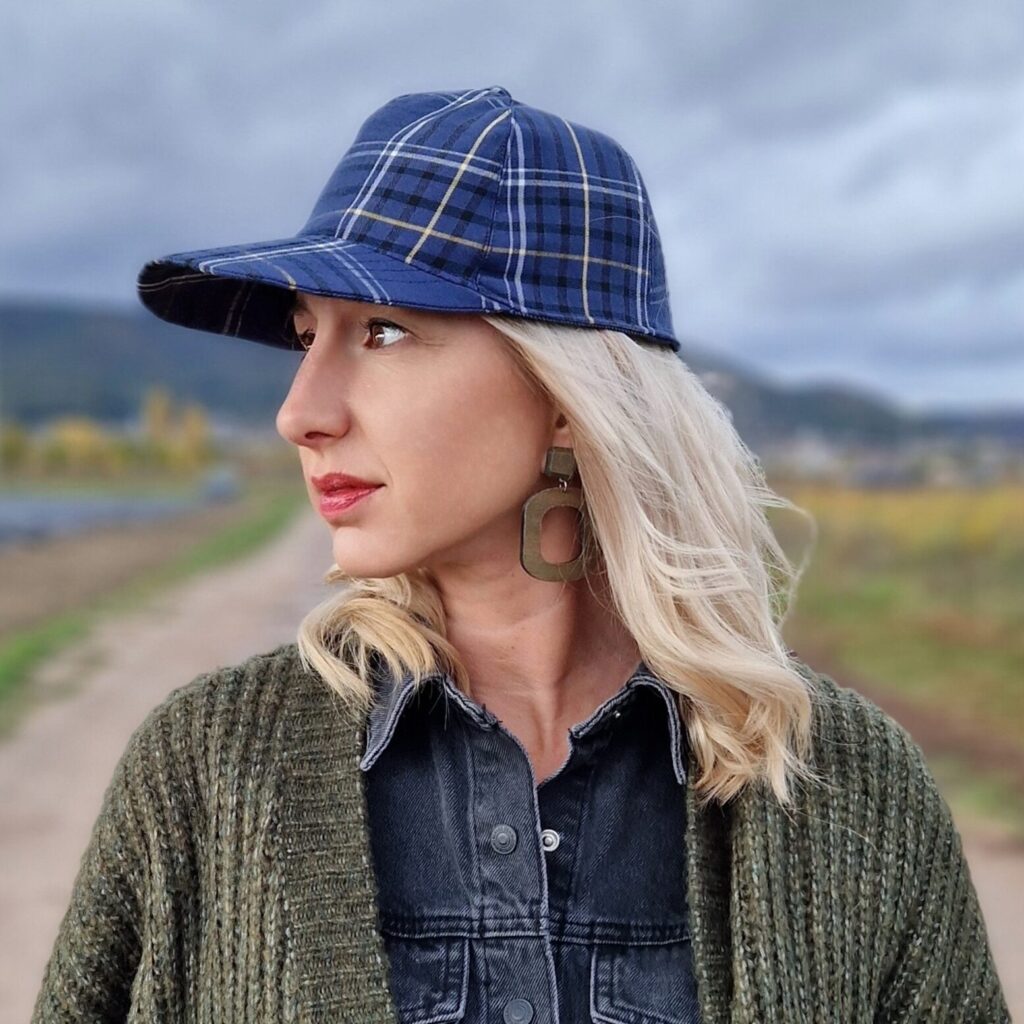
Nordhorn Cap
DIY Gauze Blouse
Shirt pattern
Wooli Jacket
Coat
Birte dress
Wrap dress
#sewwonderfully
Curvy sewing
Leonie pants
Wide leg pants
