Puffer vest free sewing pattern
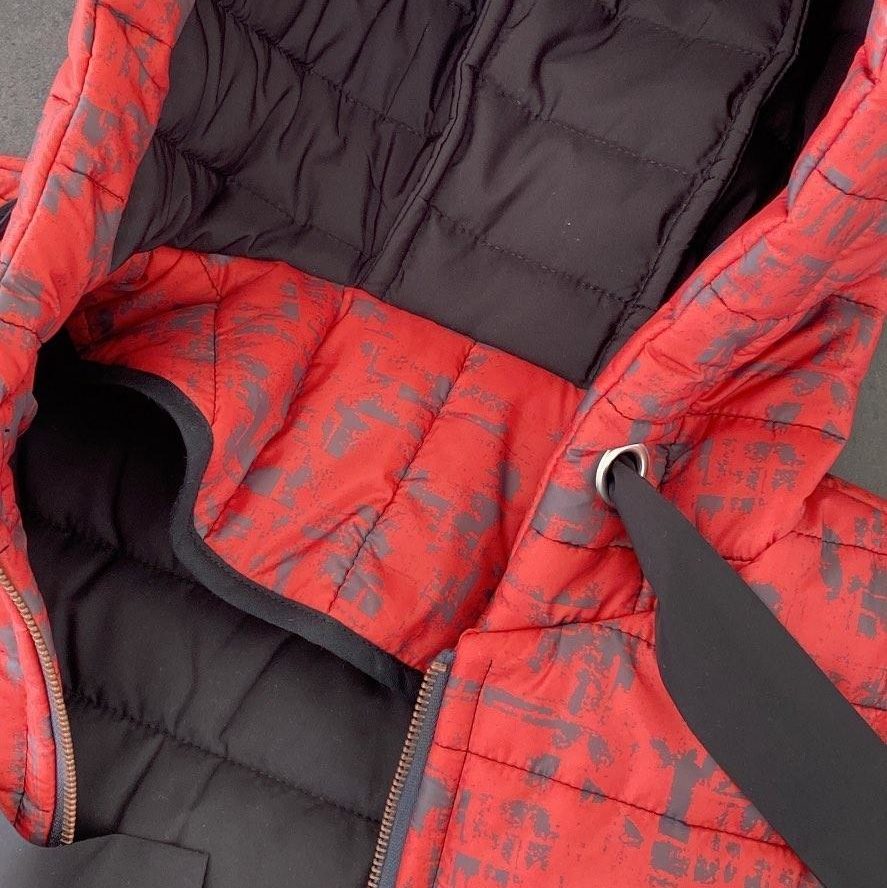
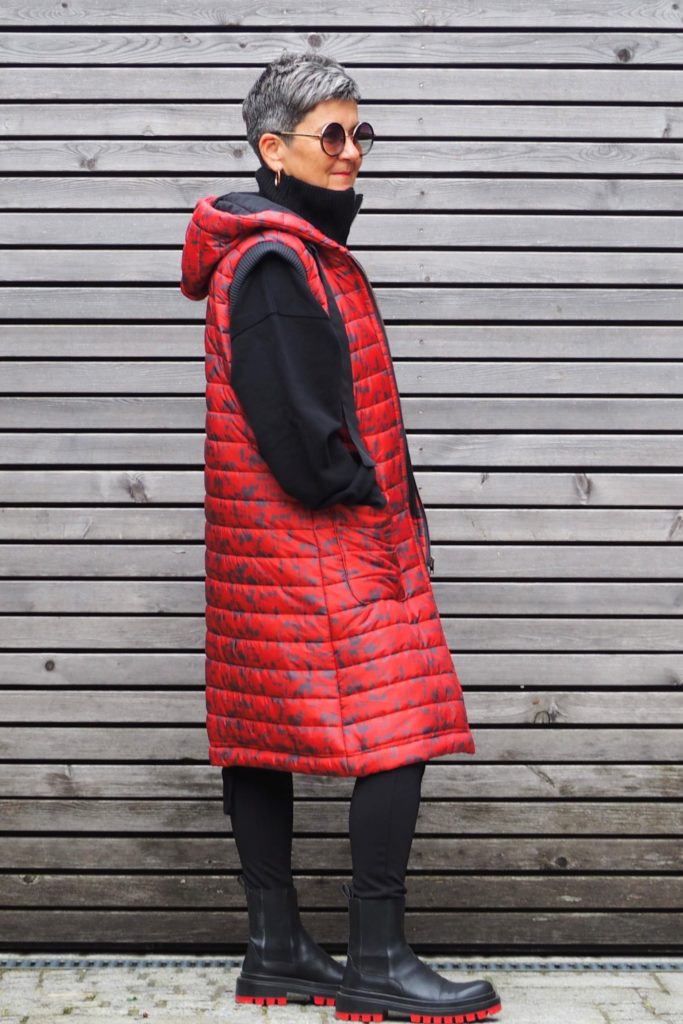
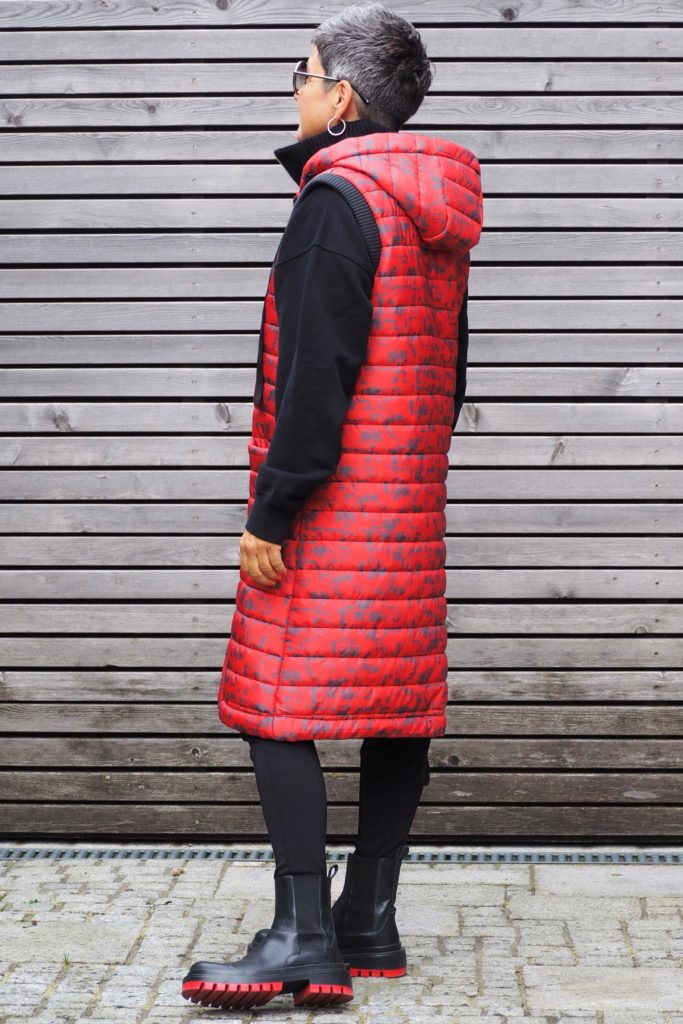
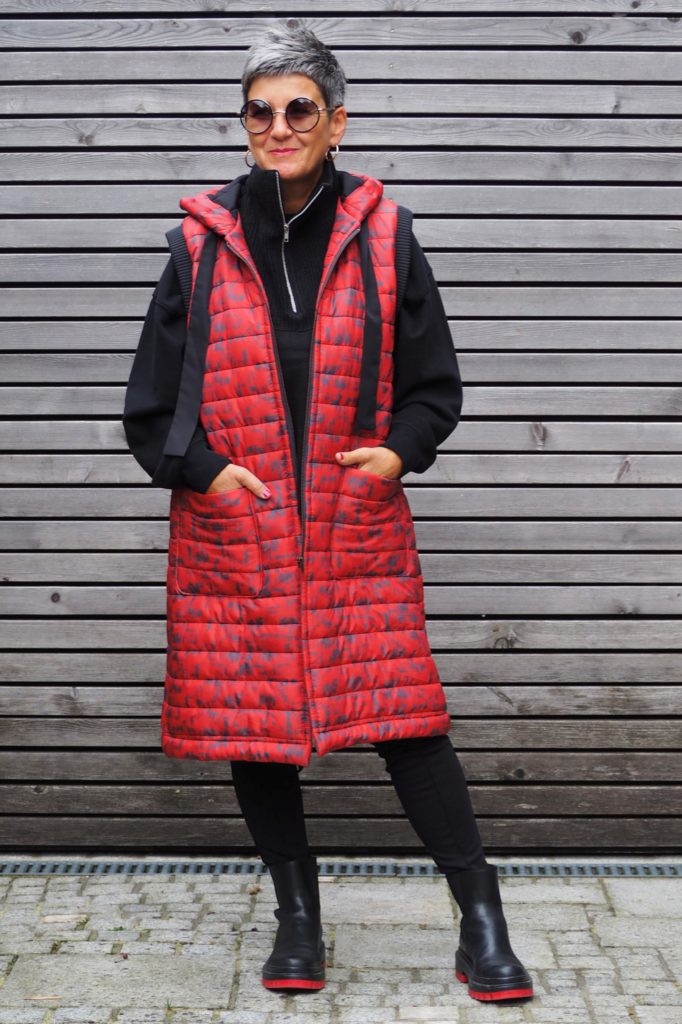
Have you already noticed the new trend? A long quilted vest is the current favorite coat of the season! It keeps you nice and warm, looks super chic and can be styled in many different ways.
This season we prefer to simply wear it with jeans, an oversized hoodie and platform ankle boots.
With a knitted dress, a denim jacket or faux leather leggings and a chunky wool jumper. There are so many great ways to style the It-piece of the season!
You can now sew this fashion trend using our free pattern for the long vest with a hood GITTI VEST
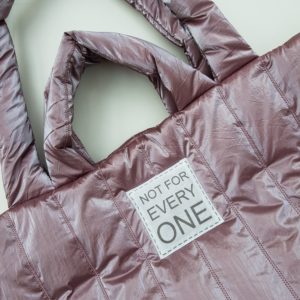
But be careful! We have another surprise for you guys! The Coat Freebook doesn’t come alone! The perfect match: PILLOW BAG! Another fashion trend that we have picked up on – quilted bags are also very popular this fall.
Tips and tricks for sewing with quilted fabrics.
Are you a fabric dealer? You will find a large selection of quilted jacket fabrics on our online shop.
Puffer vest free sewing pattern
Download the free Gilet pattern GITTI VEST now. The seam allowances are NOT included in the pattern. The Free pattern is available in size. 36-46.
If you have a photo, please post it on Instagram and link us at @hemmersitex.
The pattern consists of 32 A4 pages and must be put together as follows:
Front pattern piece:
1-2-3
4-5-6
7-8-9
10-11-12
Back pattern piece:
13-14
15-16
17-18
19-20-21
Hood, facings and pockets
22-23-24
25-26-27
28-29-30
31-32

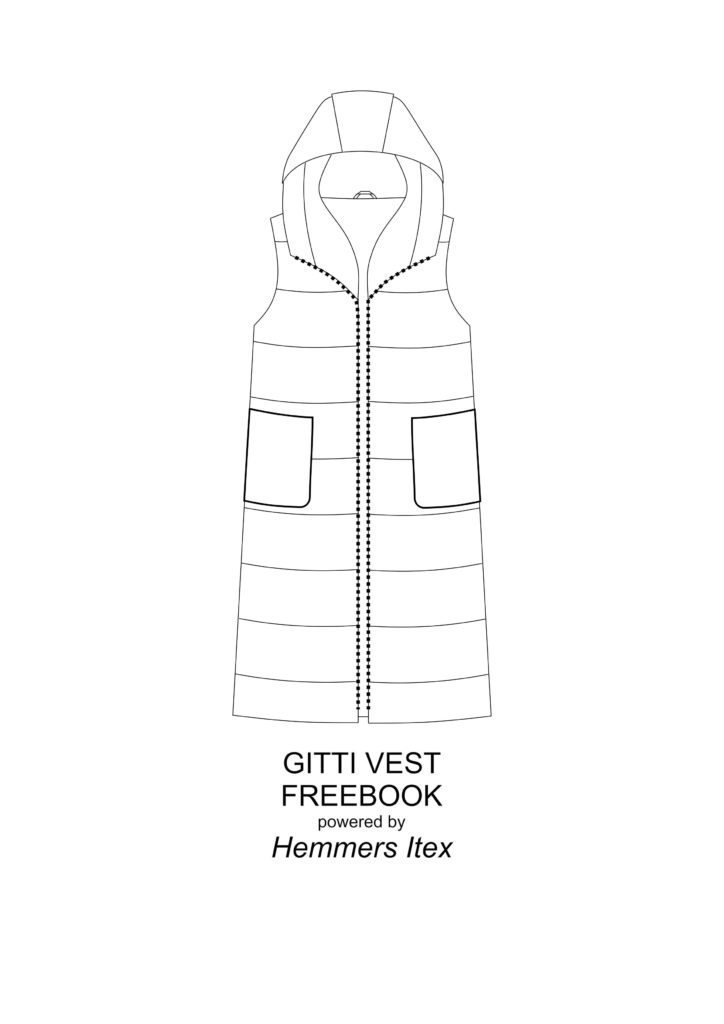
INSTRUCTIONS
Material:
For the vest: Stepper, Boiled wool, Softshell or coat material: 2m
Zip: 85 cm
Cuffing for the armholes 0.2m or bias tape.
Finish off all edges with an overlocker or zig zag on your machine:
Straight edge of the fabric of the pockets.
Single shoulder seams
Front facing – outer edge
Back facing – outer edge
Front piece: side seams, bottom hem
Back piece: side seams, bottom hem
Hood facing outside seam
POCKETS
Fold the top of the pocket right sides together, topstitch the sides (facing only) the width of the presser foot. Turn the fold right side out. Shape corners. Topstitch the fold from the right or sew it on with a hand stitch from the inside.
Loosen the upper thread tension a little. Sew along the seam allowance oft he pockets with a larger straight stitch. This seam helps you to place the seam allowances evenly inwards.
Pull the threads so that the seam allowance is inside.
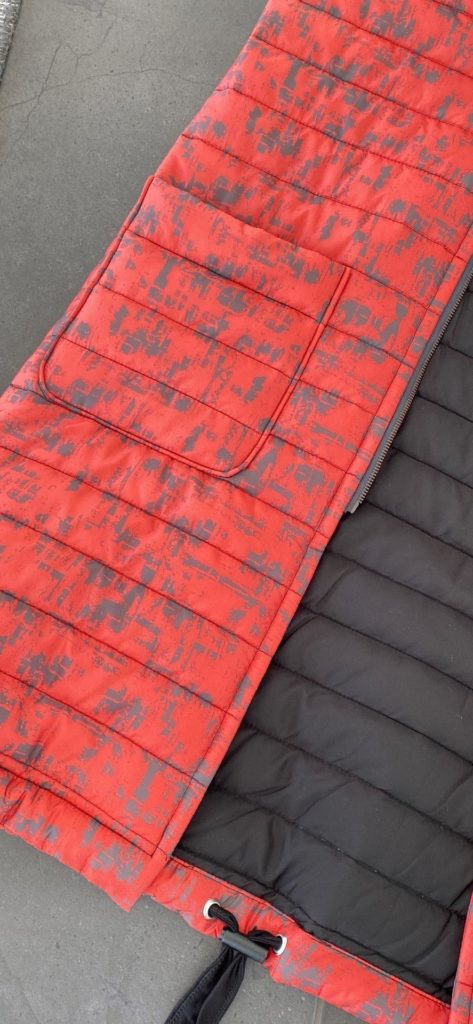
Position the pockets on the front of the coat where marked, pin them and stitch using an edgestitch
Front and back pieces
Stitch shoulder seams and side seams right sides together.
Armholes
The armholes can be edged with a bias tape (in this case, cut the armholes without seam allowance) or with cuffing (recommended width at the fold: 5 cm).
The heavy rib cuffs are particularly suitable for this.
The armhole is measured for the cuff length. This value is multiplied by 0.7.
Hood
The hood consists of three pieces. The narrower end piece of the middle part is at the front.
Stitch the middle piece to the side pieces of the hood. Finish off the seams.
Trimming the hood
Place the trim right sides together, sew together.
Pin the trim to the hood, sew and fold the trim onto the left side of the hood.
Topstitch the trim from the right.
Attached the the hood at the neckline and finish of the seam edge.
Zipper
Pin the zip halves upside down and stitch in place.
Facings
Sew Shoulder seams.
Pin the lower edge of the facing right sides together to the hem edge of the front pieces and stitch.
Front facing right sides together to the front piece. Pin the edges at the neckline (front and back) (start at the neckline) and stitch (zipper foot). So that the zipper is held in between.
Baste trimming under the shoulder seam.
Topstitch the zipper a foot width from the right.
Topstitch the hem or sew with a blind stitch.
PILLOW BAG
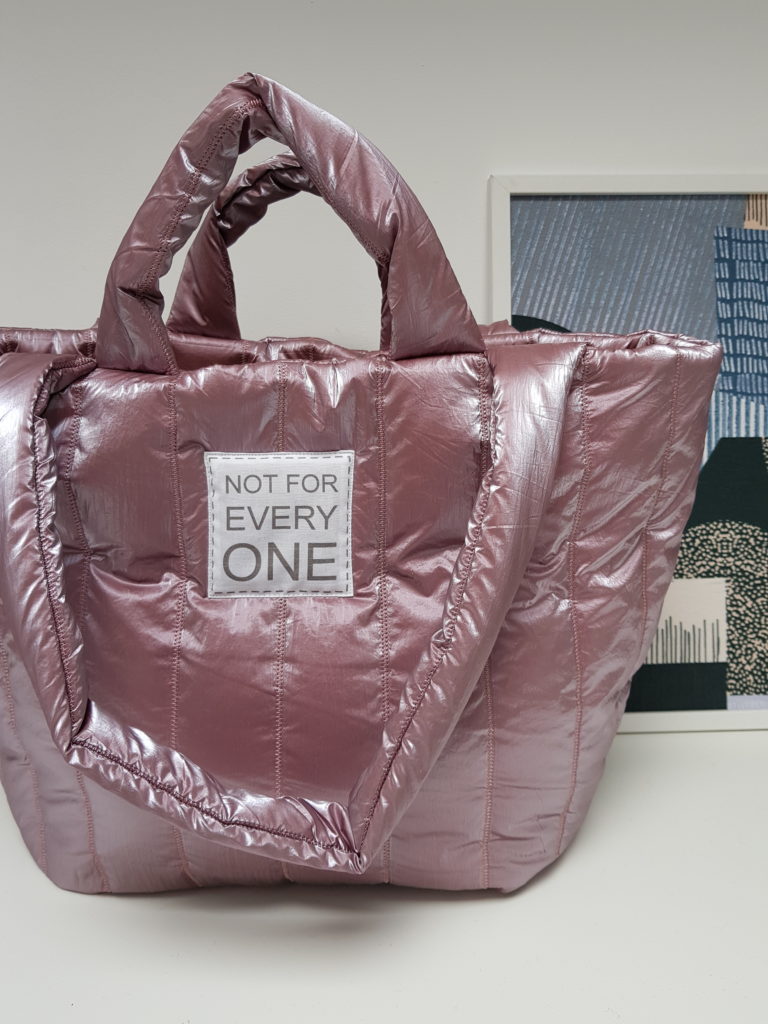
PILLOW BAG
SEWING BAG USING QUILTED FABRIC
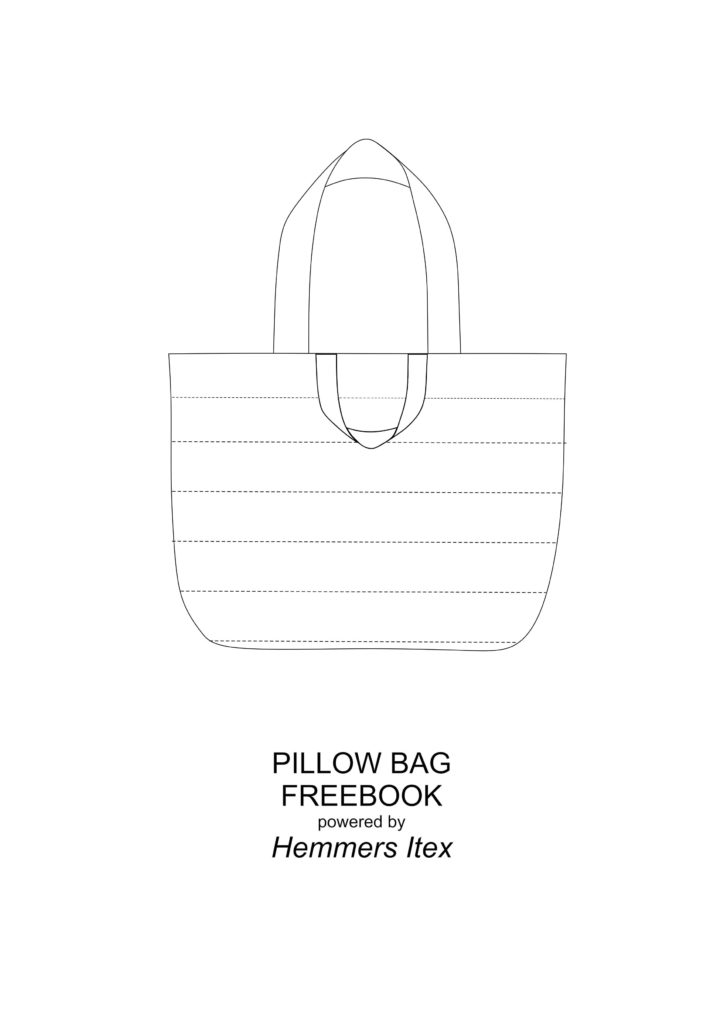
Download the free PILLOW BAG pattern now.
The seam allowances are NOT included in the pattern.
The pattern consists of 6 A4 pages and must be put together as follows:
1-2
3-4
5-6
Nordhorn Cap
DIY Gauze Blouse
Shirt pattern
Wooli Jacket
Coat
Birte dress
Wrap dress
#sewwonderfully
Curvy sewing
Leonie pants
Wide leg pants
BAG SEWING INSTRUCTIONS
Fabric consumption: 1m
Dimensions:
W: 35 cm
H: 35 cm
T: 12 cm
Bag Body
Lay both pattern pieces right sides together, close the side and bottom seams.
Unfold the bottom corners, stitch.
Finish of the seam edges.
Handle
Fold the strips of fabric lengthways, right sides together, stitch and turn to correct side
Attach them to the top edge of the bag and fix with a baste stitch
Tip: You can also cut 2 strips from the quilted fabric + seam allowance for the handles
Top bag Facing
Neaten the outer edges of the facings.
Pin right sides together, sewing along both short side seams to create a loop.
Pin right sides together around the top edge of the bag and sew
Fold facing inside. Topstitch from the right or: fix invisibly by hand from the inside, or: sew with the sewing machine with a blind stitch.

