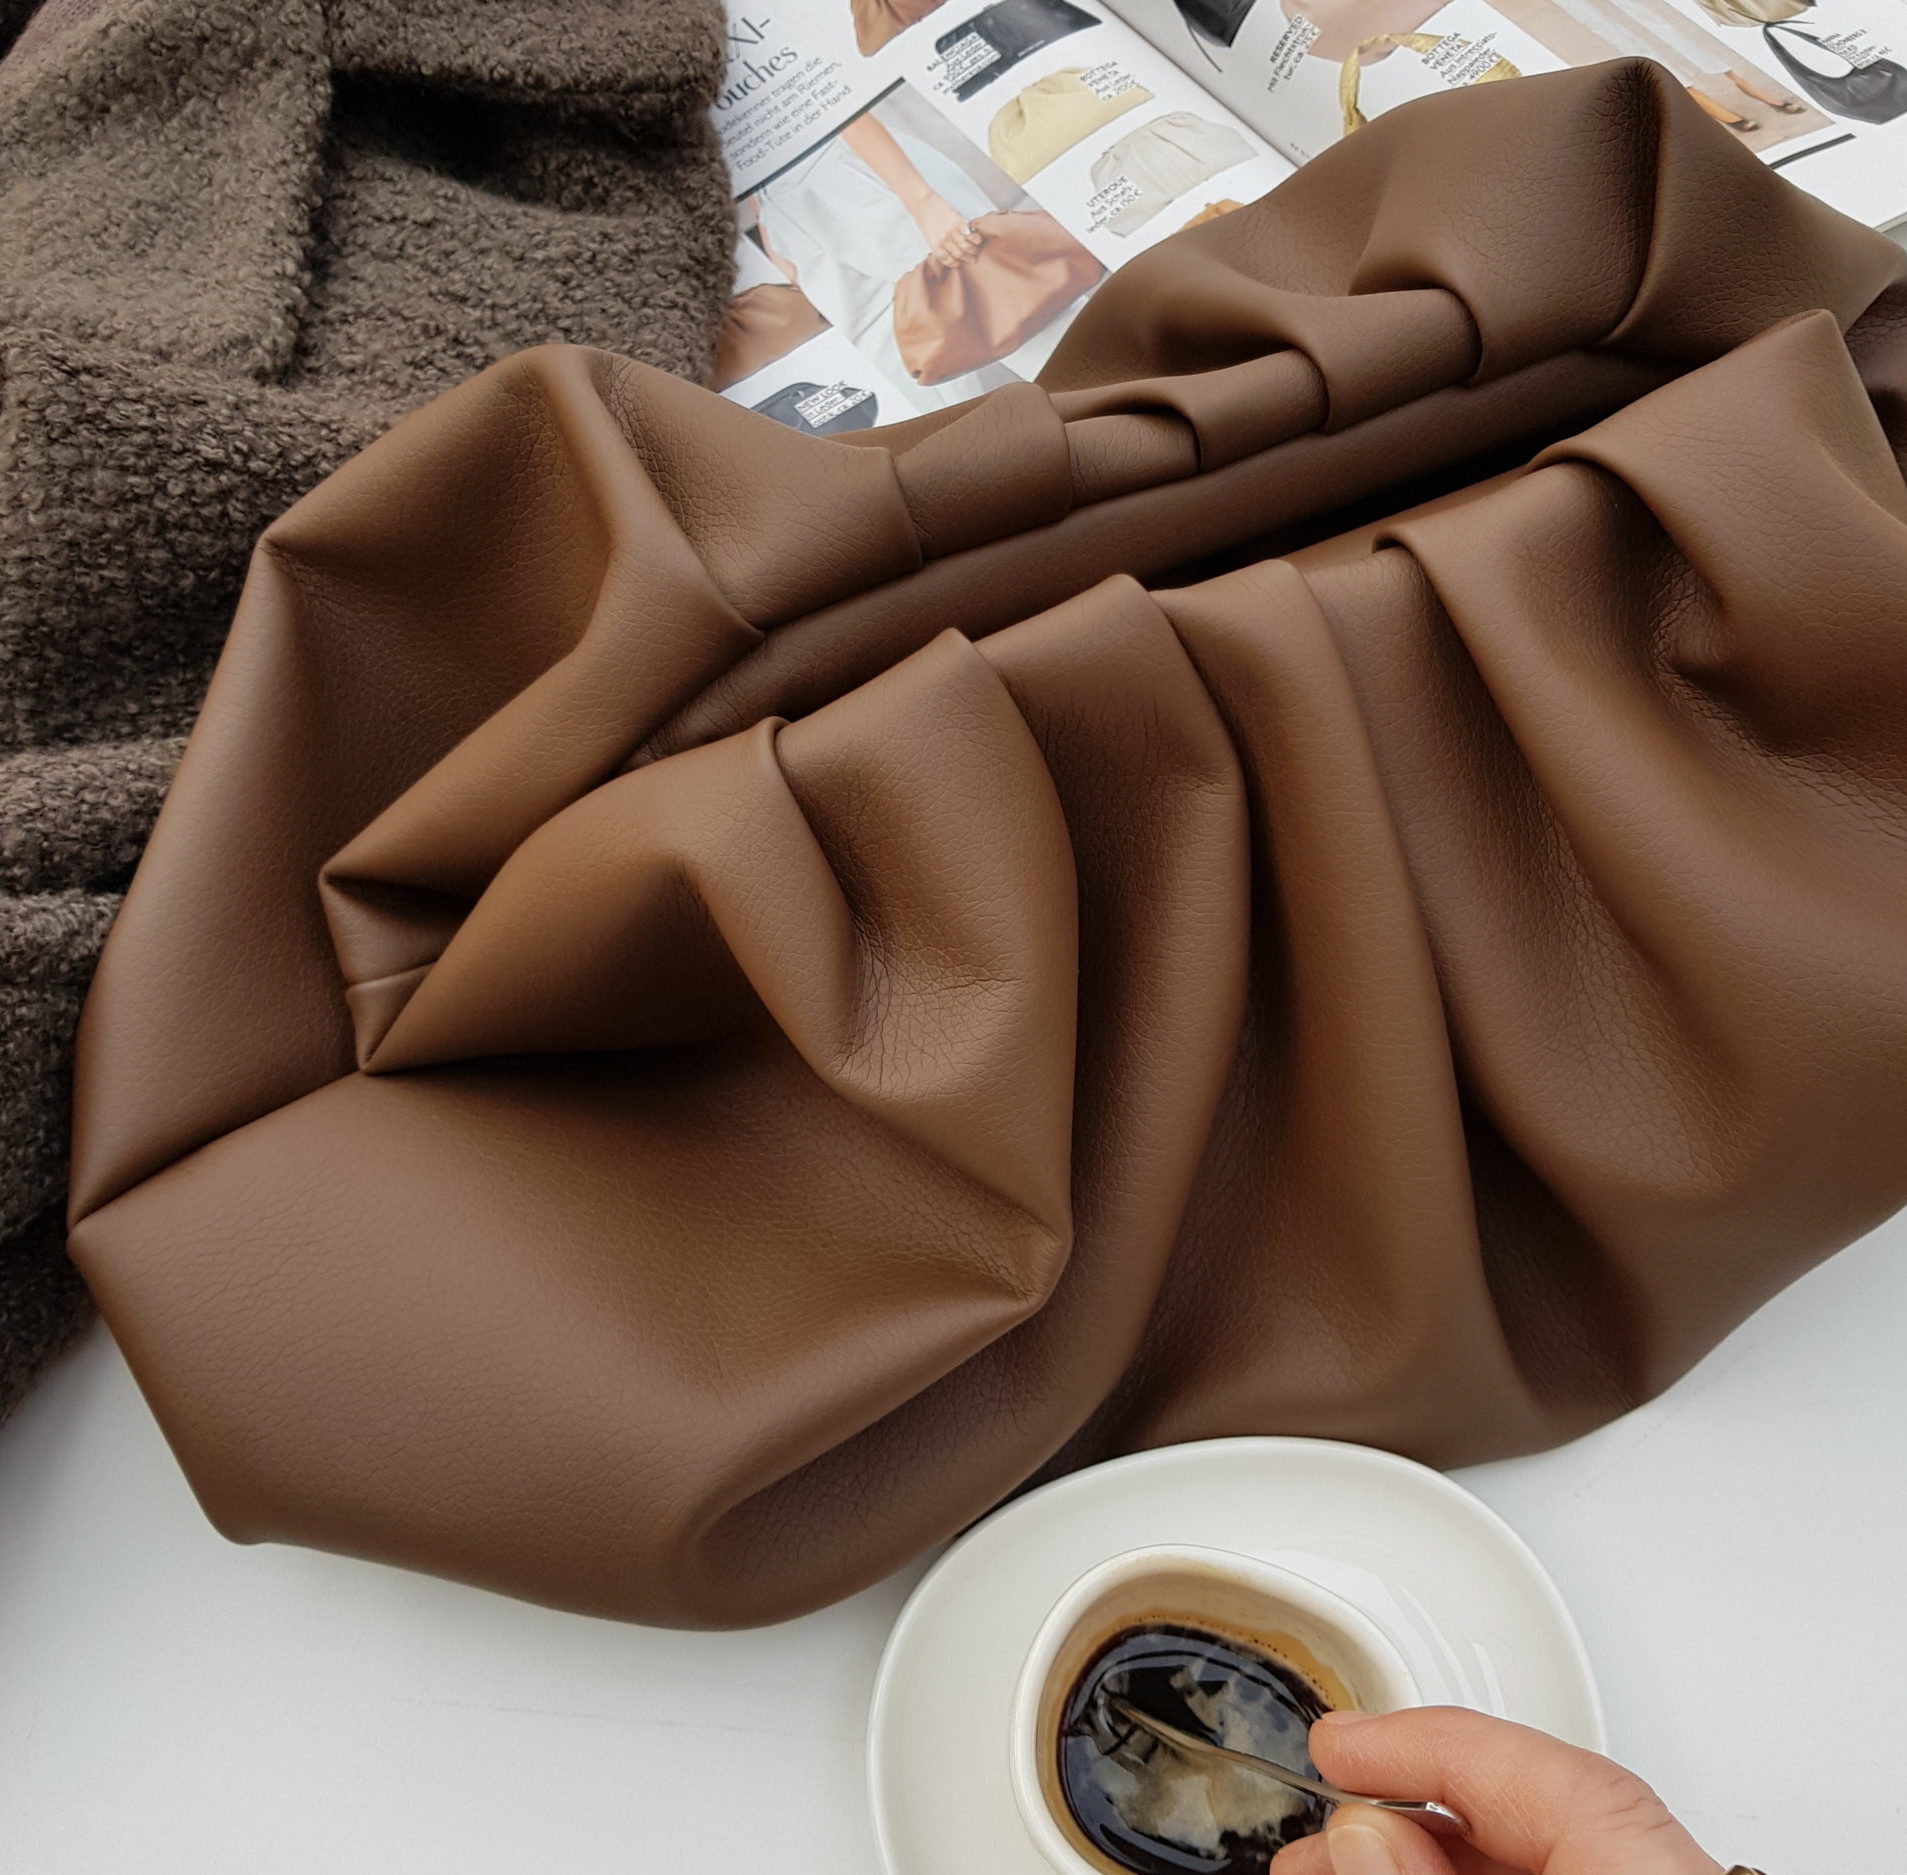
Pillow clutch free sewing pattern – pleated volume clutch.
Sew your own fashion bag! Very trendy at the moment and to be seen everywhere: Large clutch bags with pleated details that can simply be tucked easily under your arm. They exude pure casualness and coolness.
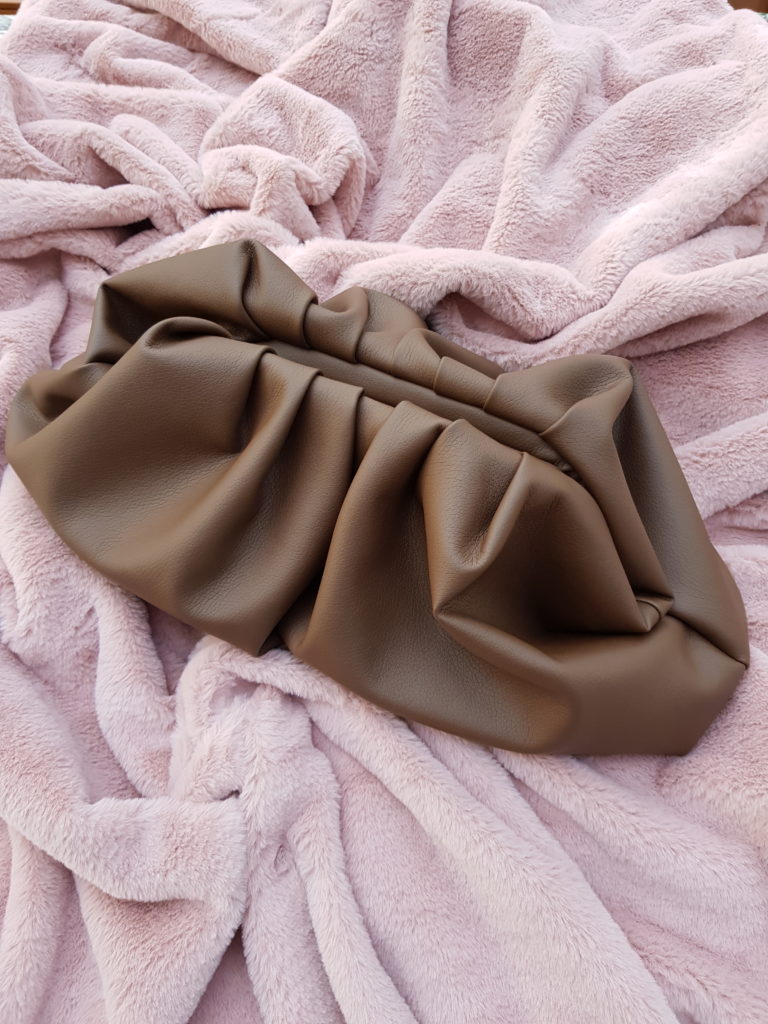
SEW YOUR OWN PILLOW CLUTCH
We have sewn the trend bag of the season out of synthetic leather and if you can’t get enough sewn yourself bags, then you’ve come to the right place!
WHICH FABRICS FOR PILLOW CLUTCH?
This bag really comes into its own when sewn from fabrics with a little volume. If you want to sew the clutch from thinner synthetic leather, then we recommend that you additionally interline the material with a light volume fleece.
You can also sew the clutch from quilted jacket fabrics. Our suggestion: The velvet stepper from Milliblu’s. Are you a fabric dealer and do you want to order the wonderful fabric? You can find the stepper in our online shop under item no: 990234
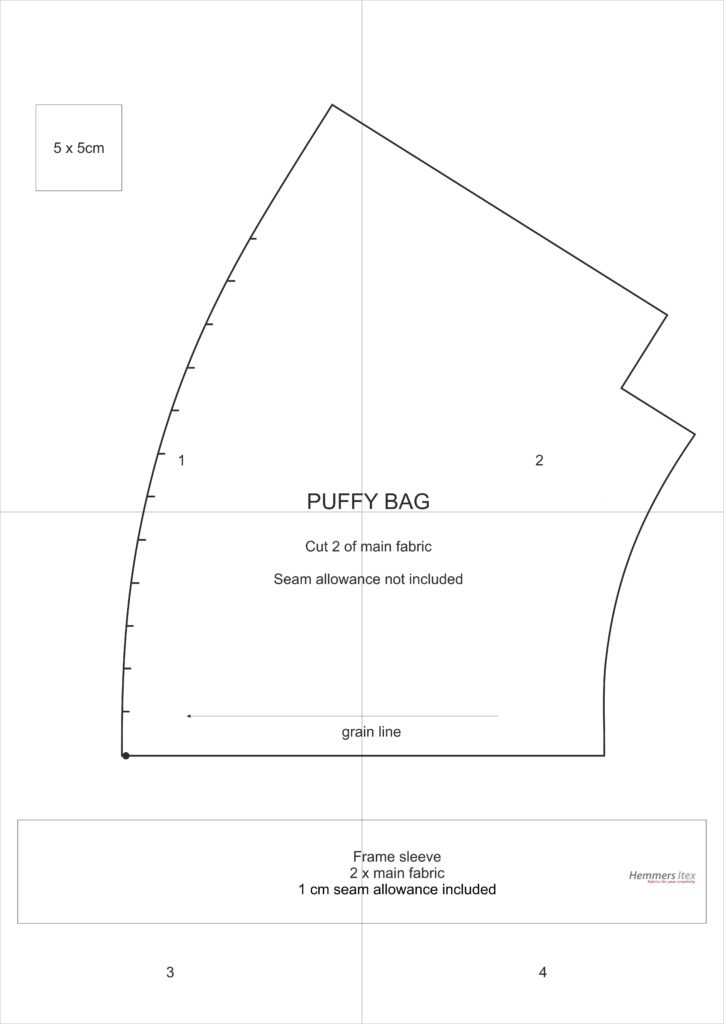
Download the free clutch pattern now. If you have a photo of your Clutch Puffy Bag, please post it on Instagram and link us @hemmersitex, hashtag #puffybag.

0.7 m synthetic leather
0.7 m cotton fabric for lining
Metal frame clutch hardware 24 cm
Thread, scissors, sewing machine, fabric clips
PILLOW CLUTCH SEWING TUTORIAL
Transfer the templates to the fabric and cut the pieces according to the cutting instructions.
FOLD
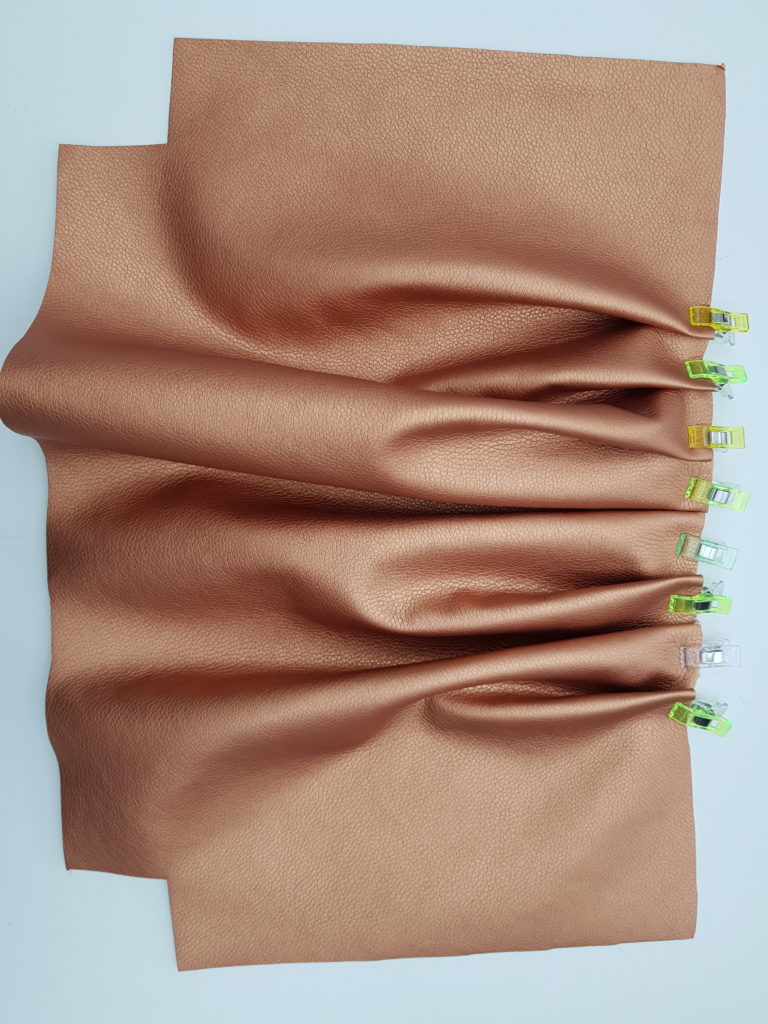
Transfer all the markings (small lines on the pattern) to the upper edges of the fabric on the two front pieces.
The folds are laid to one side from the middle, resulting in a box fold in the middle. Left and right – 4 folds. Sew the creases close to the edge to stabilise them.
Repeat the same step for the lining.
If you want, you can sew the inside lining without creases. You can download the template here:
SEWING THE SIDES TOGETHER
Now place both parts of the artificial leather bag on top of each other and sew the sides and bottom together.
BOTTOM
Unfold the lower corners of the bag so that the side and bottom seams meet exactly. Fix with pins and sew.
Repeat the same for the lining, but leave an opening in the side seam for turning.
TUNNEL FOR THE POCKET FRAME
Place the seam allowances on the short sides of the long strips of fabric inwards and topstitch.
Fold both prepared pieces in the middle lengthways ( wrong sides together ) and pin them to the upper bag edges and sew them tightly. Here it is important that there is still space between the two tunnels for the hinge screw of the bag frame.
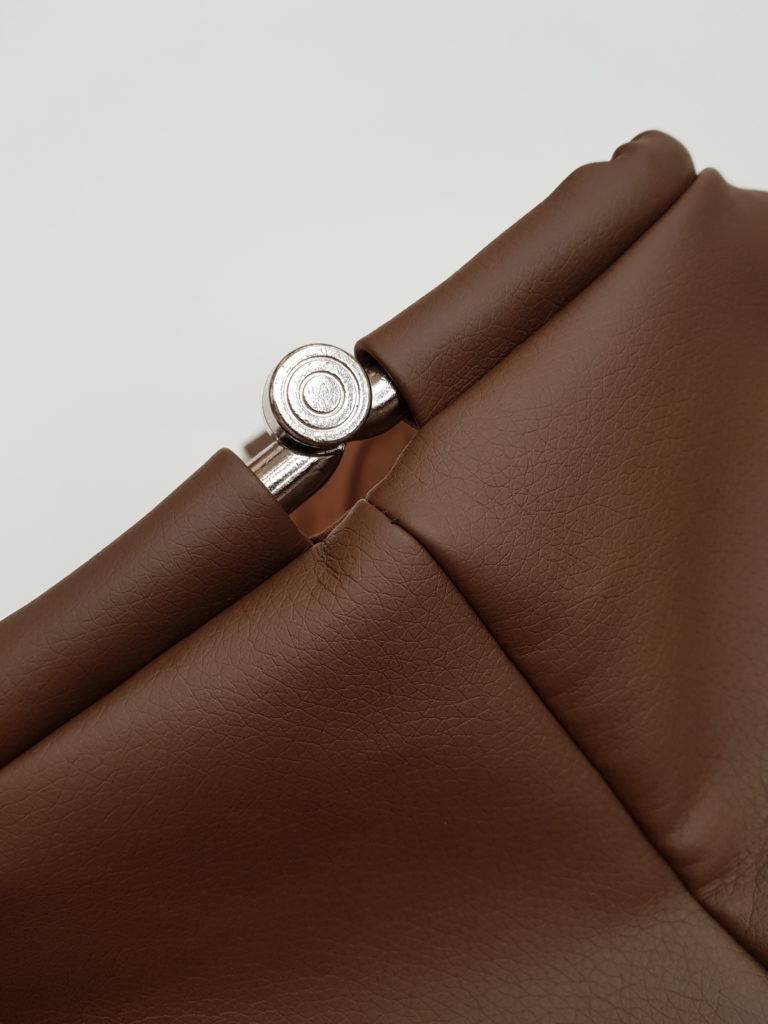
Outer and lining should fit perfectly, seam on seam, right sides together and sew together around the upper edge. Turn to the right side and close the turning opening.
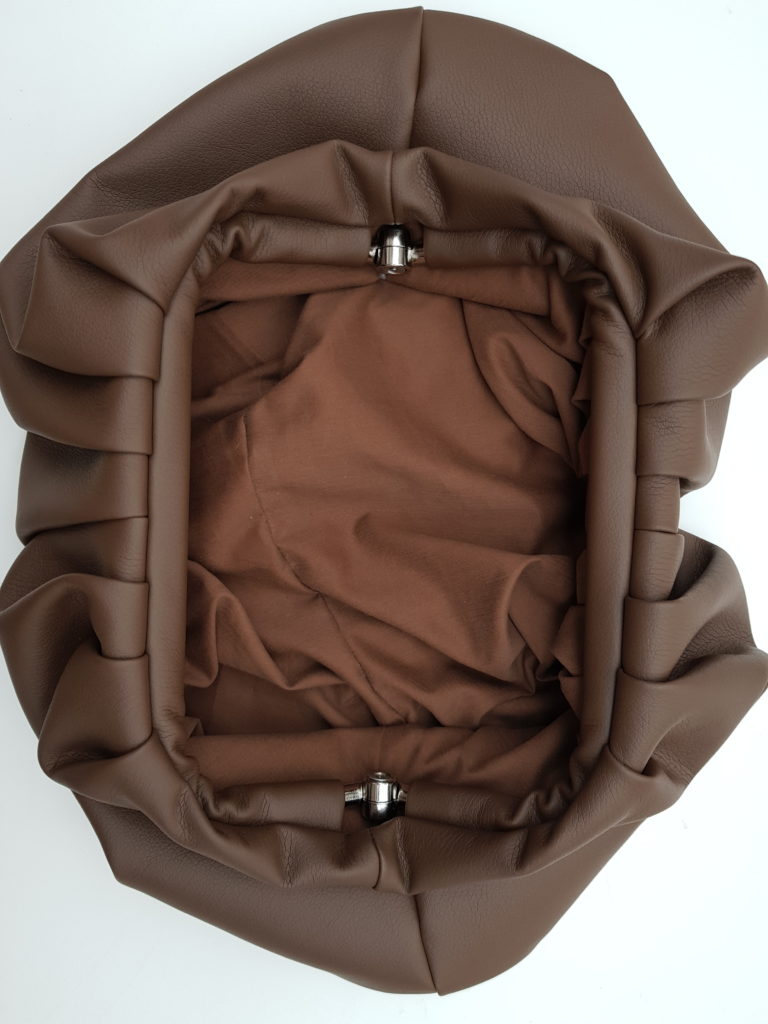
Pull the tubes of the bag frame into the tunnel according to the manufacturer’s instructions.
THESE FOLDS
Now turn the bag frame inwards so that the folds come out nicely.
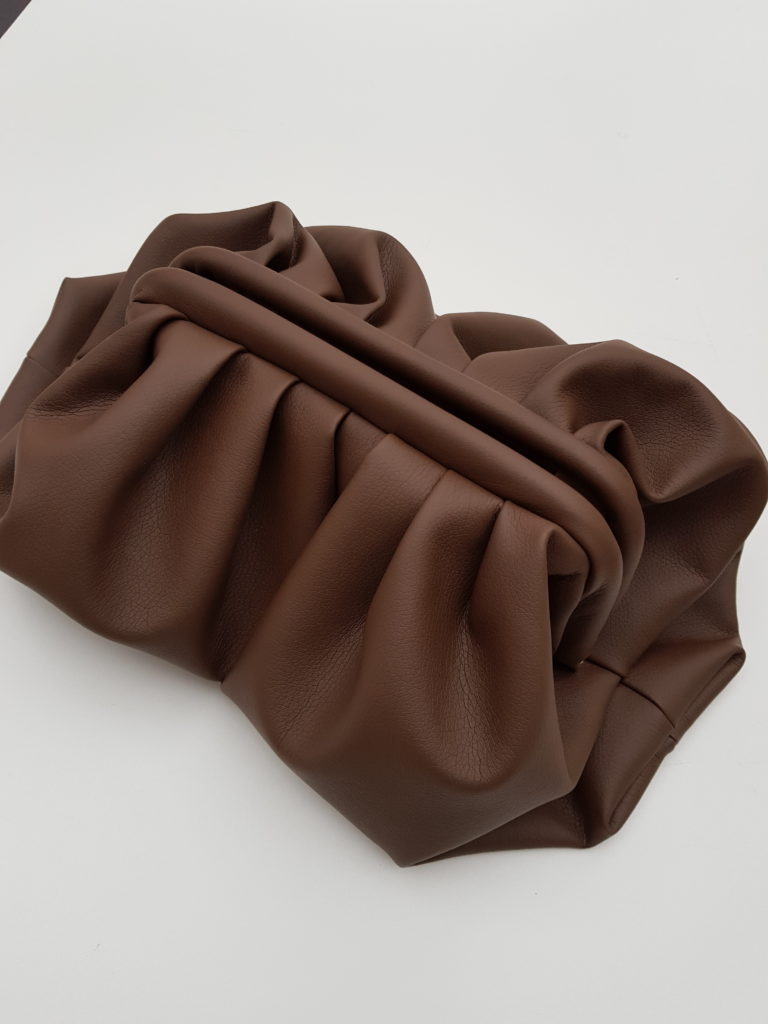
THE BAG CAN ALSO BE USED AS A SHOULDER BAG!
You can of course also carry this self-sewn clutch like this, with the bag frame facing up! And if you think you absolutely need a bag strap, sew two small loops between the tunnel and the bag made of outer fabric. And add a decorative chain fort he handle.
SEWING MAKES YOU HAPPY!
Let’s sew away the November blues! There is nothing better than crawling into the sewing room on a rainy evening!

