Shark sleeping bag free sewing pattern
Ahoy sailors, marine researchers, divers, pirates and ship captains!
Come out into the wide sea of (fabric) and let’s dive into the fascinating DIY world together!
Is your child a big underwater fan? Every evening there is dipping, bubbling, swimming and fishing in the bathtub, but unfortunately falling asleep is more like a cruise in force 10?
We have come up with something special for you!
Here comes a funny sea creature who, despite being big and has sharp teeth, really just wants to play and cuddle!
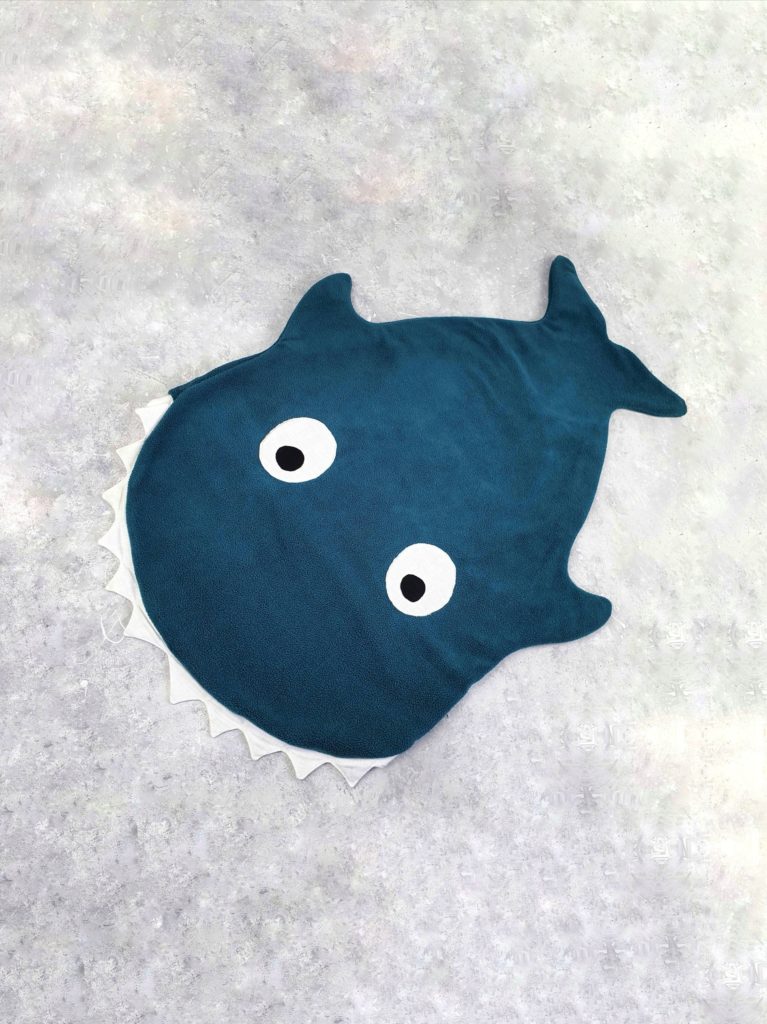
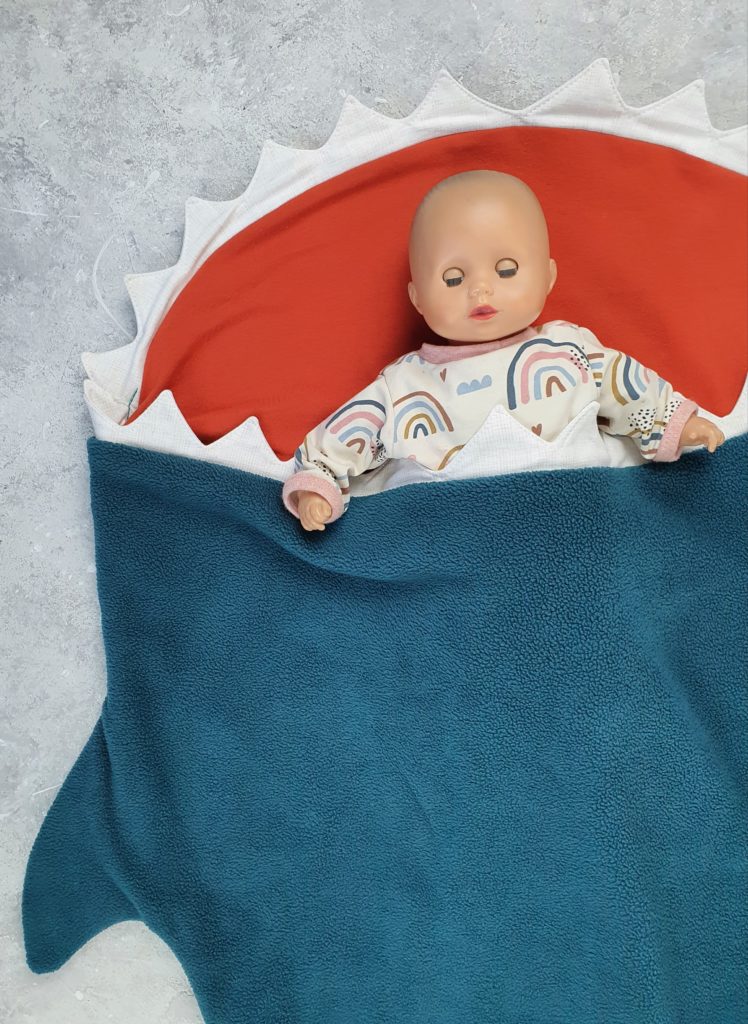
DIY SLEEPING BAG
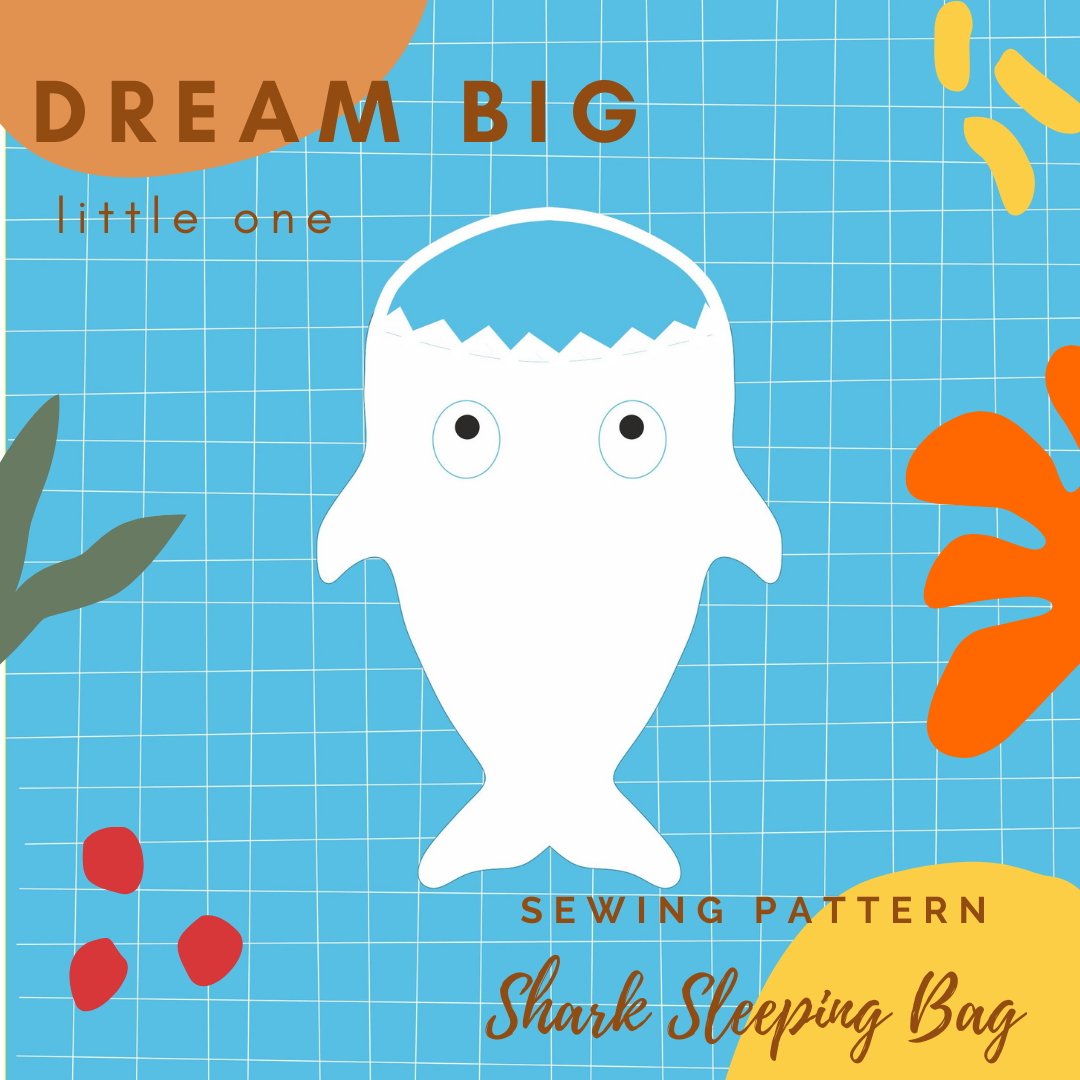
The finished shark sleeping bag is approx. 0.95 m long and 0.7 m wide and is ideal for small children.
You can sew the sleeping bag in both double and single layers. In the single-layer version, you will need approx. 1m, double-layer: 2m of fabric.
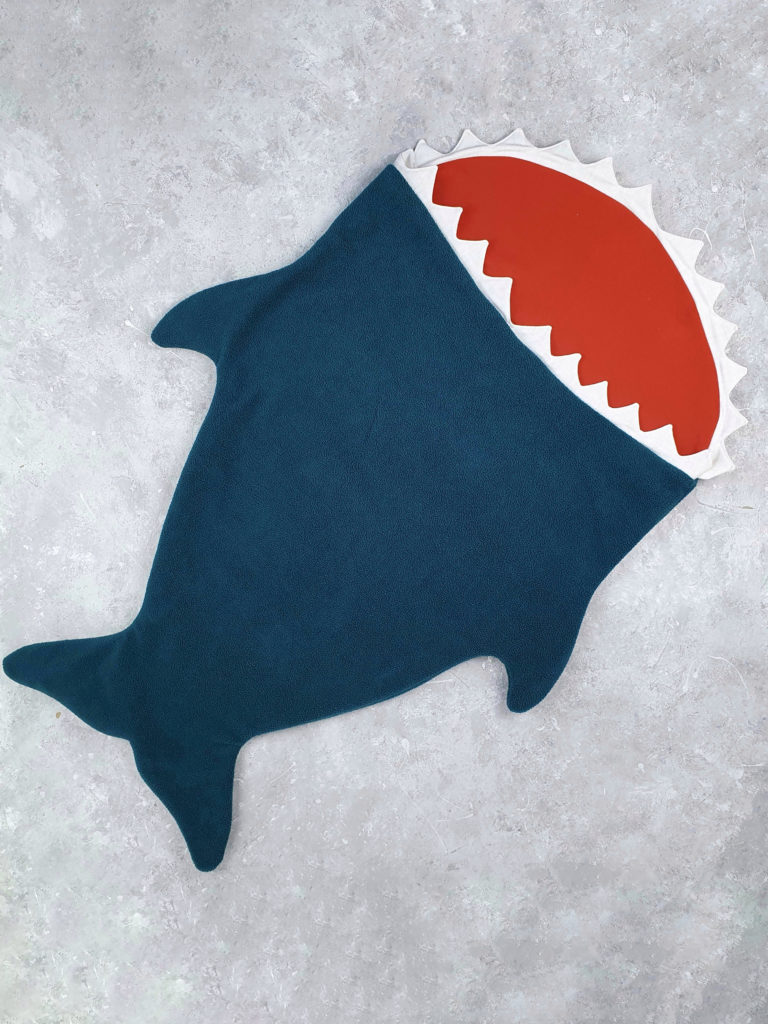
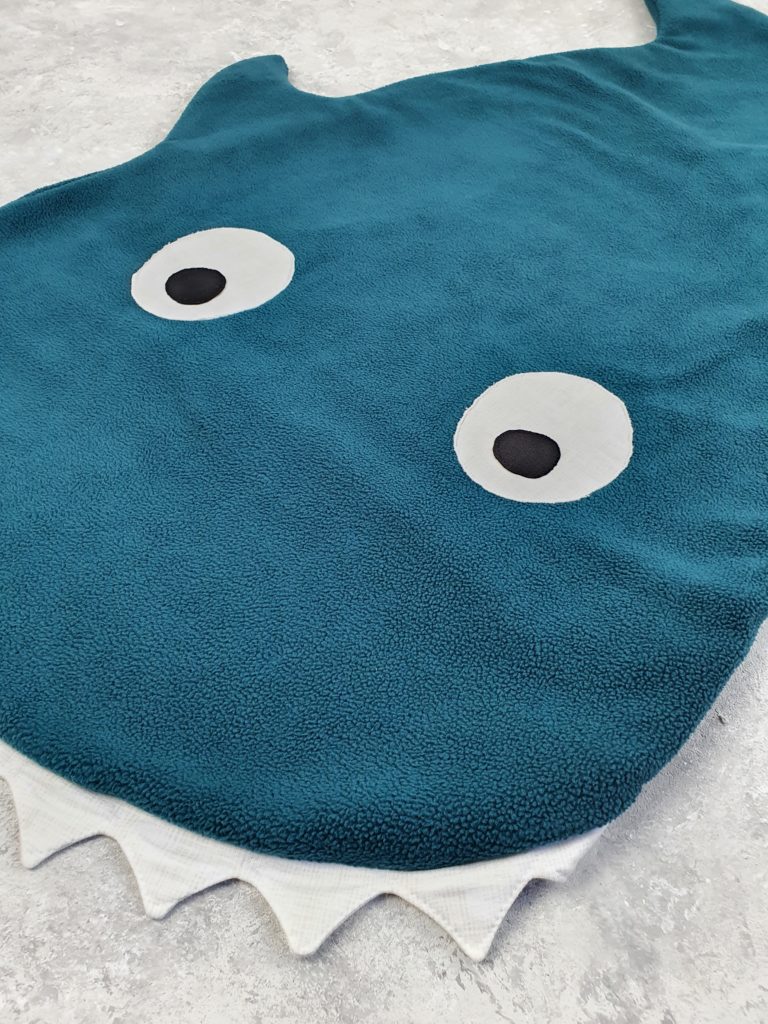
WHICH FABRICS FOR SHARK SLEEPING BAG?
You can actually use any cozy and warming fabric for this project.
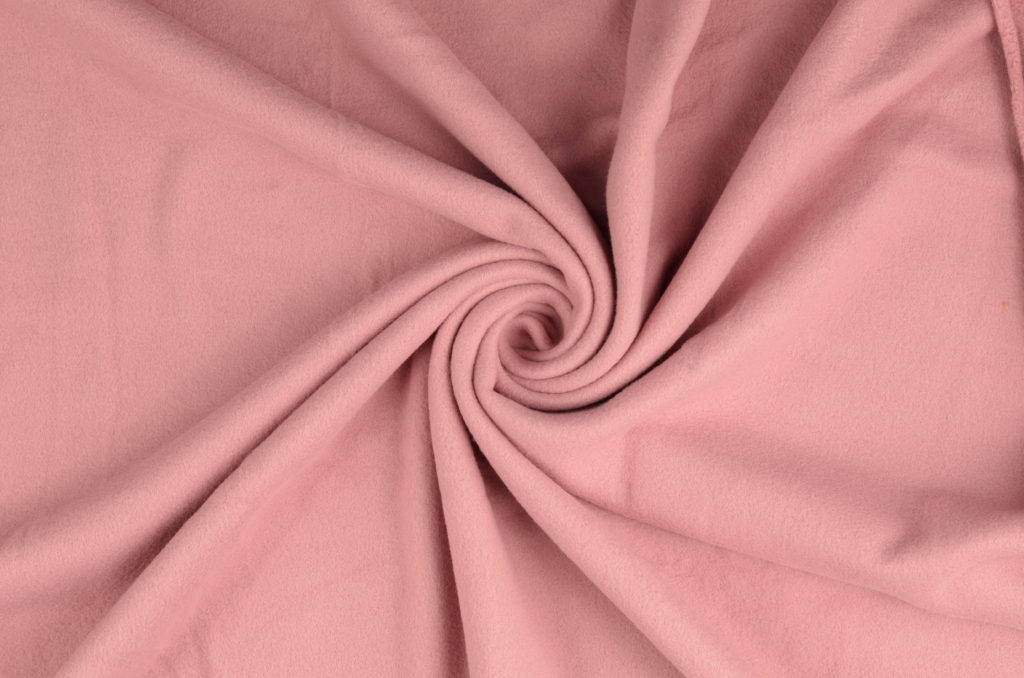
Fleece, but also various double-face jacket fabrics such as cord or stepper with fur on the side are wonderfully suitable for the cuddly shark sleeping bag.
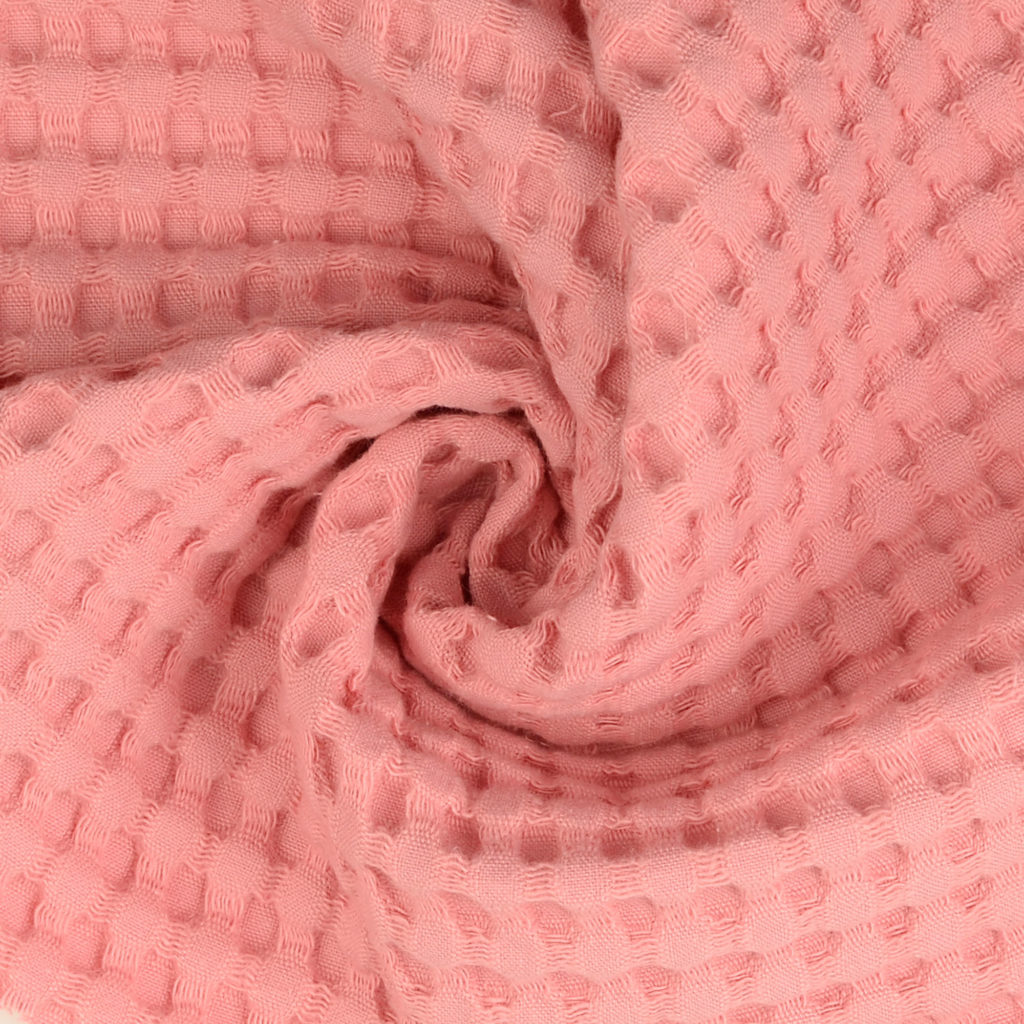
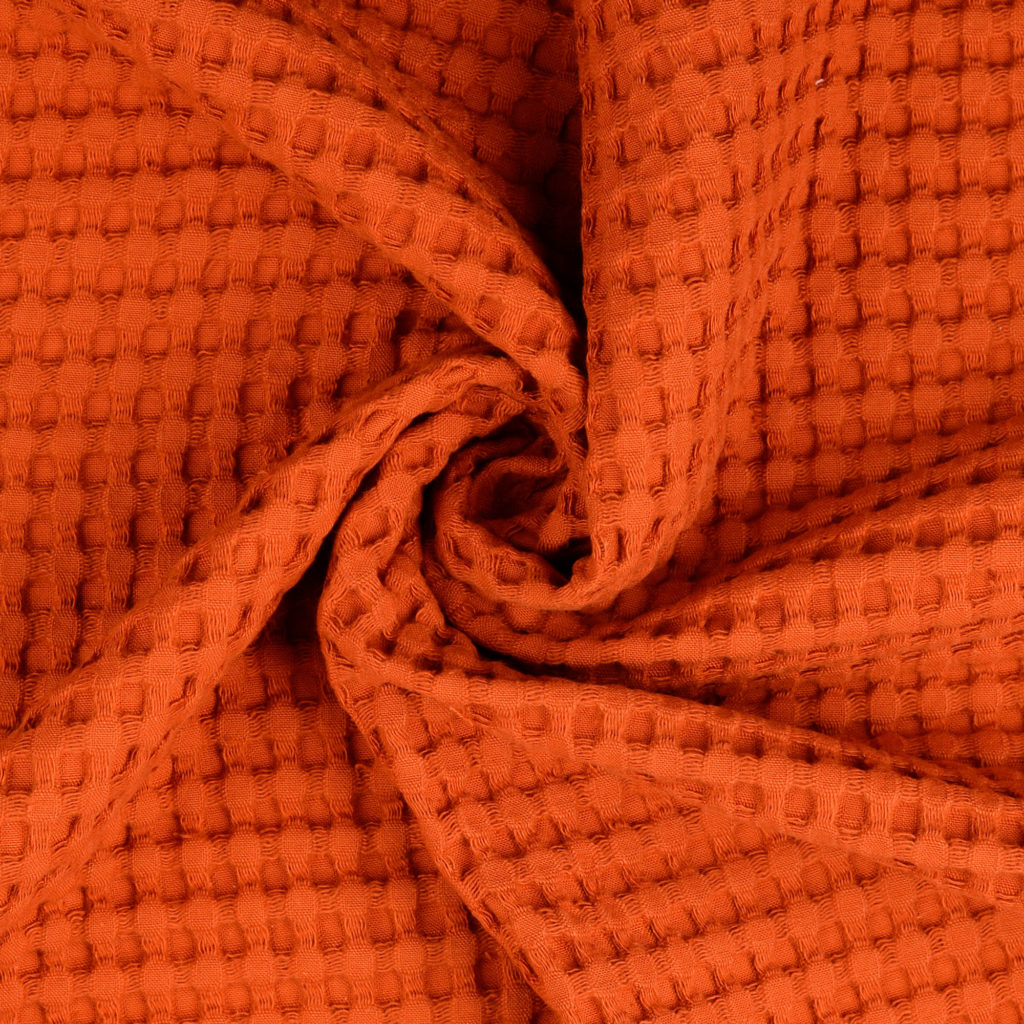
For the summer version you can, for example, use a terry cloth or the wonderful waffle pique with the large structure.
SHARK SLEEPING BAG FREE SEWING PATTERN
Download the shark sleeping bag free pattern now. Attention! The pattern does not contain any seam allowances!
If you have a photo of it, please post it on Instagram and link us @hemmersitex #abindiehaia
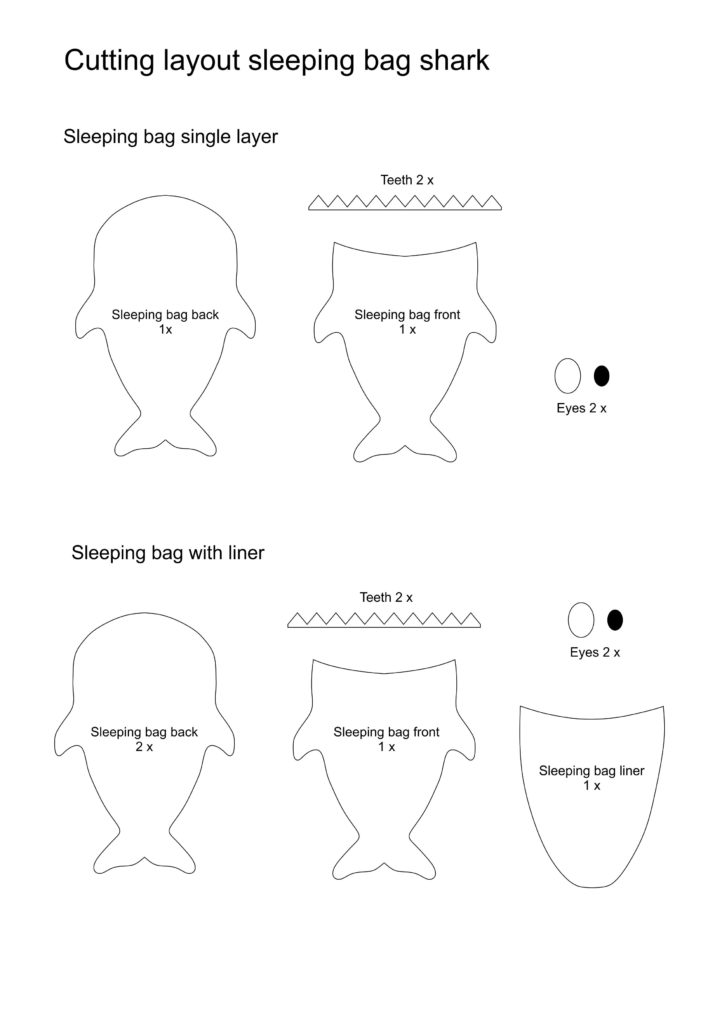
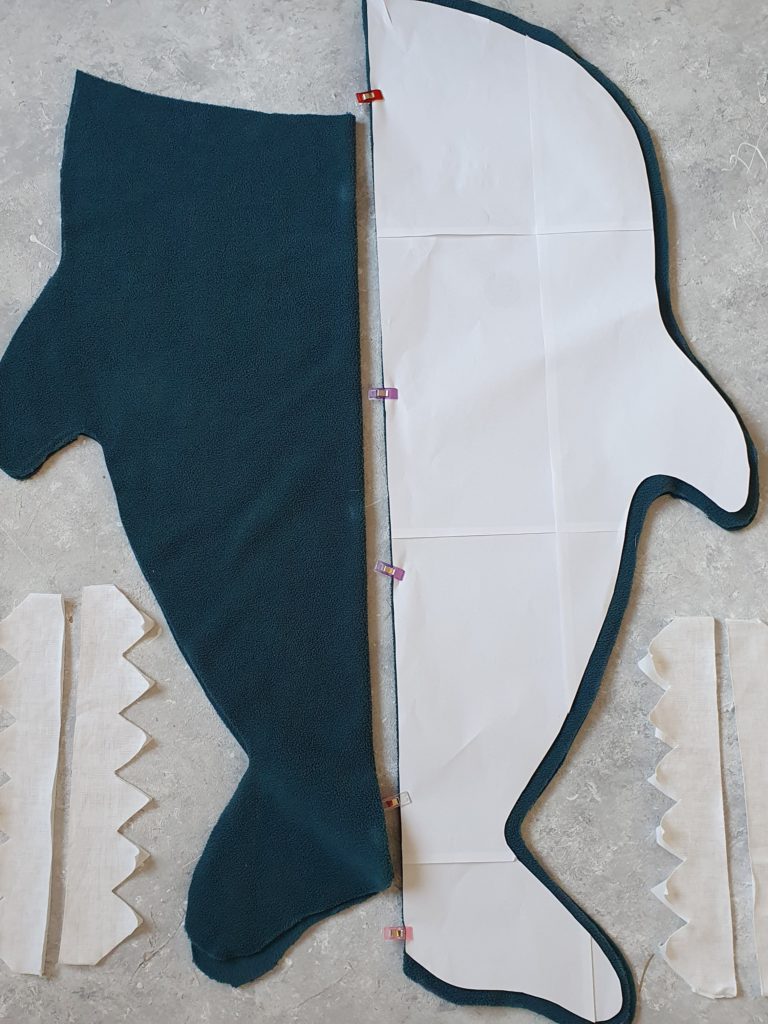
Transfer the templates to the fabric, draw a 1cm seam allowance all the way around and cut out.
Teeth: cut 2 times on the fold, place right sides together.
Sew the short side edges of the fabric and the upper teeth together, cut back the seam allowances, turn right side out, shape with a pencil.
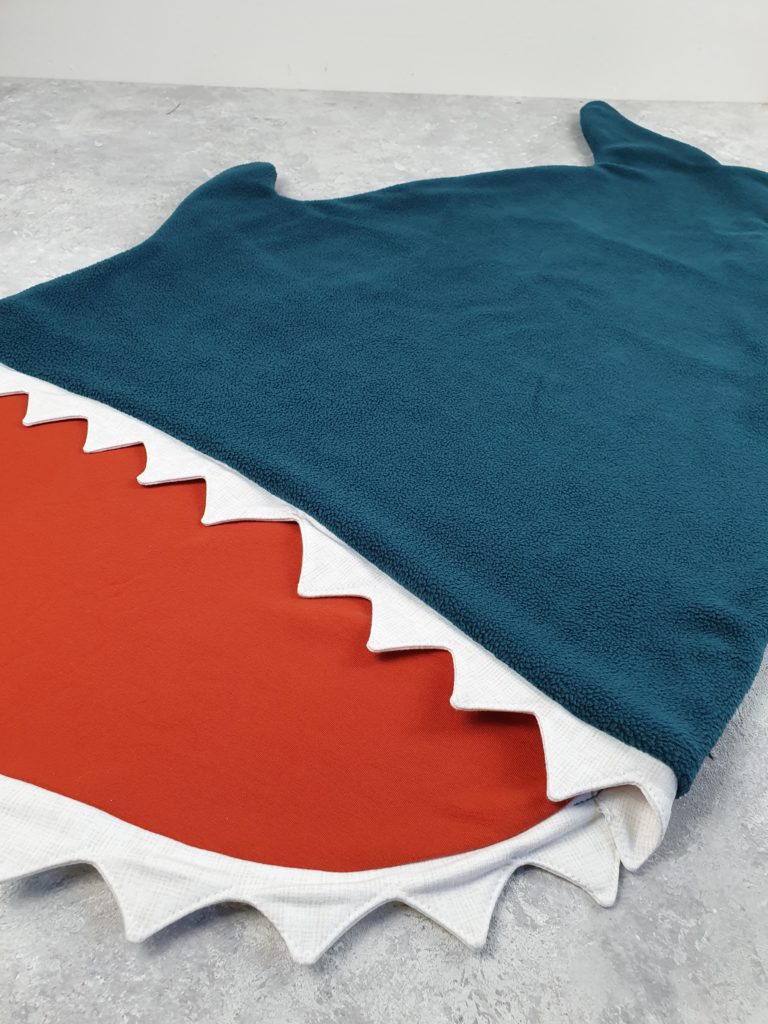
Put the teeth on the curved edge in the front part (prongs point downwards), stitch in place.
Apply eyes. Beware of heat-sensitive materials! Usually, applications are applied using Vliesofix. However, since fabrics such as fleece cannot withstand the high temperatures when ironing, we recommend first fixing the pattern pieces with a loose hand stitch and then sewing them on with a zigzag.
Sewing the sleeping bag: place front part on back part right sides together, sew the sides together. If necessary, cut back the seam allowances in the area of the fin.
Place the seam allowance at the back of the head inwards like a hem, sew around.
SEWING THE SLEEPING BAG WITH A LINING
You can sew a double layer of a particularly warm winter sleeping bag. The procedure is almost the same.
Attention: The inner lining is sewn without teeth and with a turning opening on the side.
Both sacks are put right sides together and the upper edges are sewn together – as if you were sewing a bag with an inner lining. Make sure that the side seams meet nicely here.
Now just turn to the right side and close the turning opening. Topstitch the upper edges of the fabric. Finished!
HURRA, IT’S TIME TO SLEEP!
The magical underwater worlds exert a strong fascination for many children – the exotic fish, the colorful plants and the mysterious sea creatures have become an indispensable part of the children’s room!
You don’t have to go swimming in the ocean to have your own shark encounter. Just hop in this DIY shark sleeping bag and enjoy sweet dreams!
Share with your friends!

