A LITTLE SEWN GIFT FOR A CHILD

We saw a great idea on the Little Darling site. A small teddy bear, sewn from scraps of fabric. And so that the little bear doesn’t freeze, there are also dungarees!

Small children in particular are really happy with homemade gifts. If you want to give something very personal as a gift, then this idea is perfect Post your self-made teddies and link @hemmersitex and @littledarling_official on Instagram.

What do you need?

  • Leftover fabric
  • Filling / filling material
  • Sewing machine
  • Thread
  • Clips and pins
  • Scissors
  • Tape measure
  • Iron

Sewing instructions for the teddy bear.

THERE IS NO SEAM ALLOWNCE, PLEASE ADD 1 CM

1. Transfer the front piece to the fabric and cut to size with seam allowances.

I recommend sewing the back piece from two pieces. Cut the pattern along the dotted line and cut the double layer of fabric with seam allowances all around.

2. Lay both fabric blanks right sides together and sew both layers of fabric together except for the opening. Iron the seam allowances apart.

3. Secure the beginning and end of the seam with a backstitch so that the seams do not open when turned inside out.

4. Place the front onto the back piece, right sides together, and sew both body parts together.

5. Turn the bear right side out. You can press out the corners with a pencil or a chopstick.

6. Fill the bear with cotton wool and sew the opening shut.

7. You can embroider the eyes, mouth and nose. You can also use buttons or snaps for older children. I still found small remains – I punched out the eyes with a hole punch, cut out the nose and mouth with small scissors and ironed them on the face with the iron.

And your very personal and self-made gift is ready.

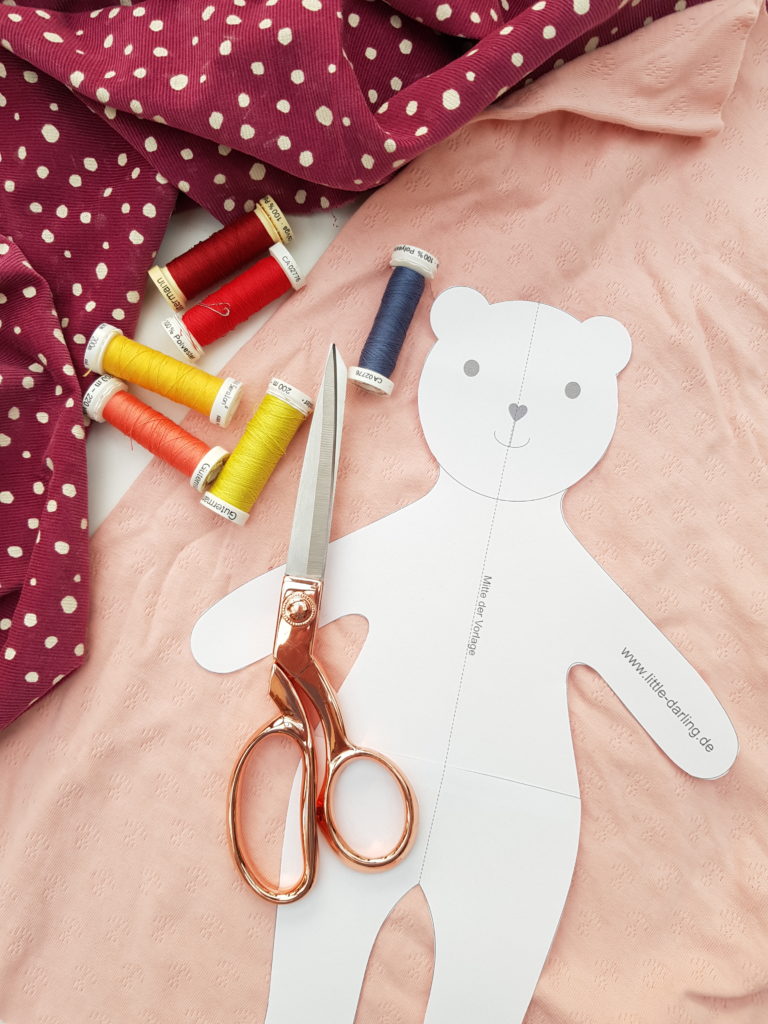
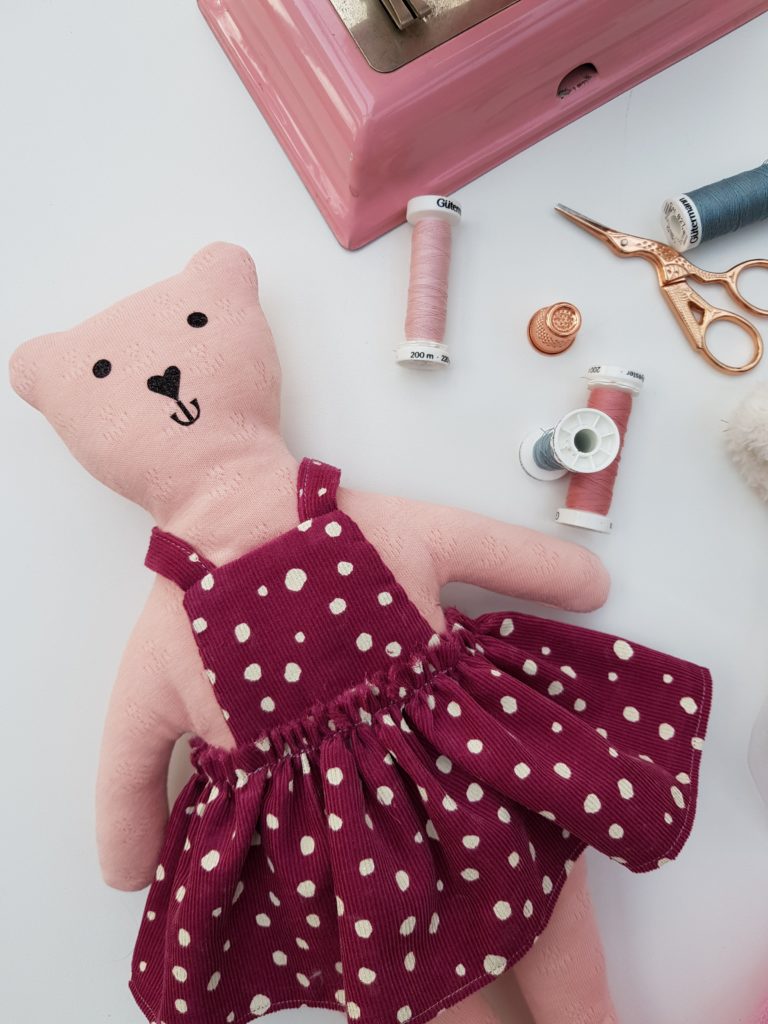
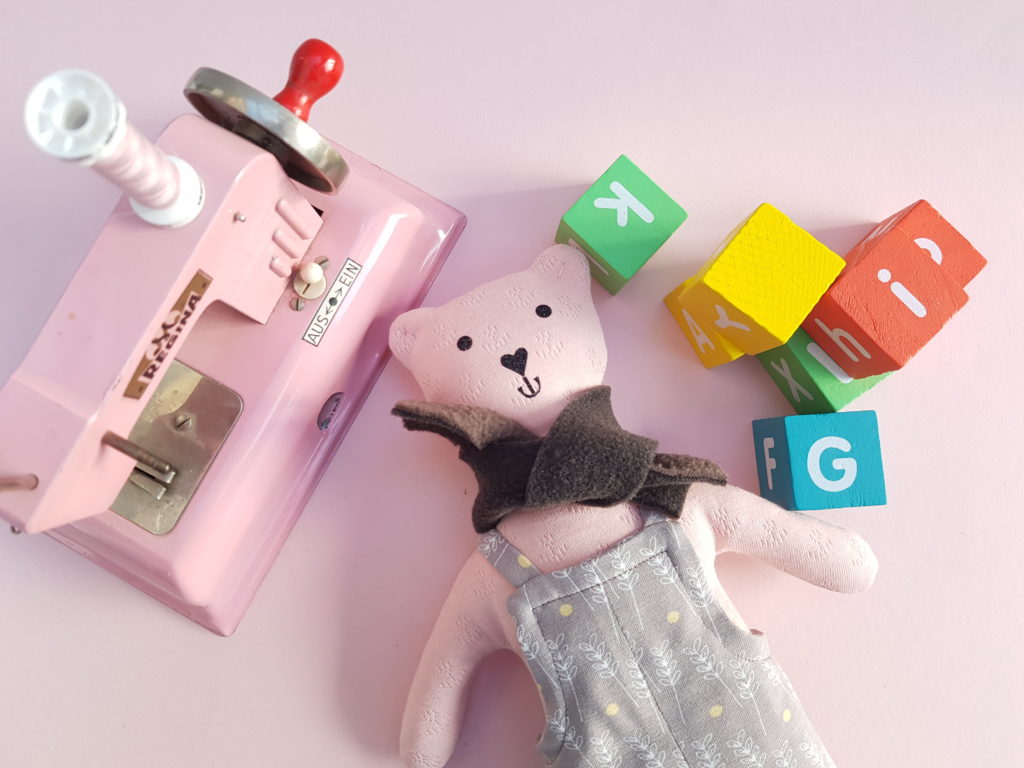
INSTRUCTIONS FOR THE TEDDY BEAR

THERE IS NO SEAM ALLOWNCE, PLEASE ADD 1 CM

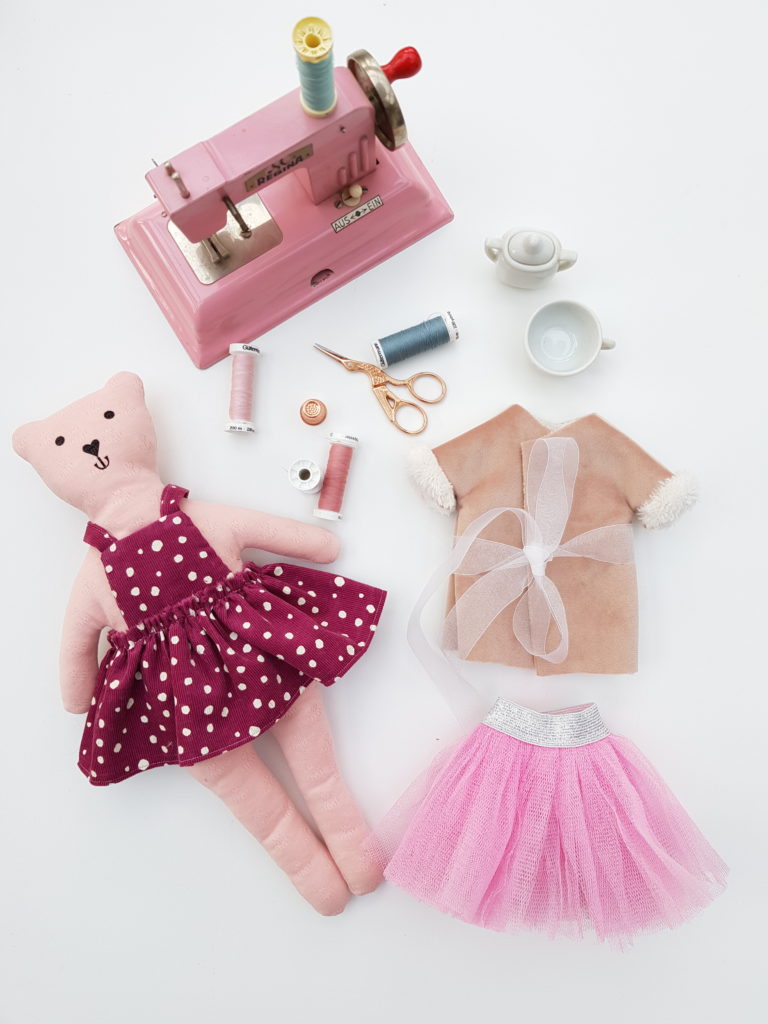
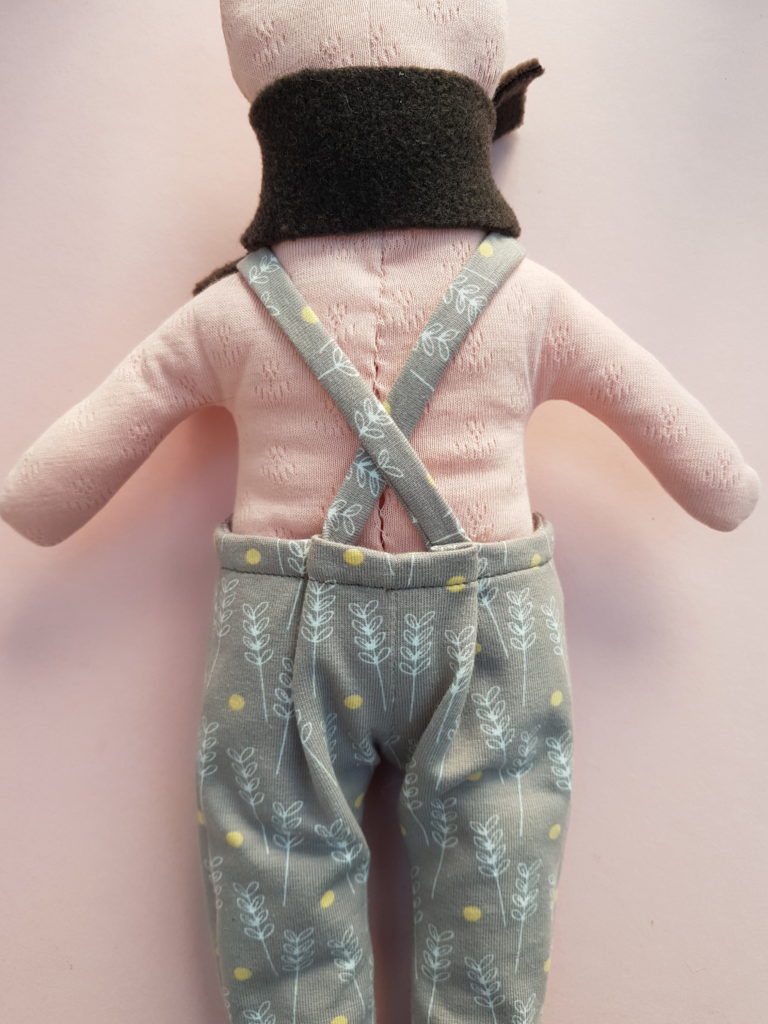
I sewed my little dungarees from organic jersey.

Front trousers: Place right sides together and sew the centre front together first.

Back oft he trousers: put right sides together, sew the crotch seam together.

Place the front onto the back piece right sides together, sew the side and inside leg seams.

Sewing straps: You can learn how to sew thin straps from very narrow strips of fabric on the Milliblu’s site.

Pin the straps on the bib, right sides together, facing down, approx. 1 cm from the side edge and stitch in place.

Trim: Place the front trimming on top of the back trimming, right sides together and close the side seams.

Pin the finished trim to the upper edge of the dungarees (right sides facing) and sew all around. Cut away the corners at an angle.

Turn the trim inside out, iron the edges and topstitch.

Cross the straps and sew them onto the waistband at the back.

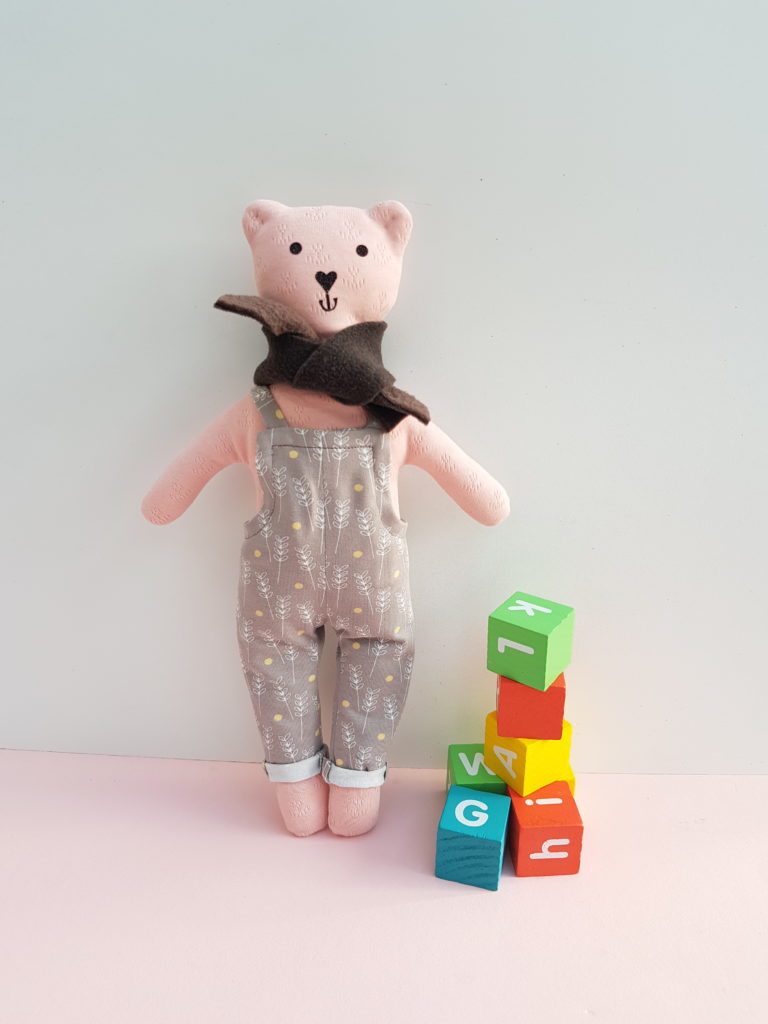
The teddy is now ready to be dressed!